Kohya_SS GUI offers a user-friendly Gradio interface for Kohya’s Stable Diffusion trainers. It has strong Linux support through community installations, with limited but possible macOS compatibility. Combining Novita AI with Kohya_SS GUI streamlines AI model training workflows, removing hardware limitations and creating an optimized environment for diffusion model fine-tuning.
This guide will show you how to deploy and run Kohya_SS GUI on Novita AI’s platform.
How to Run Kohya_ss: GUI on Novita AI
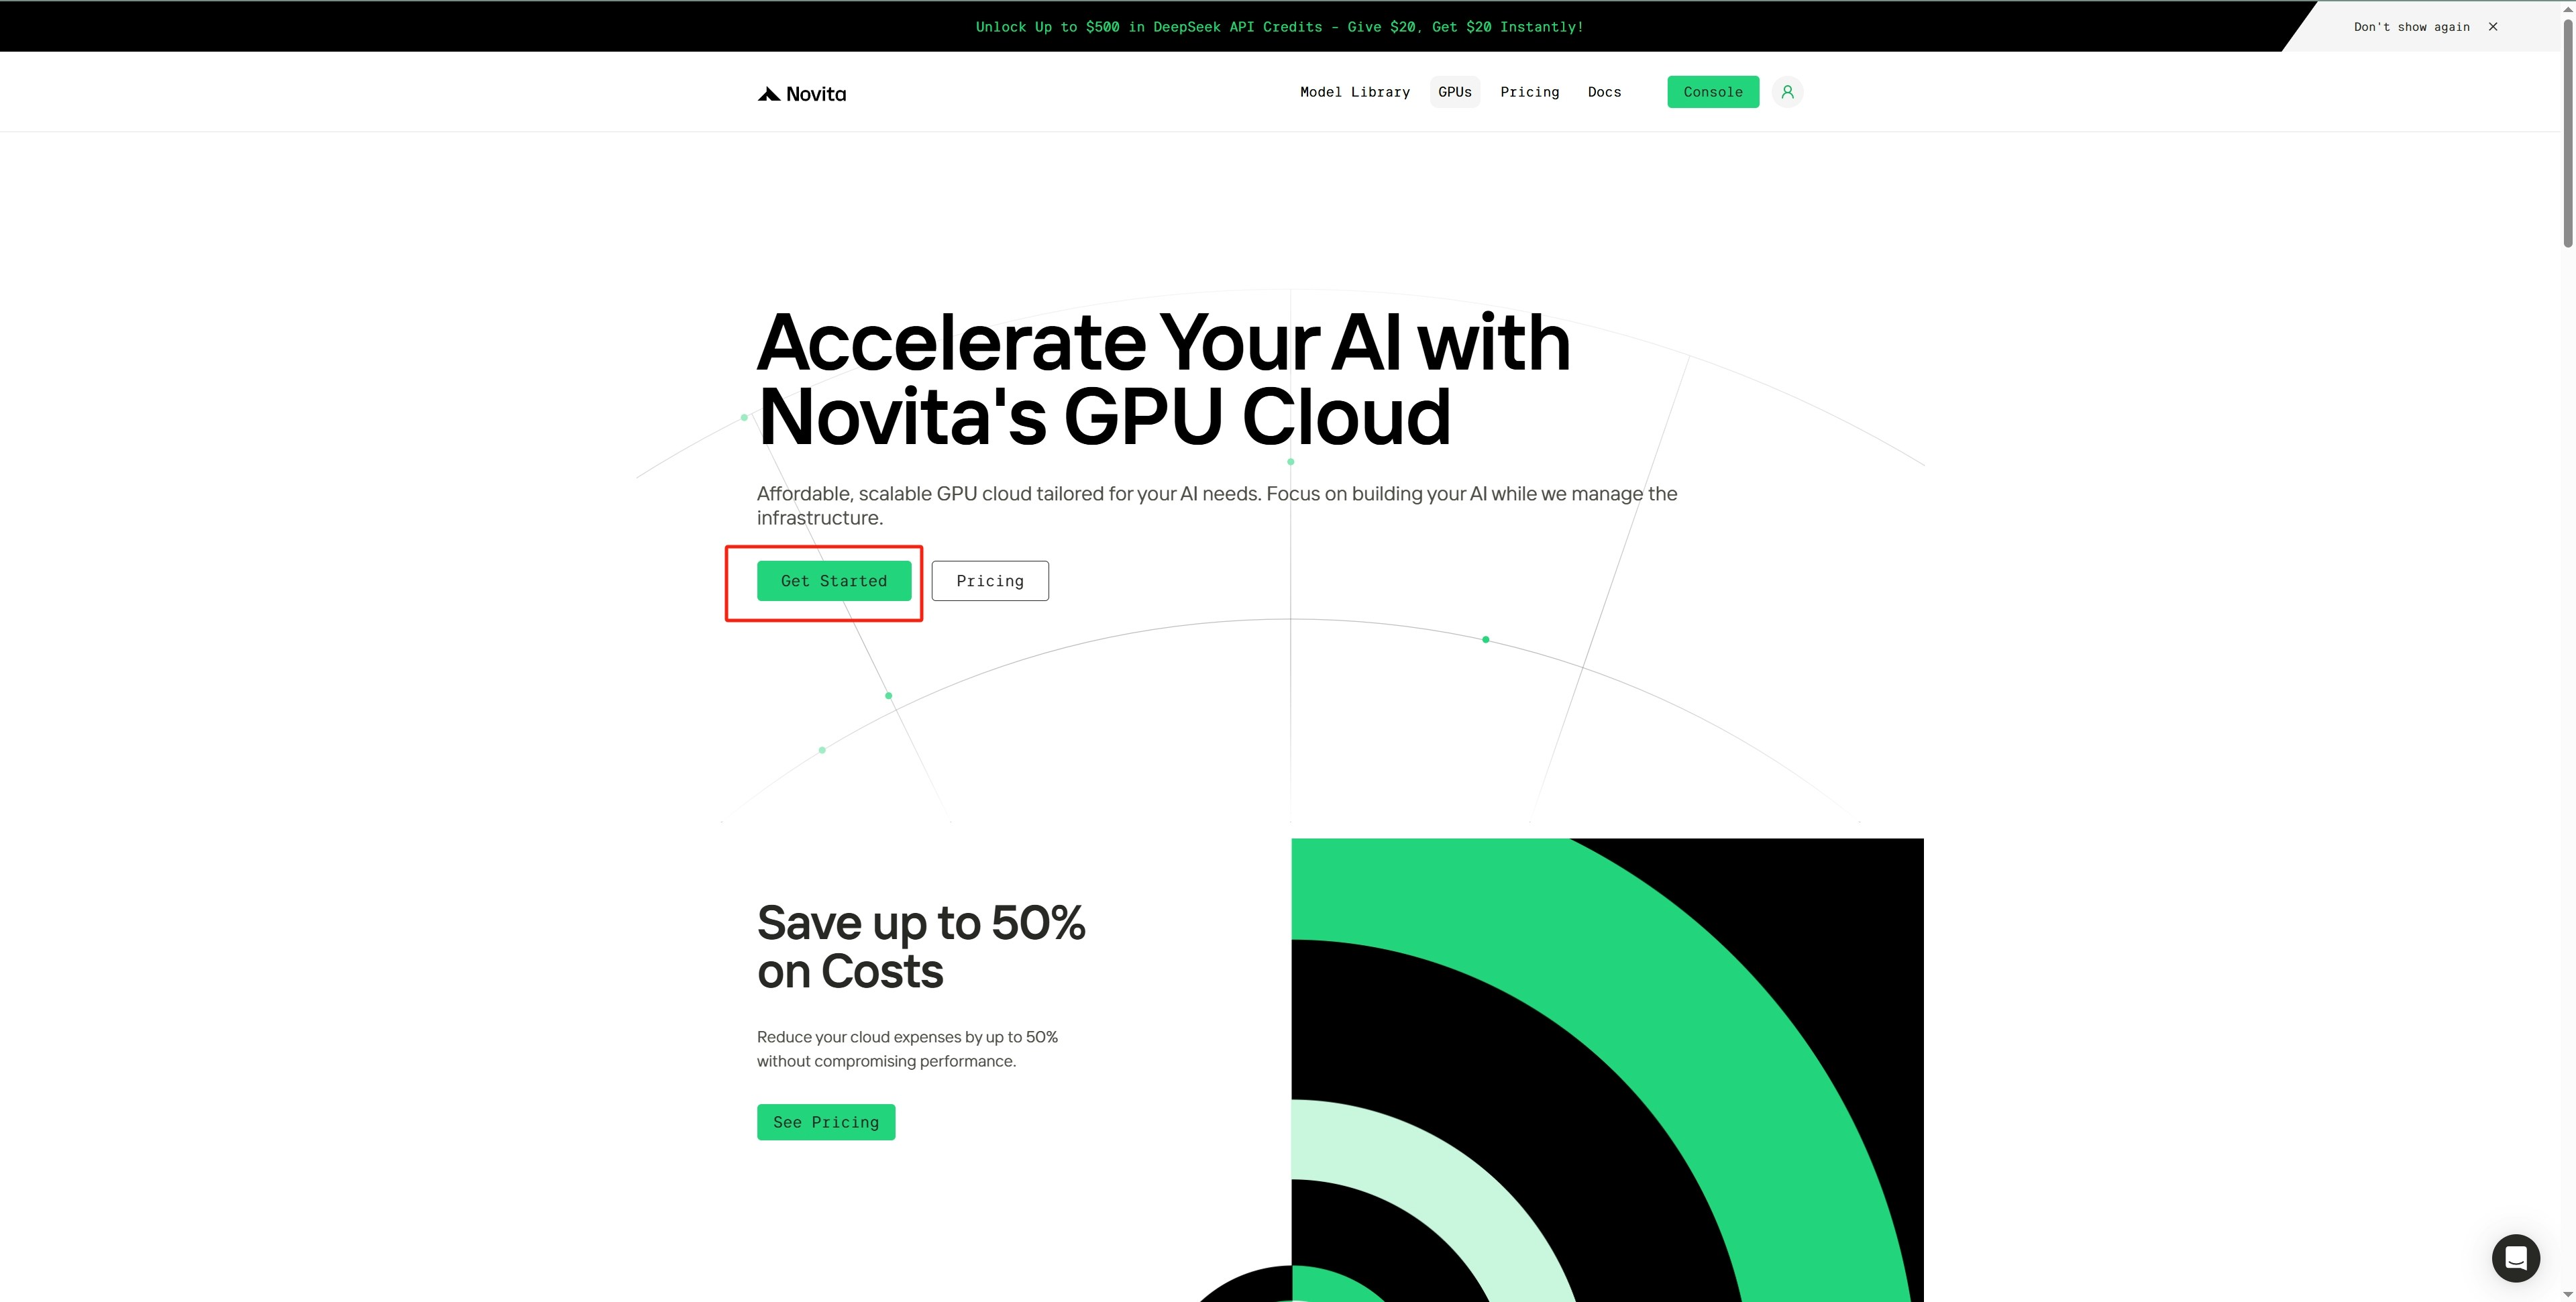
Step 1: Access GPU Instance Control Panel
- Navigate to the
GPU menu in the top navigation bar.
- Click
Get Started to enter the GPU Instance control interface.
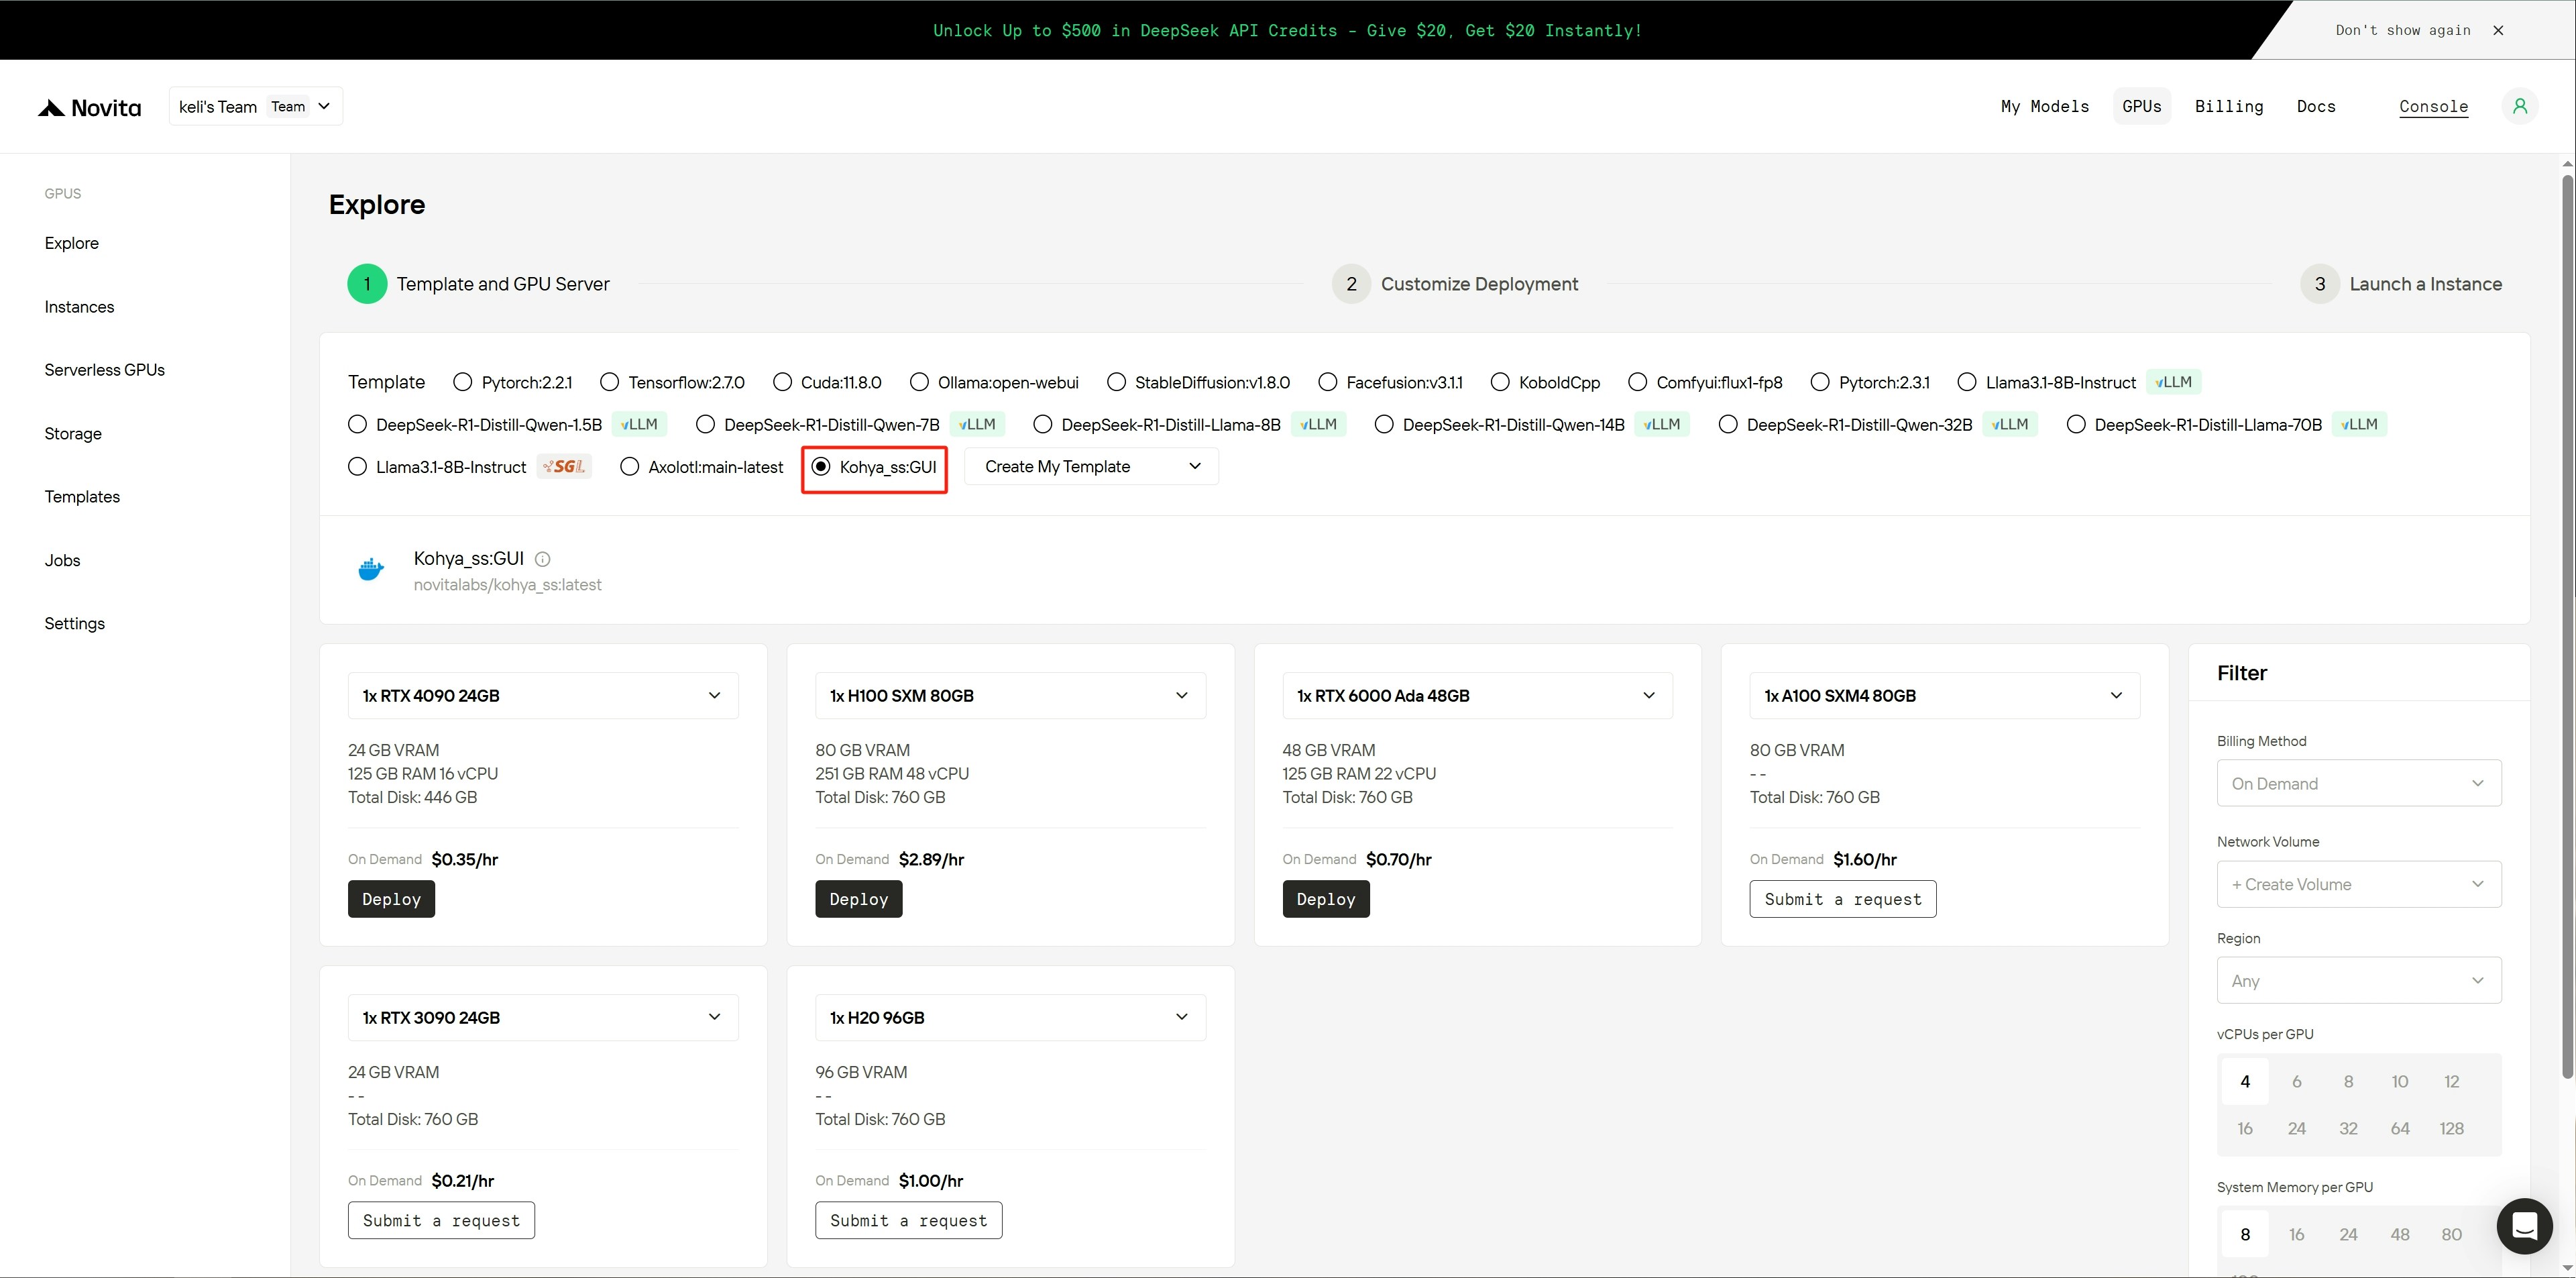
Step 2: Select Kohya_ss:GUI Template
- Locate and select the
Kohya_ss:GUI official template.
- Click
Deploy button under the 4090 GPU card option to enter the instance creation page.
Step 3: Configure Disk Parameters and Review Configuration Settings
- On the left panel, adjust the disk settings as needed:
- Set appropriate system disk size;
- Configure local disk capacity based on your storage needs.
- Check the right panel for configuration options:
- Verify image settings are correct;
- Confirm startup commands are properly configured;
- Ensure ports and environment variables meet your requirements.
- Confirm all settings are correct and then click the
Next button to advance to the final confirmation page.
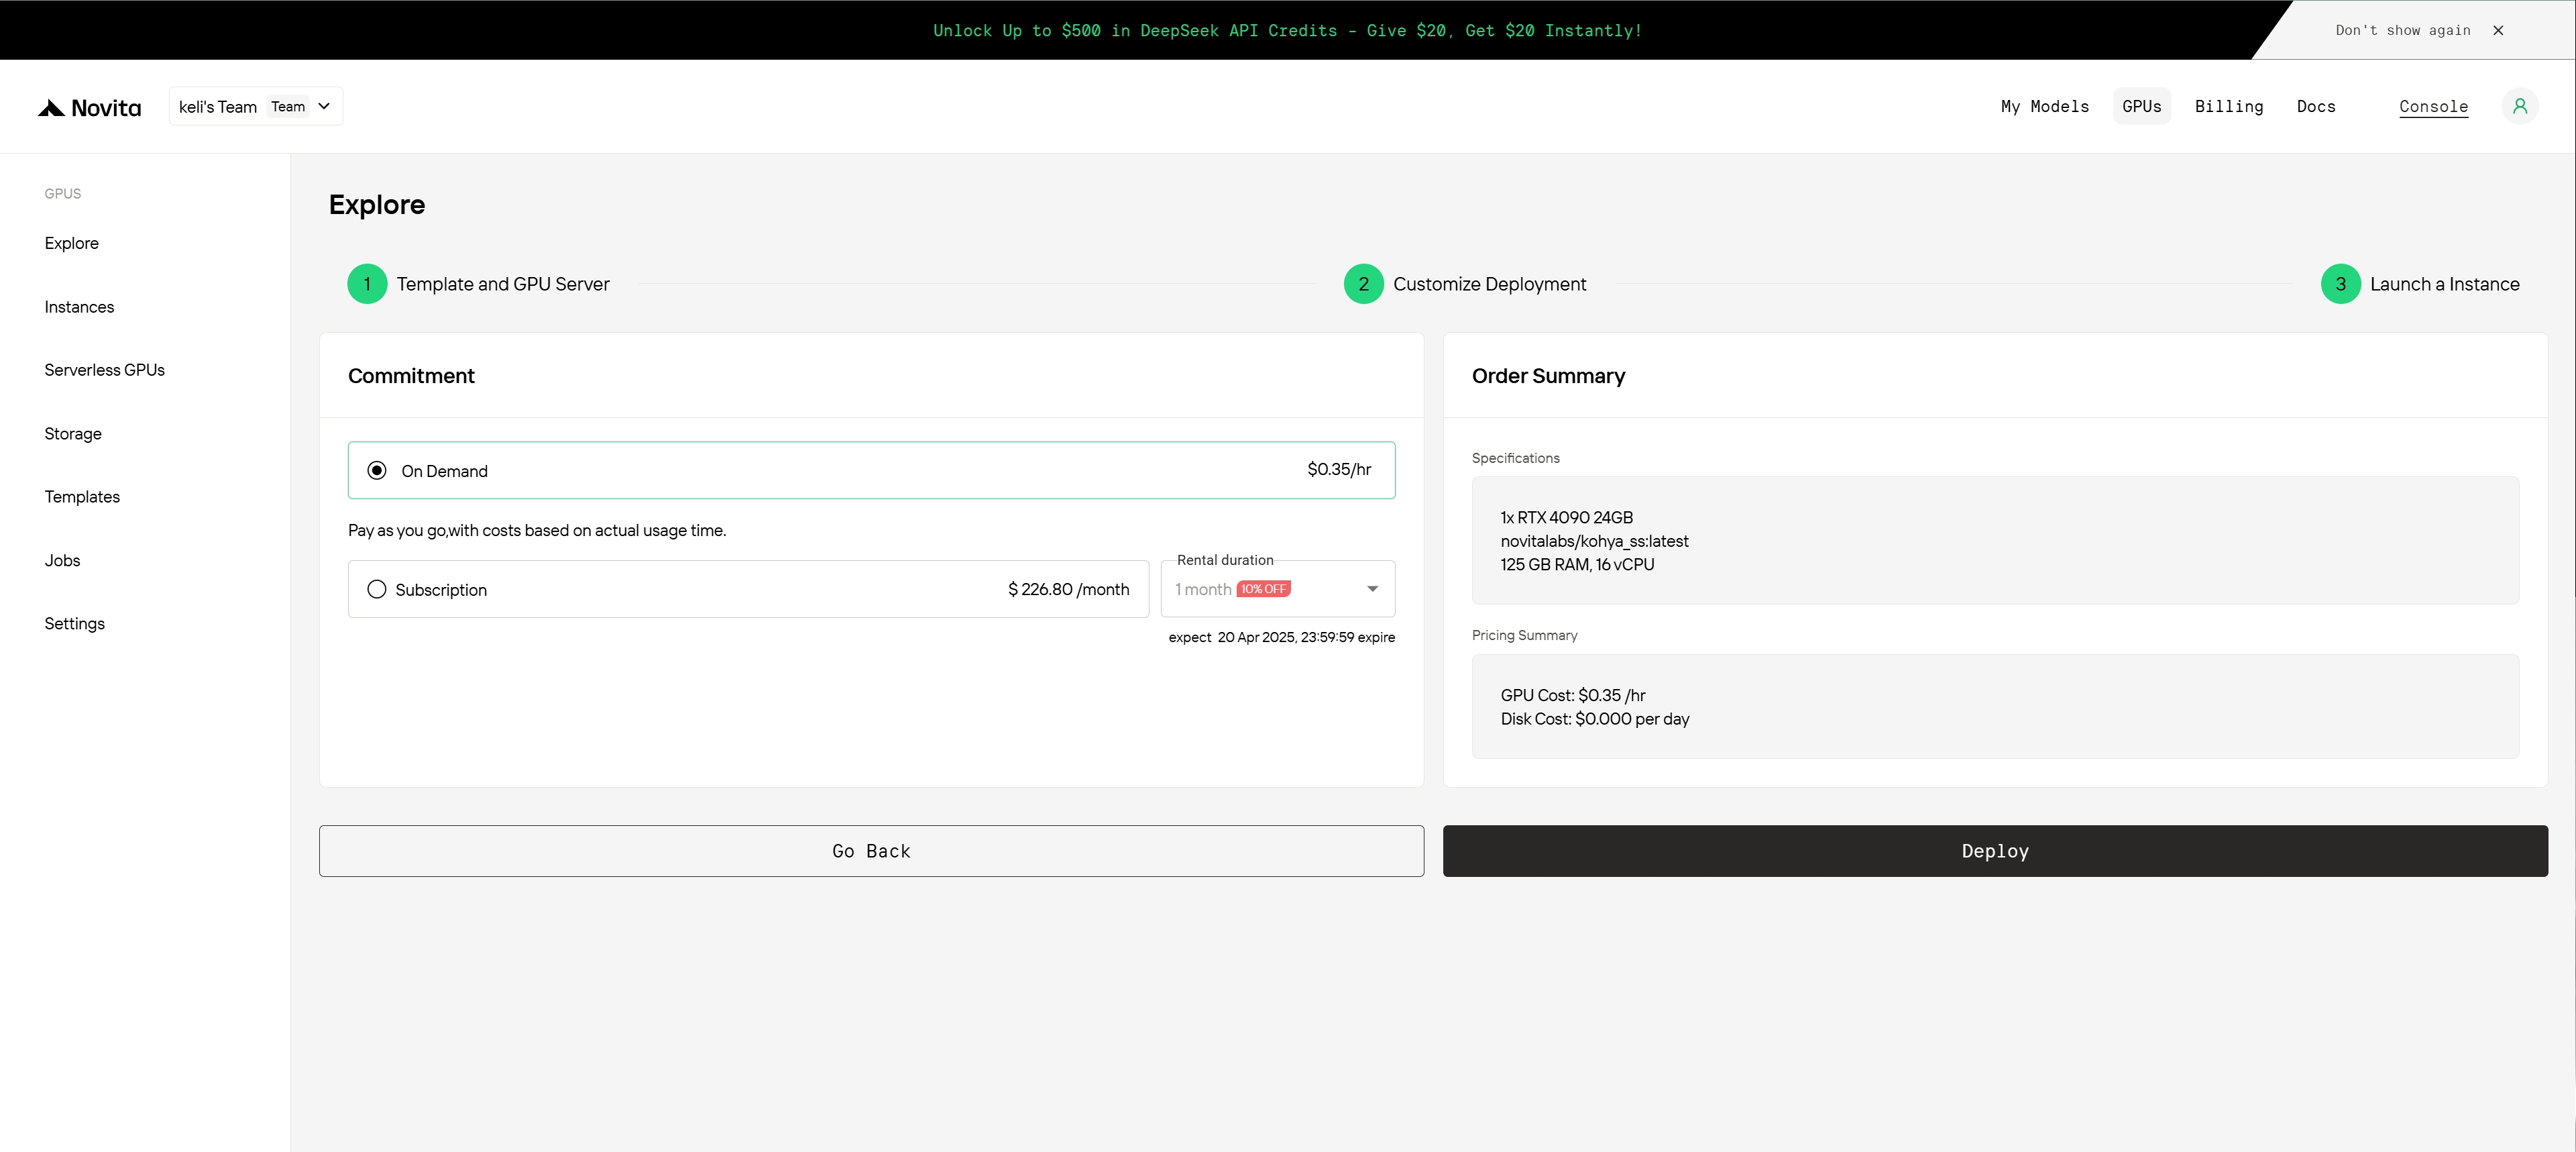
Step 4: Proceed to Confirmation and Deploy Your Instance
- Review the complete instance configuration summary.
- Verify the cost details displayed on this page.
- Click
Deploy to initiate the deployment process.
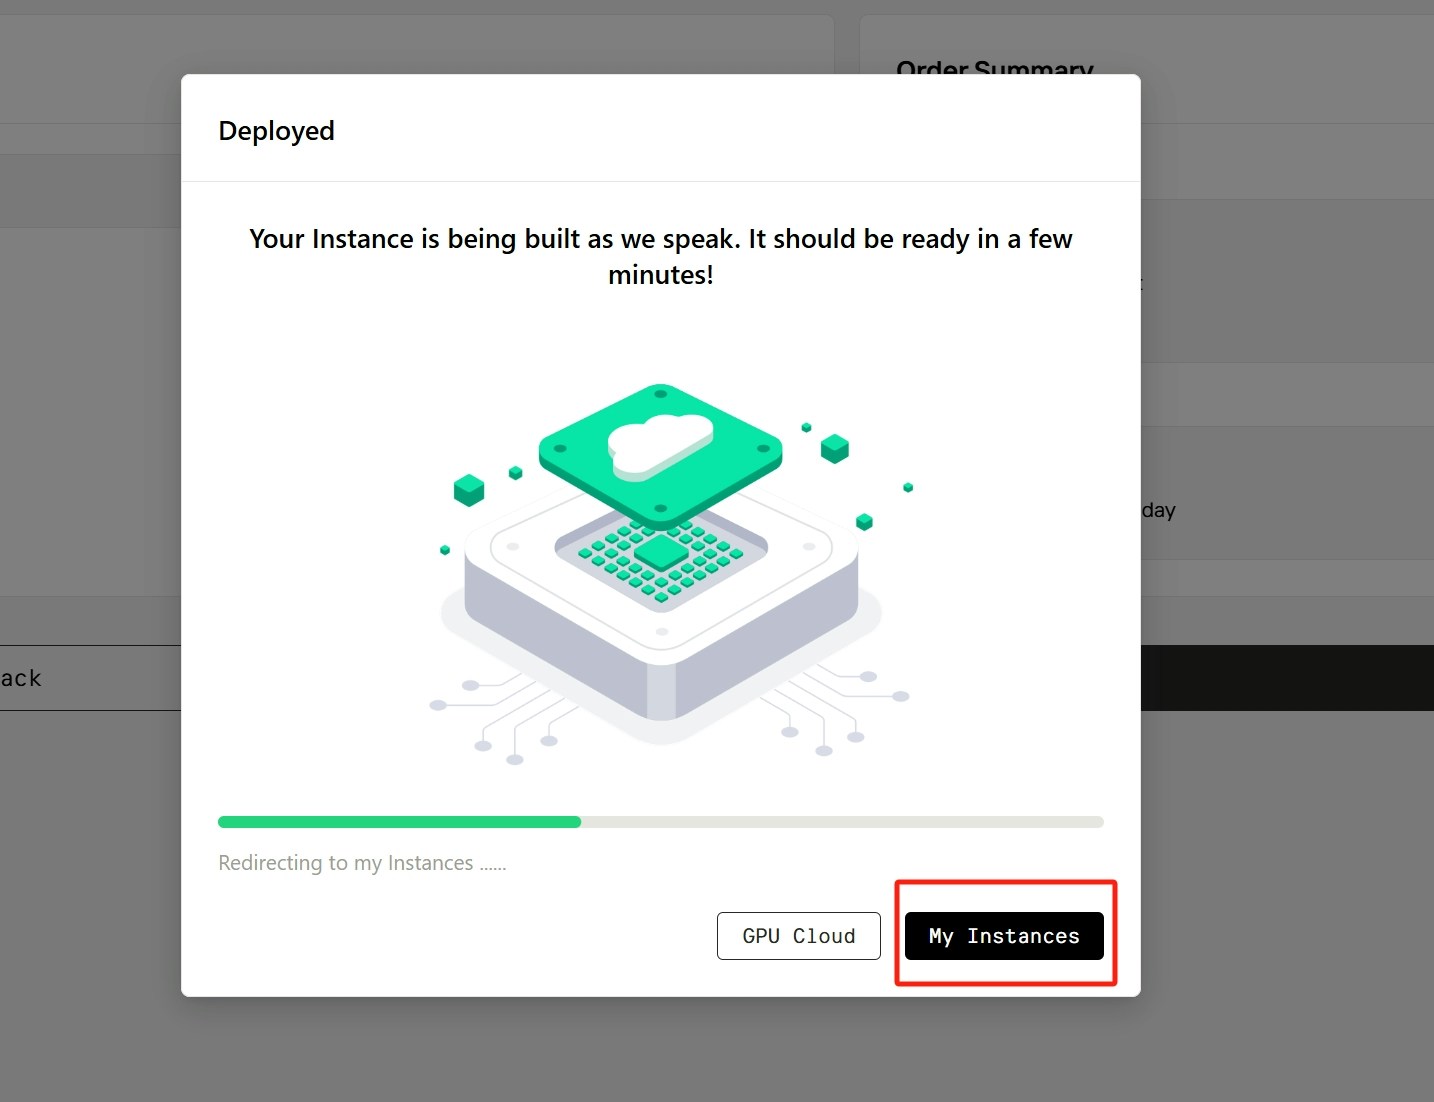
Step 5: Wait as the System Creates Your Instance
Step 6: Monitor Deployment Progress and Track Image Download
- After deployment, the system will automatically redirect you to the instance management page.
- Your new instance will display
Pulling status while downloading the image.
- After clicking the arrow icon next to your instance name, the instance details panel will be expanded with the image download progress in real-time.
- Once image downloading completes, instance will change status from
Pulling to Running.
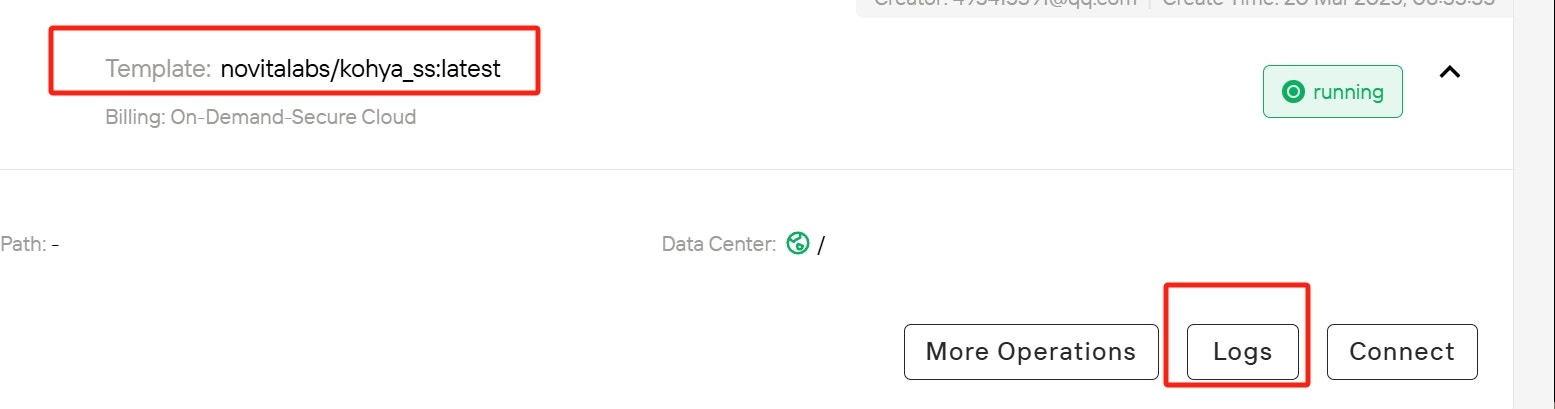
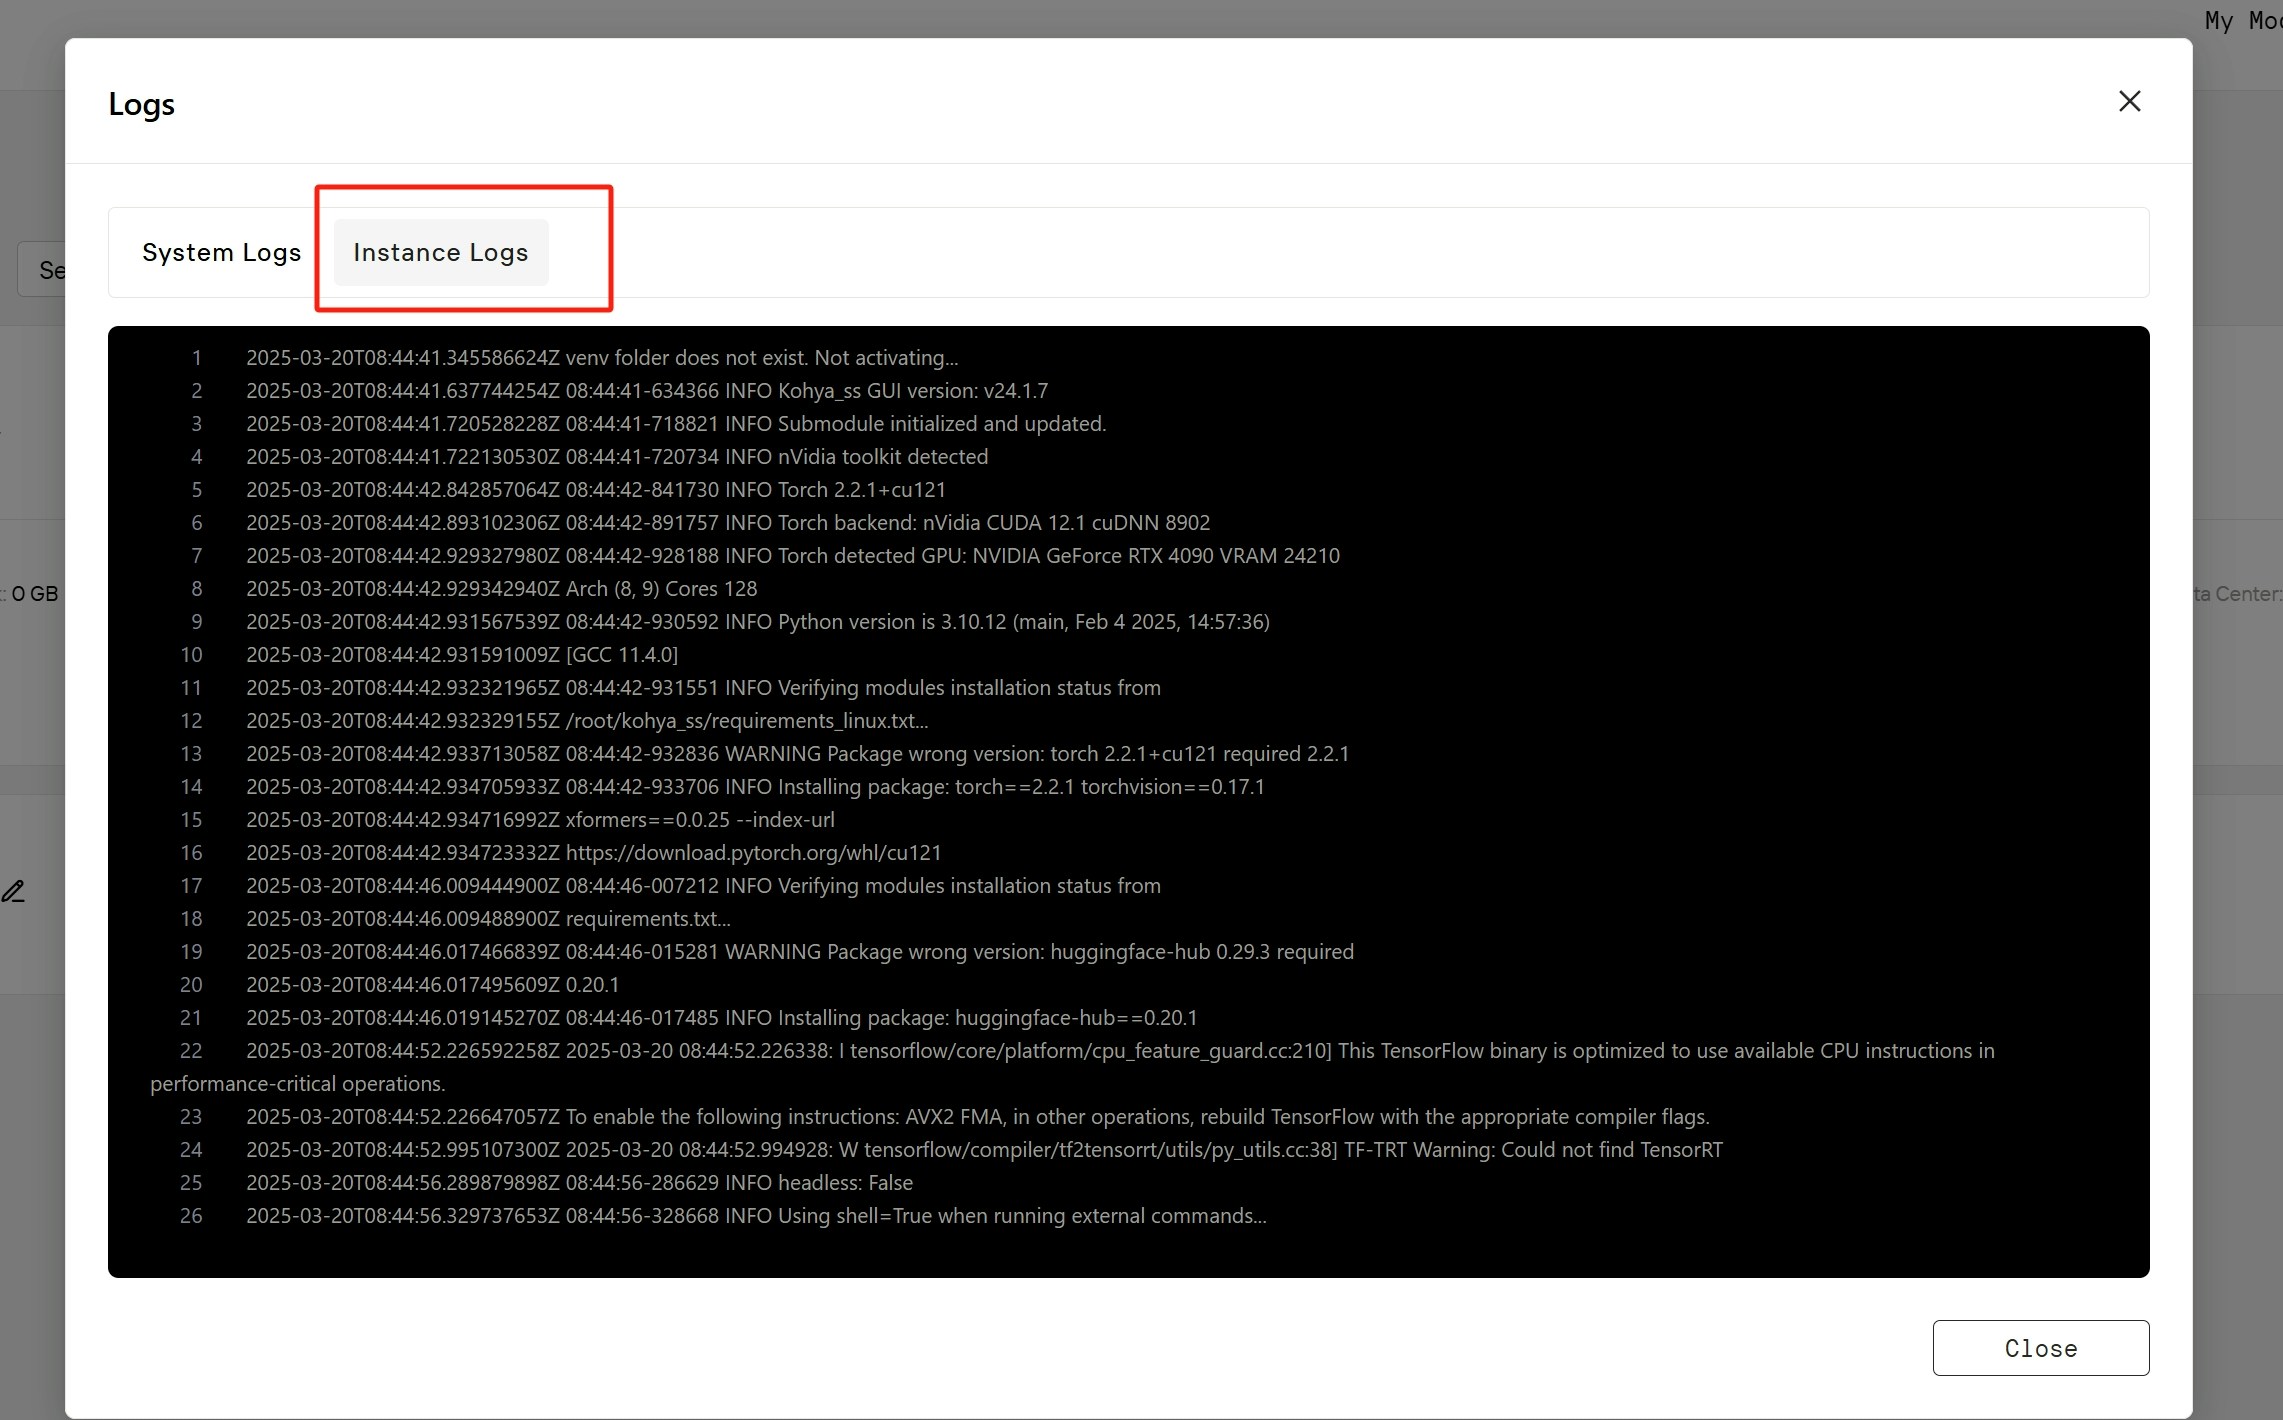
Step 7: Check Instance Logs
- Click the
Logs button on your instance and select Instance Logs from the available options.
- Observe the Kohya_ss service startup process in the logs and wait for confirmation that all services have loaded successfully.
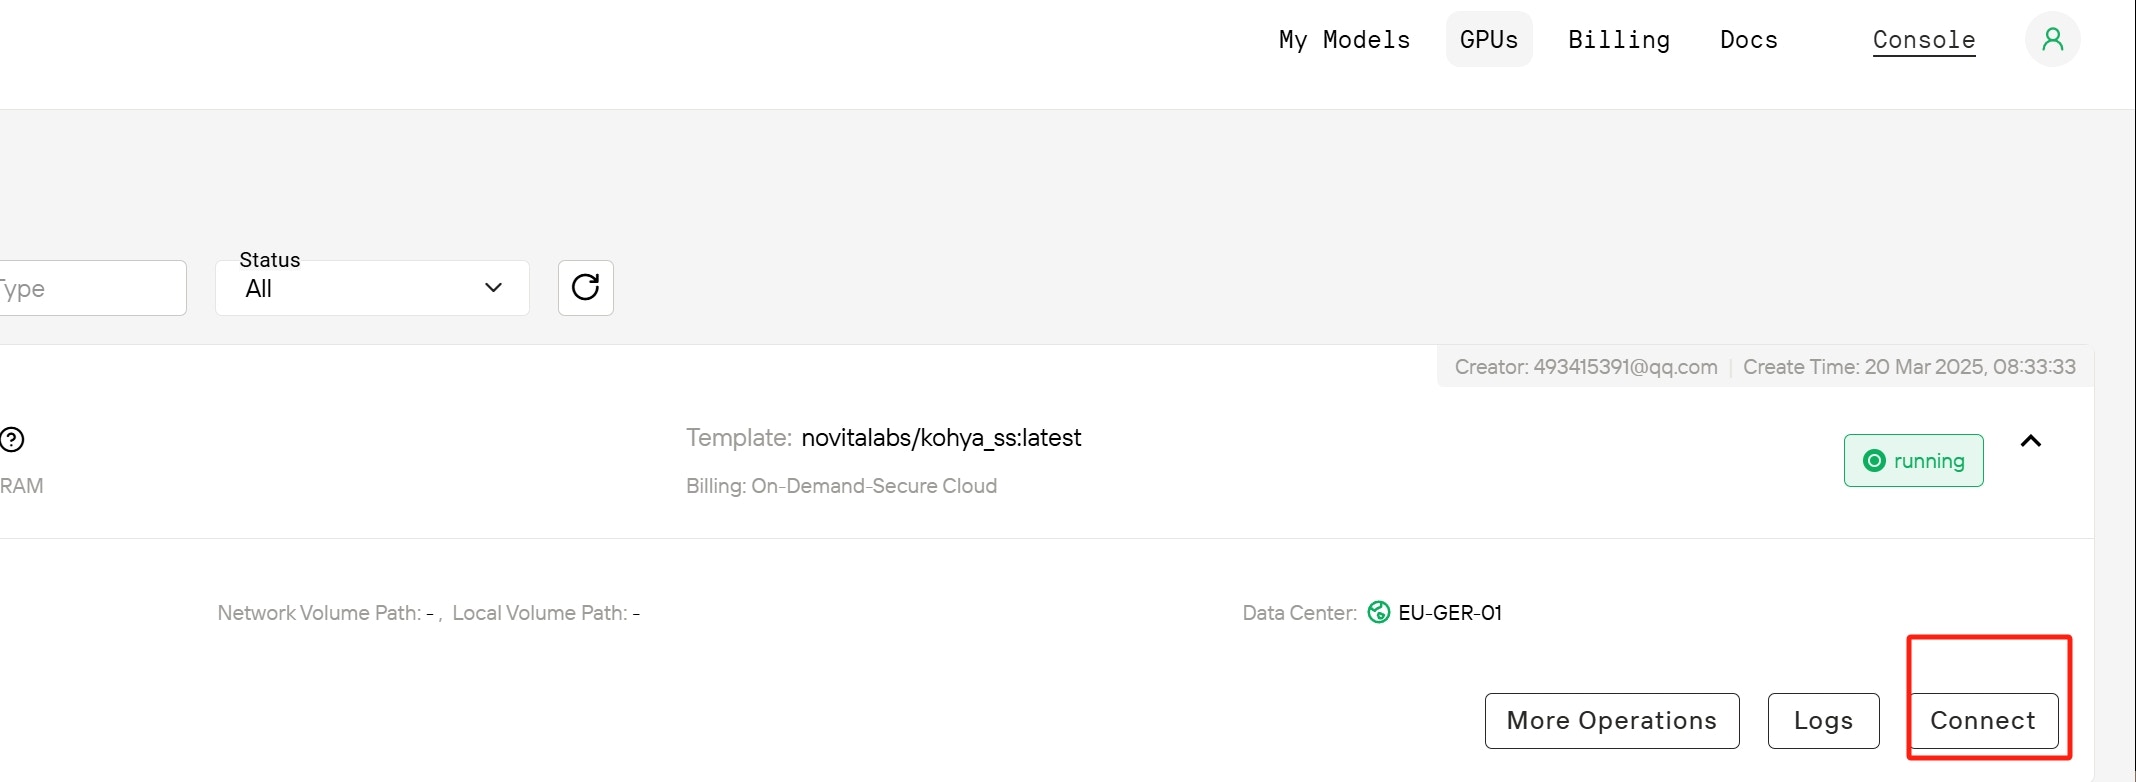
Step 8: Connect to Your Instance
- Close the logs view when ready and click the
Connect button to view connection options.
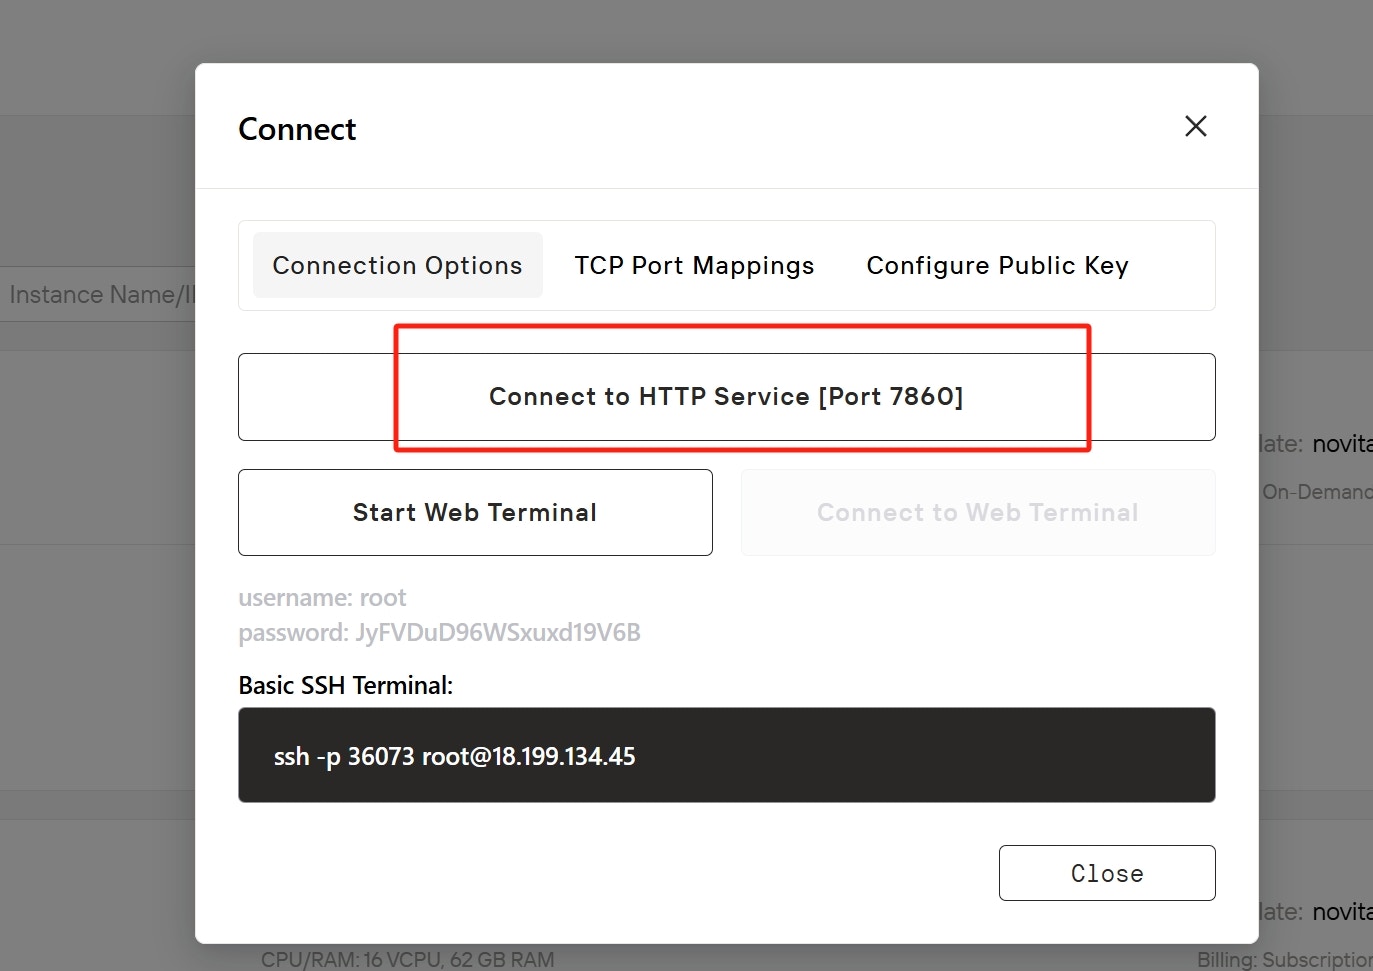
- View various connection methods: SSH, TCP, and HTTP of your instance.
- For Kohya_SS GUI access, focus on the HTTP connection details. Therefore, in the Connection Options section, click
Connect to HTTP Service and access to a new browser tab or window.
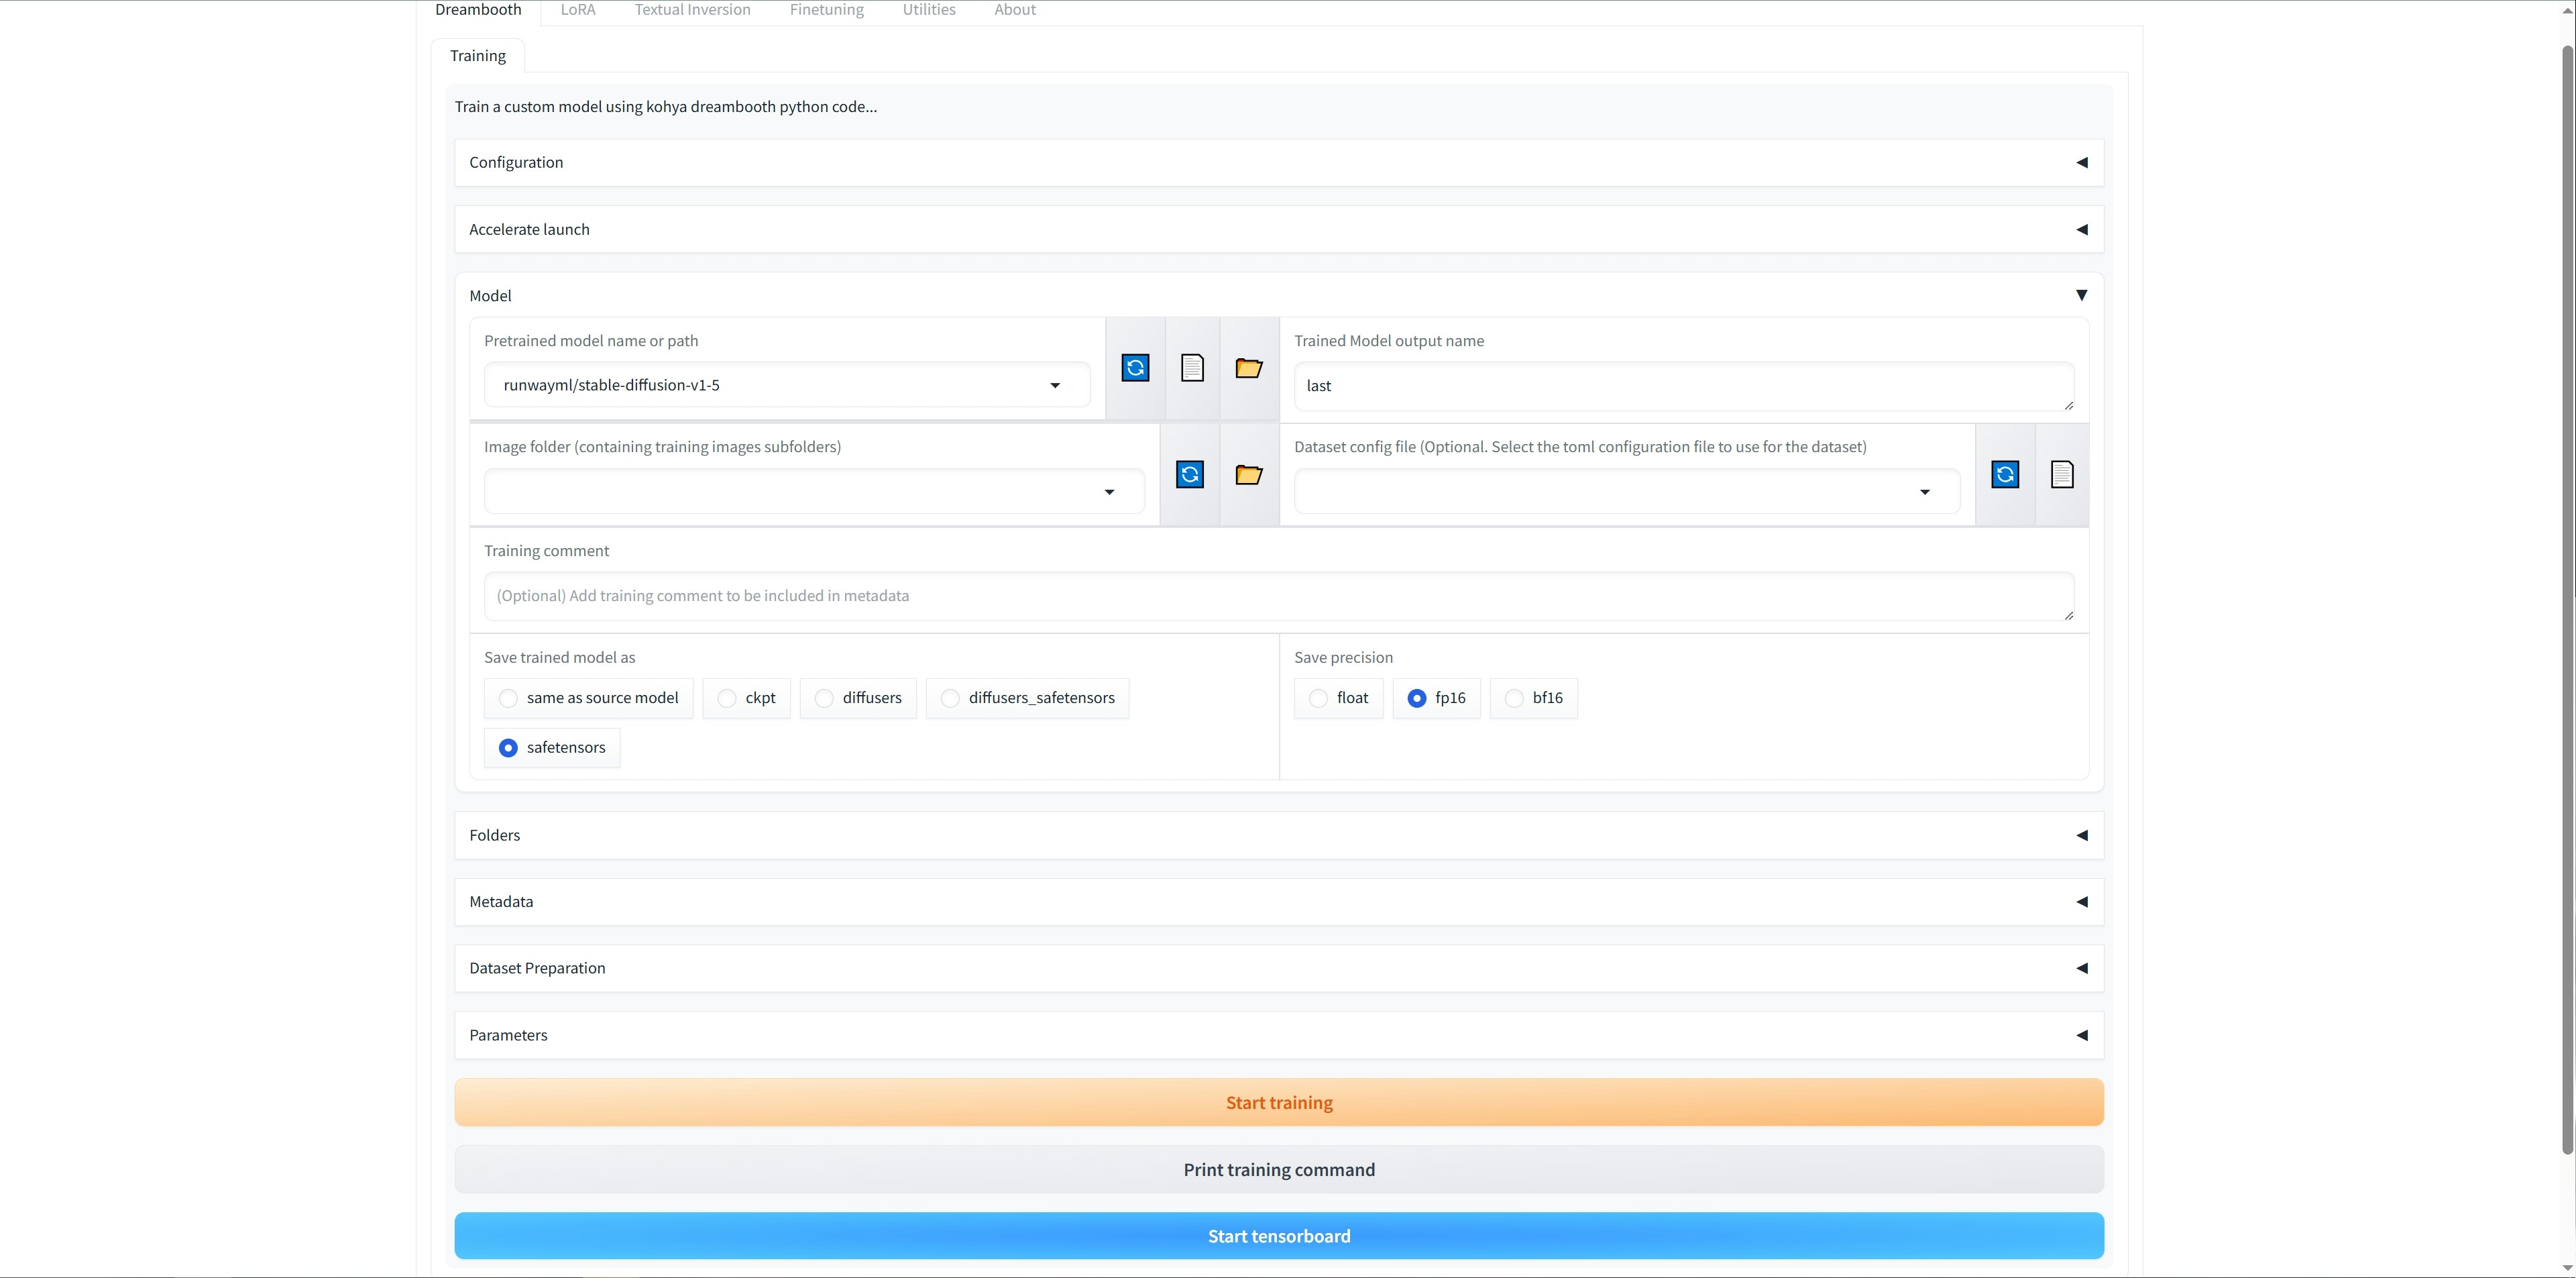
Step 9: Begin Using Your Instance
- Allow a few moments for the web interface to fully load and get ready to run Kohya_ss:GUI on Novita AI.
Last modified on March 26, 2025