Axolotl offers a robust, flexible framework for training LLMs using advanced techniques, supporting various model architectures and training strategies. Ideal for researchers and developers, Axolotl combined with Novita AI’s powerful, hardware-free infrastructure streamlines workflows, removing local hardware constraints.
This guide provides a step-by-step process to deploy and run Axolotl on Novita AI, unlocking the full potential of your AI model training projects.
How to Use Axolotl:main-latest on Novita AI
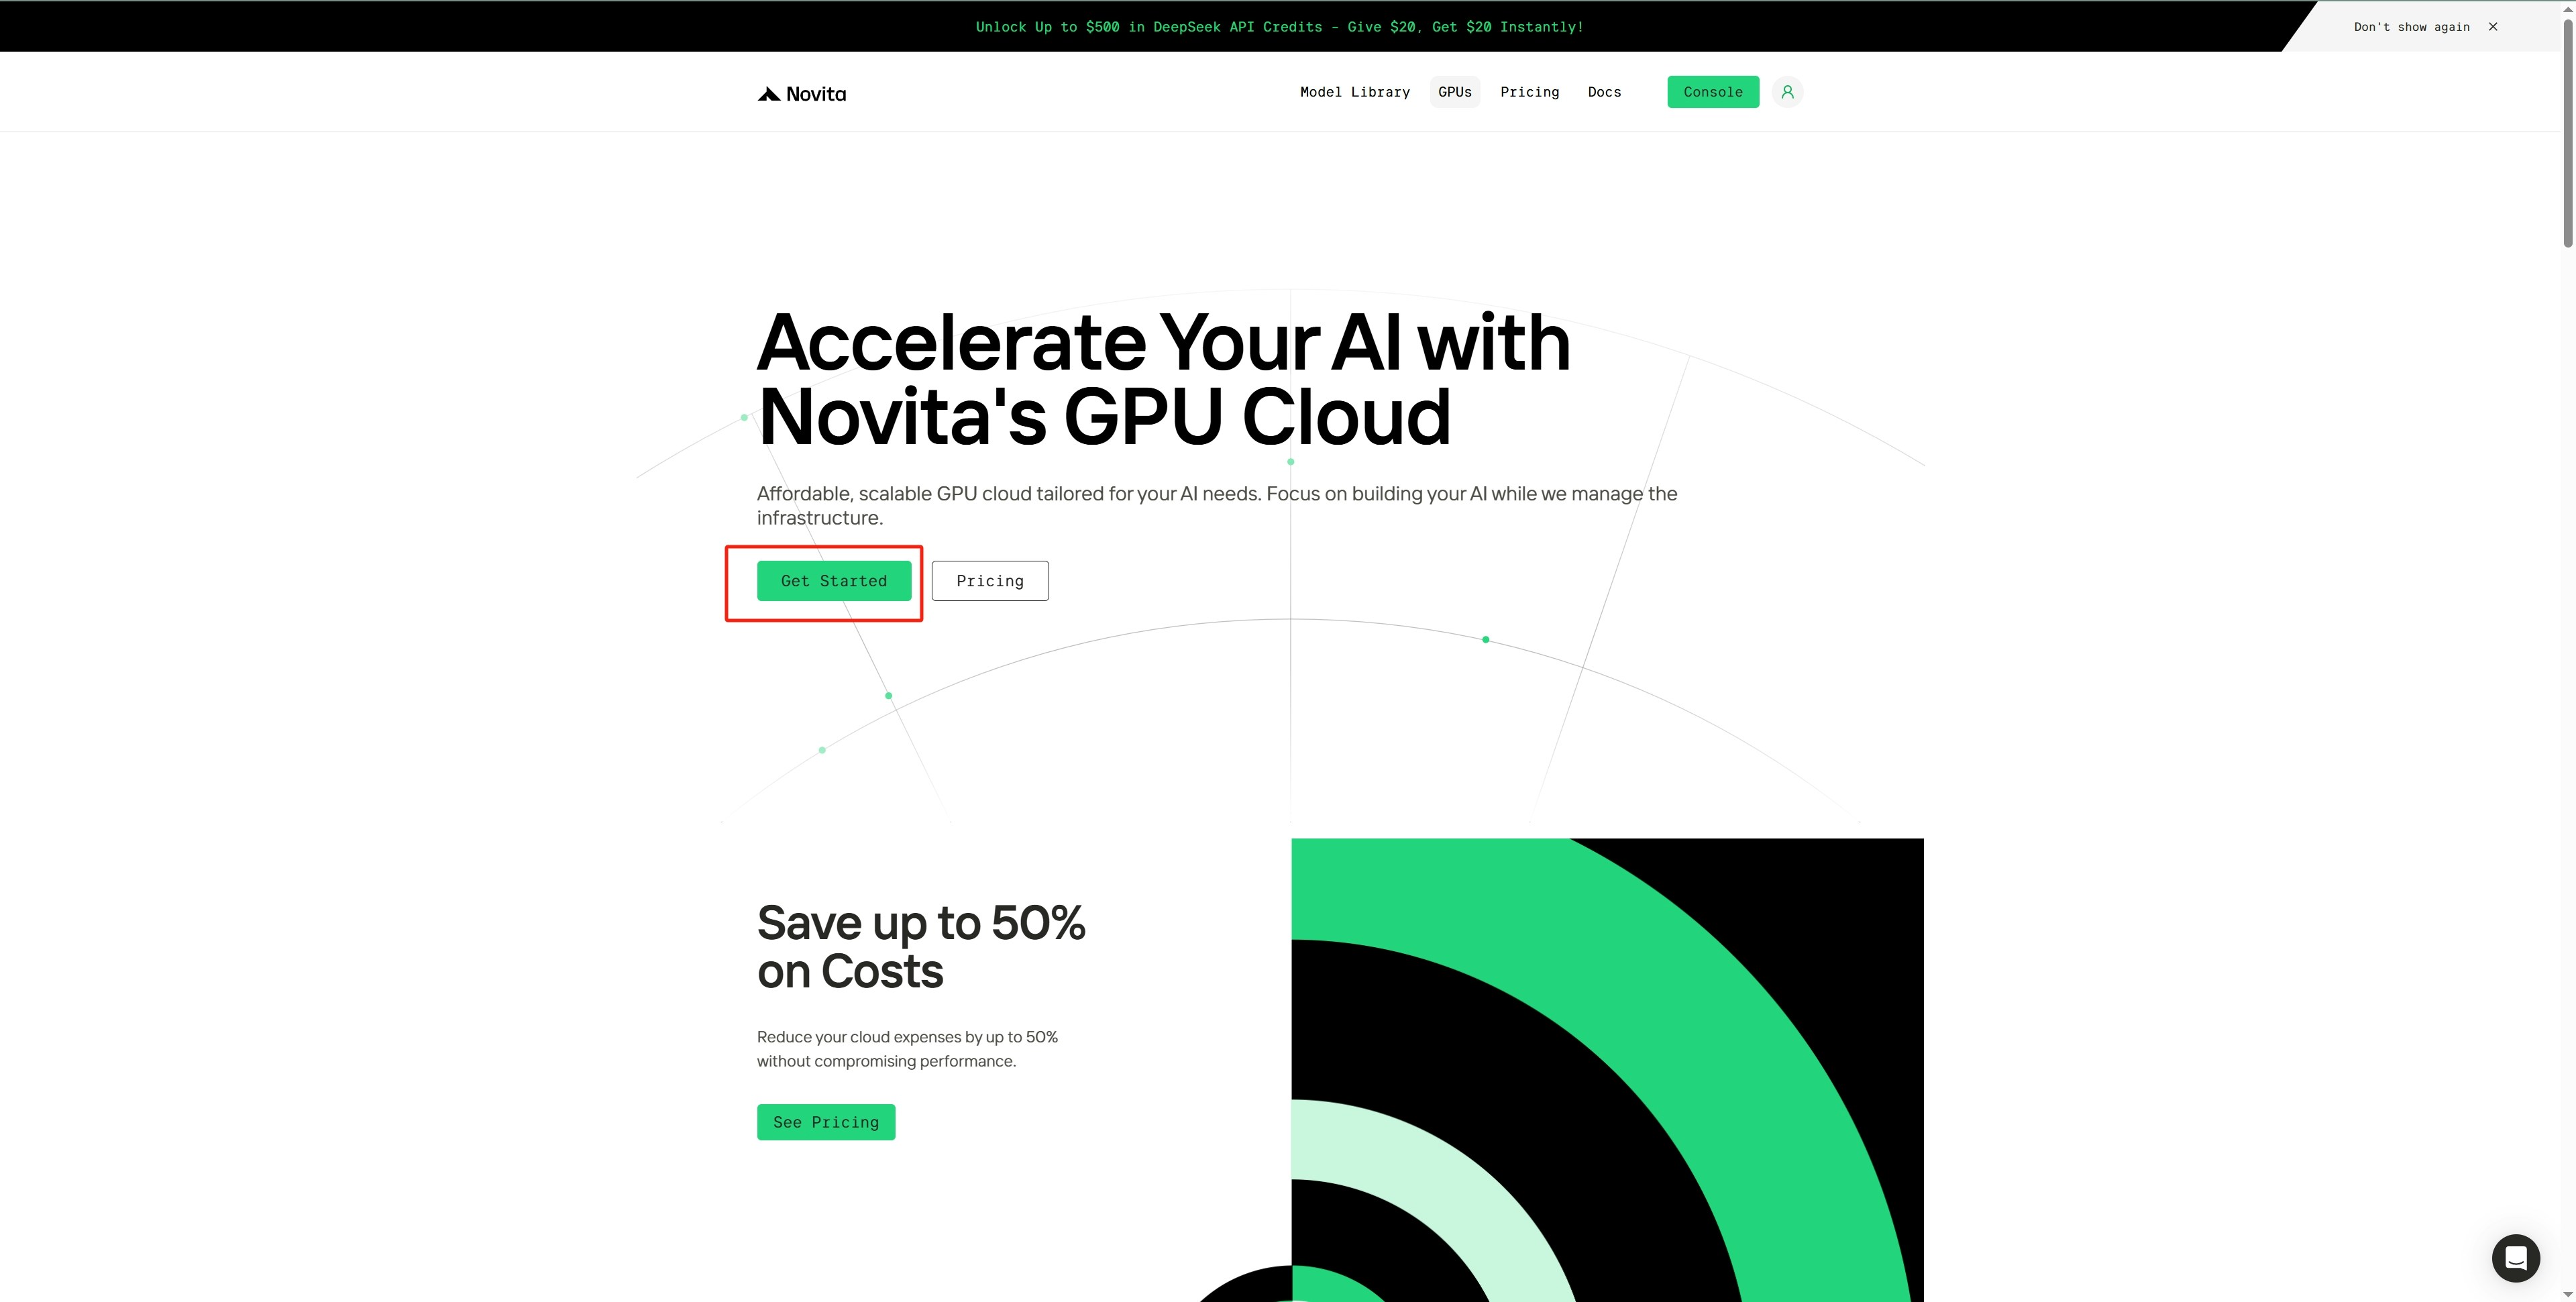
Step 1: Access the GPU Instance Console
- Click
Get Started to access the GPU Instance console.
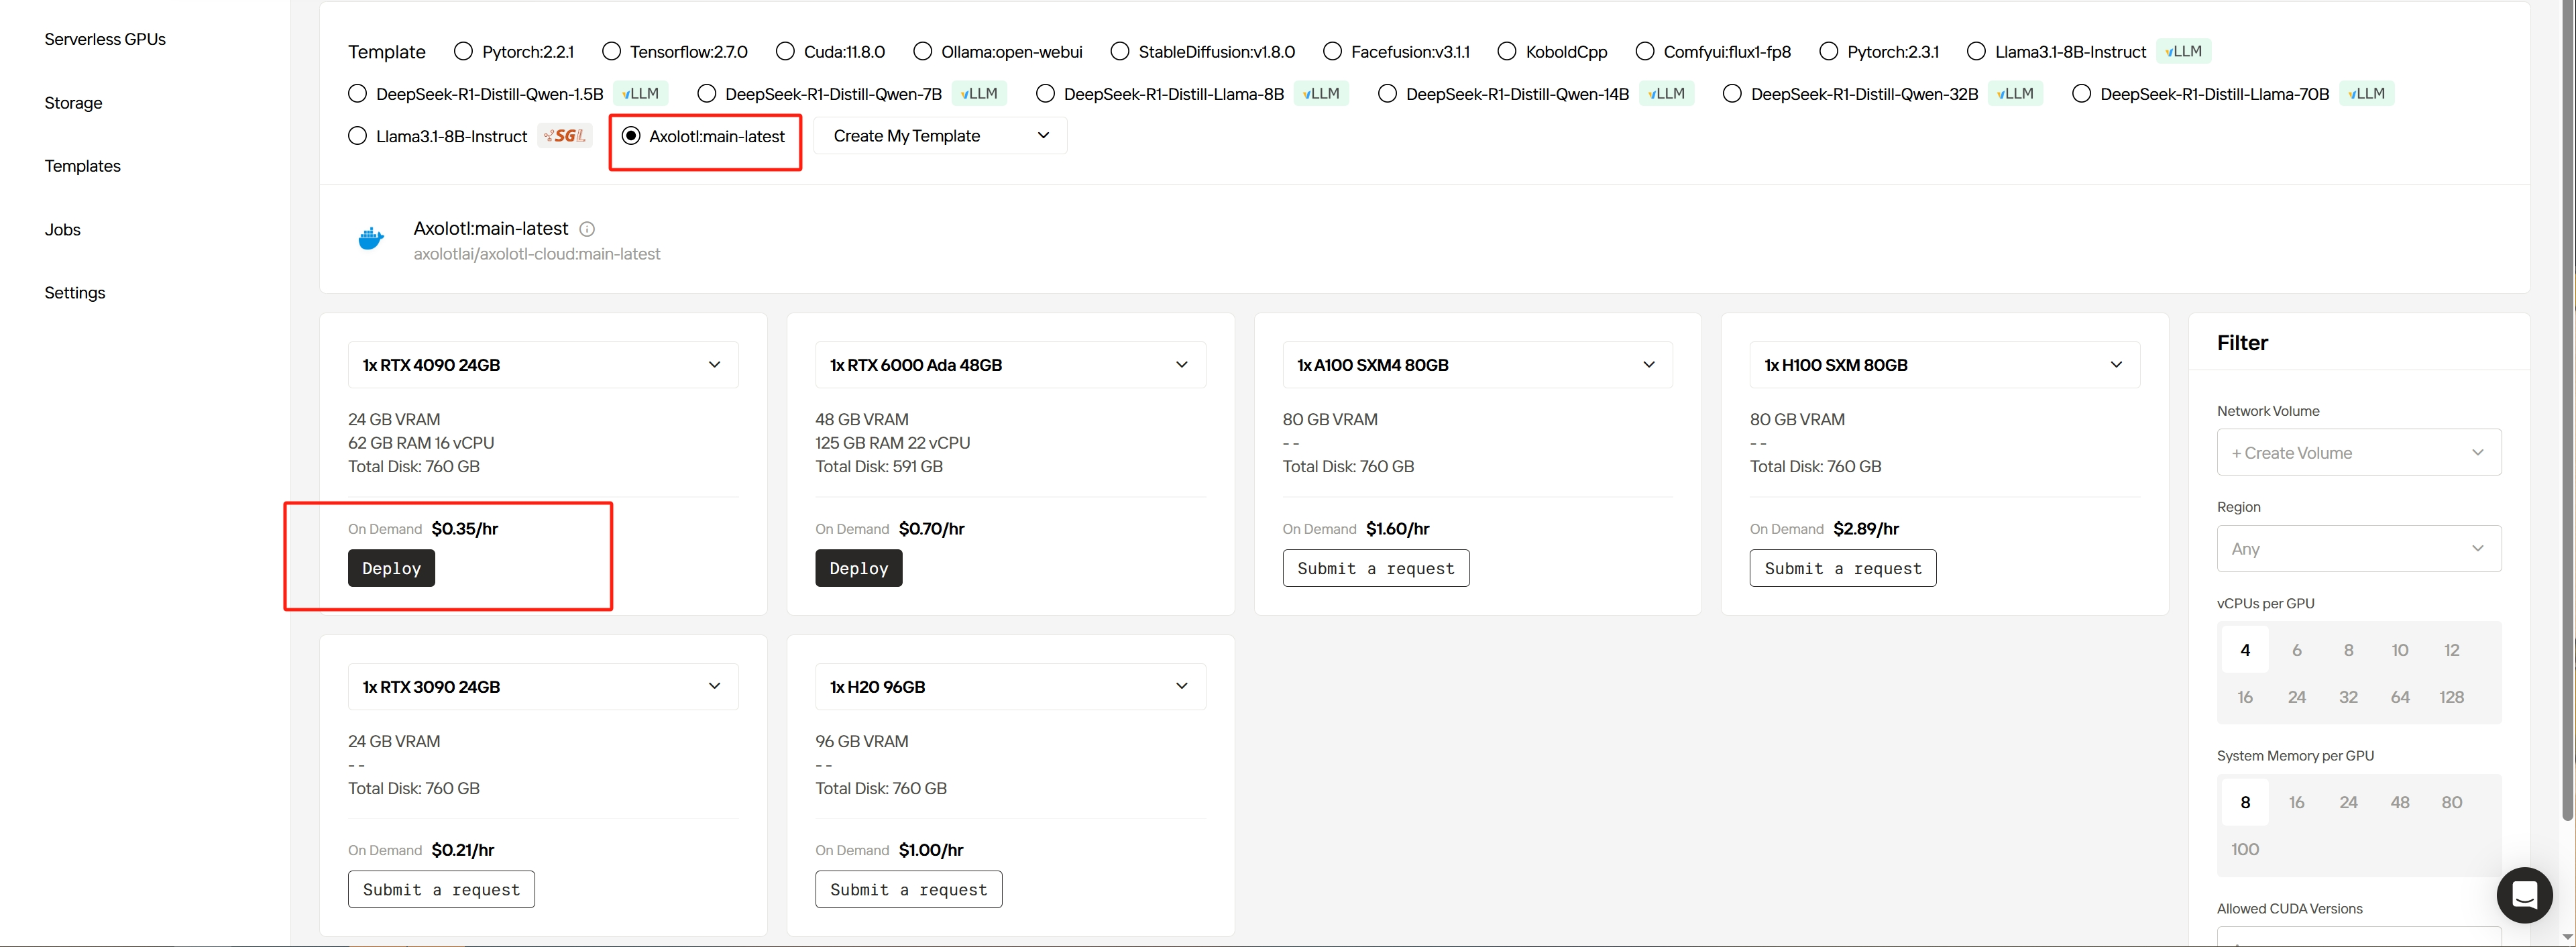
Step 2: Choose a Template and GPU Type
- Browse various official templates and GPU card options.
- Select the Axolotl:main-latest template.
- Click
Deploy under the 4090 GPU card to proceed to the instance creation page.
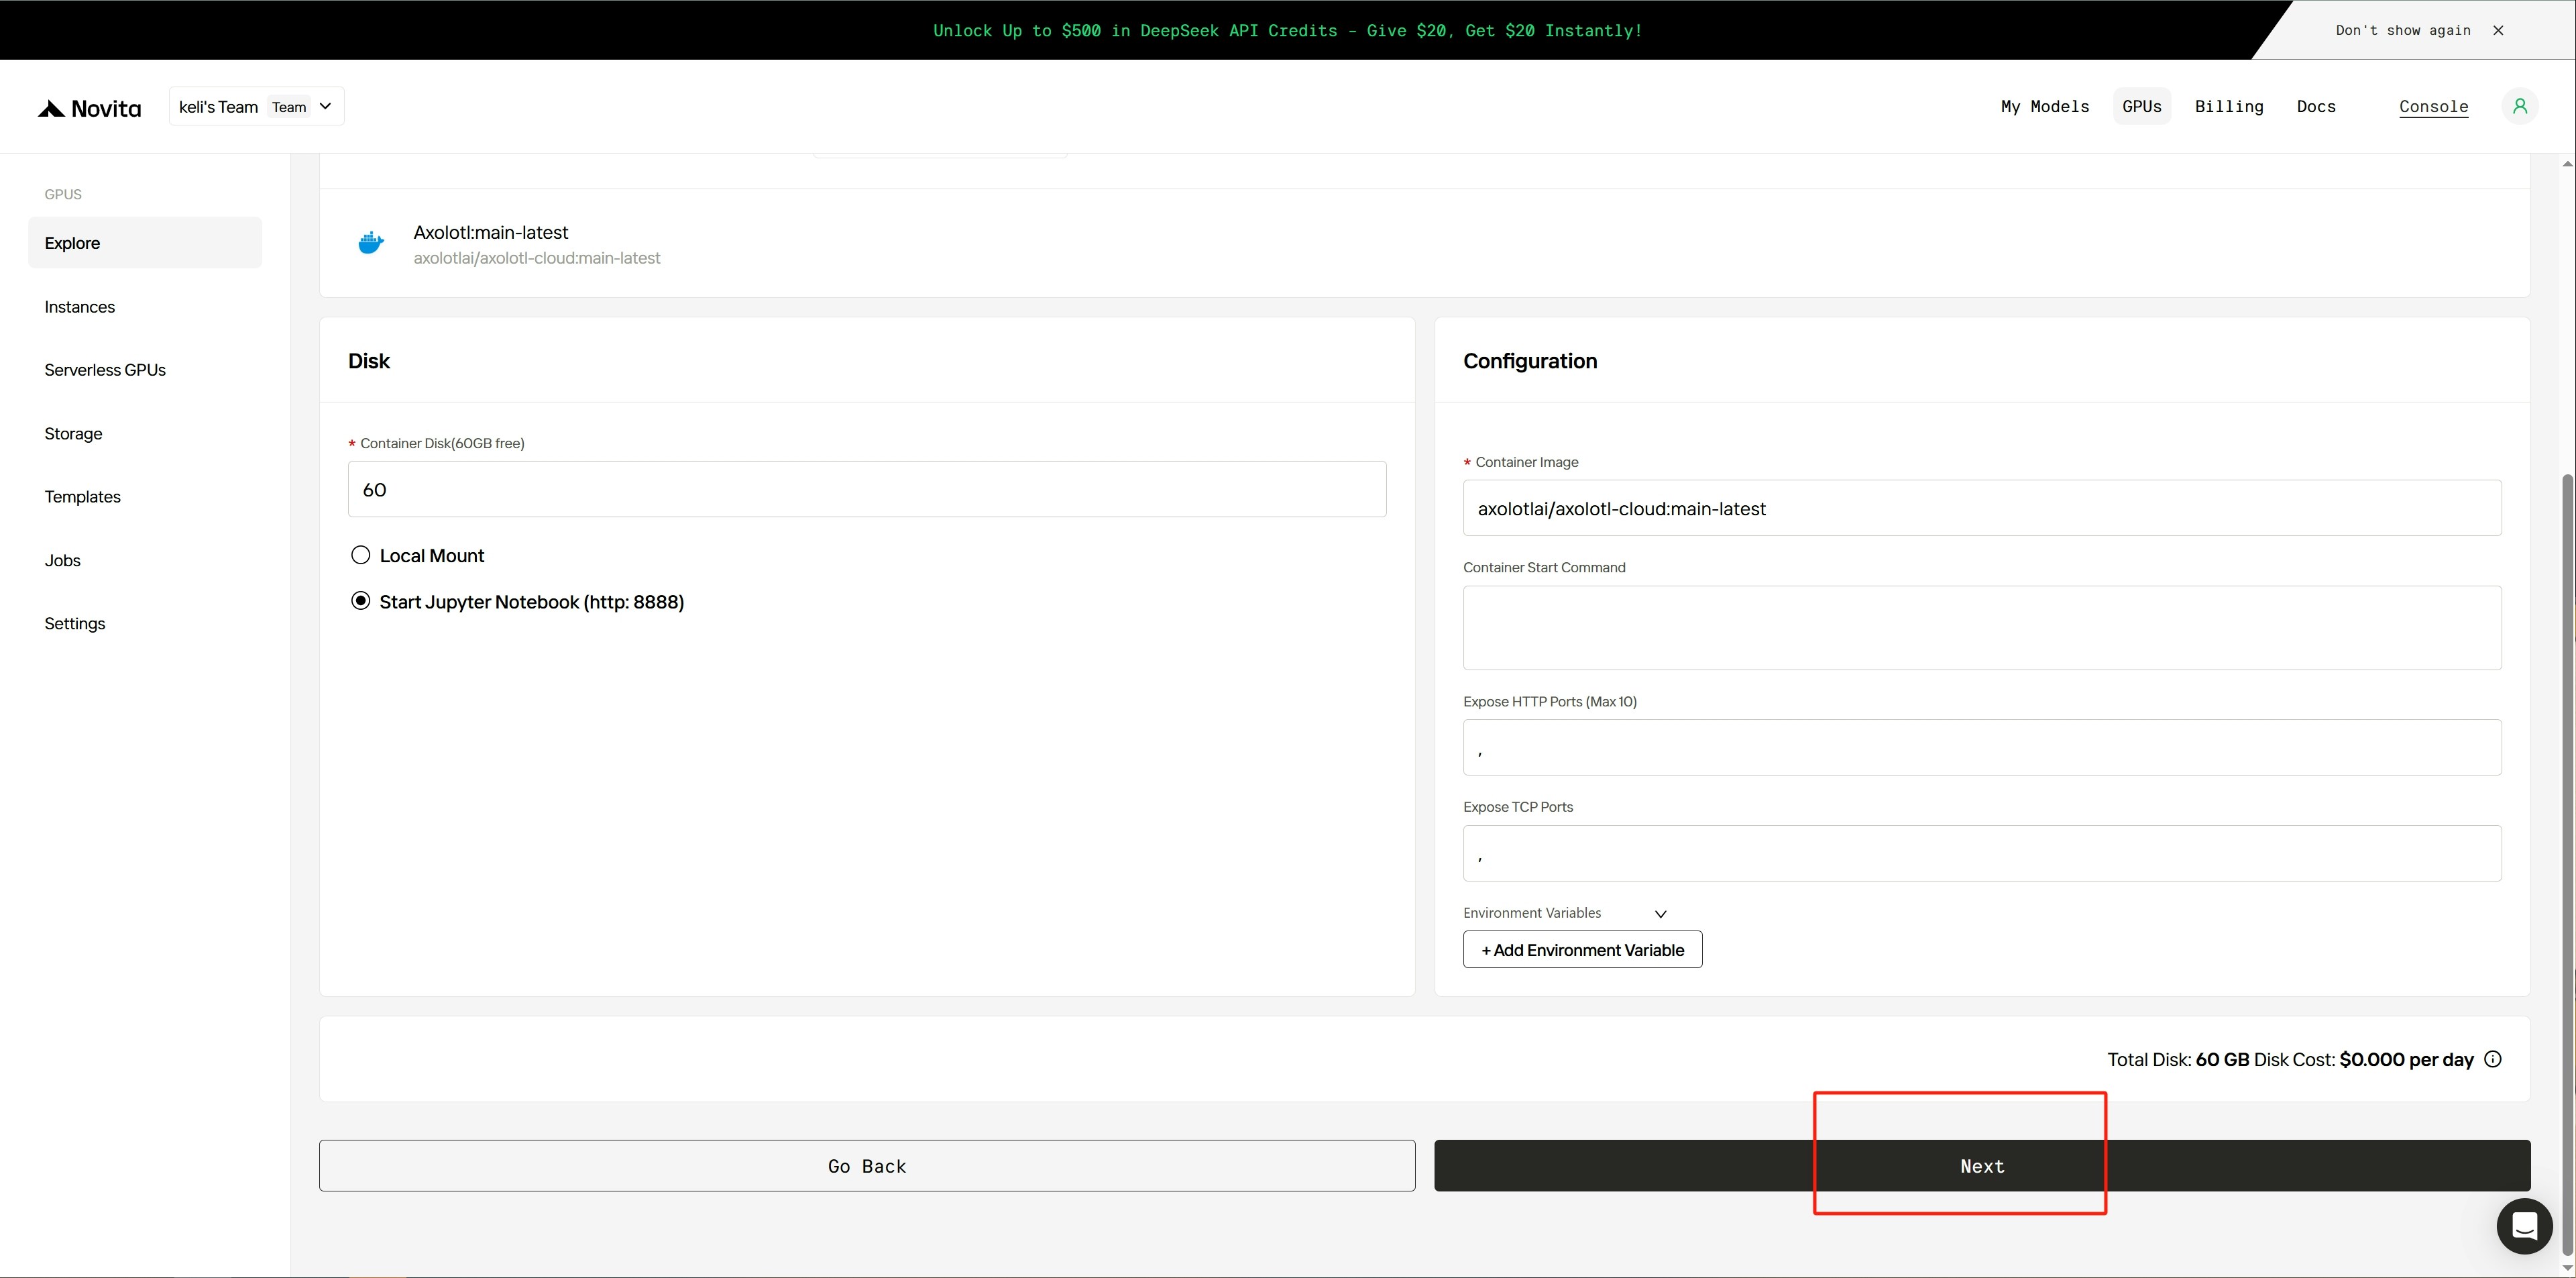
Step 3: Adjust Disk and Configuration Parameters
- In the
Disk section, adjust the size of the system disk and local disk.
- In the
Configuration section, modify settings such as the image, startup commands, ports, and environment variables.
- Check the box for Start Jupyter Notebook to launch Jupyter.
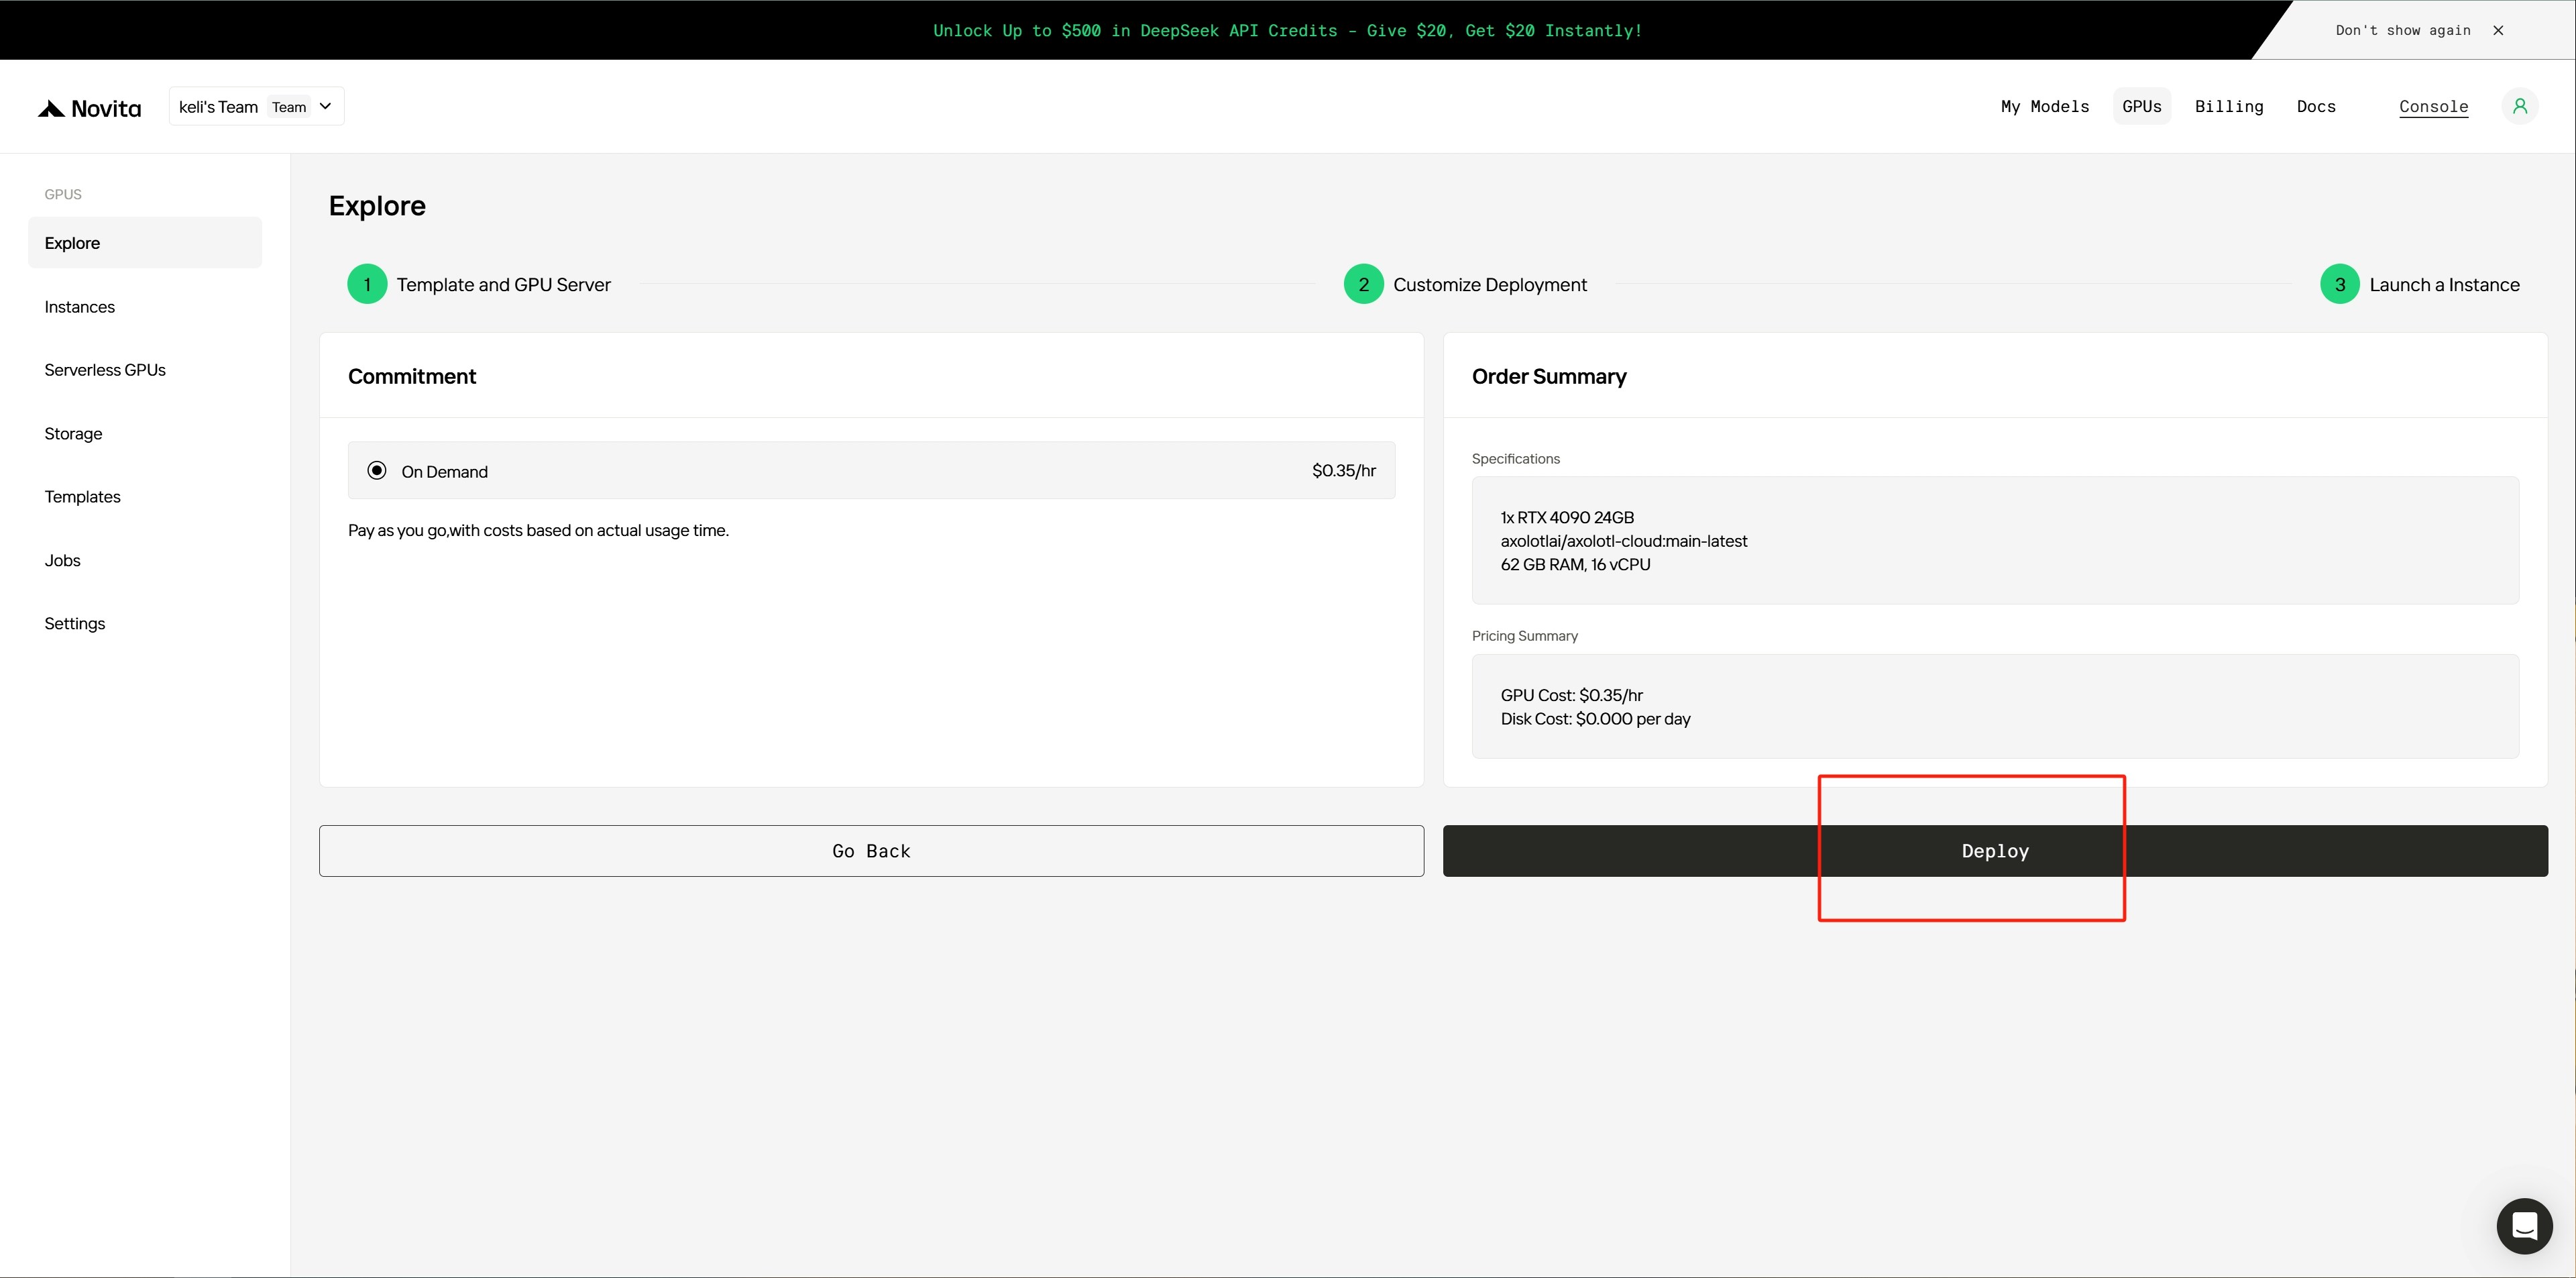
Step 4: Confirm Configuration and Deploy
- Review the instance configuration and costs on the confirmation page.
- Click
Deploy to start the deployment process.
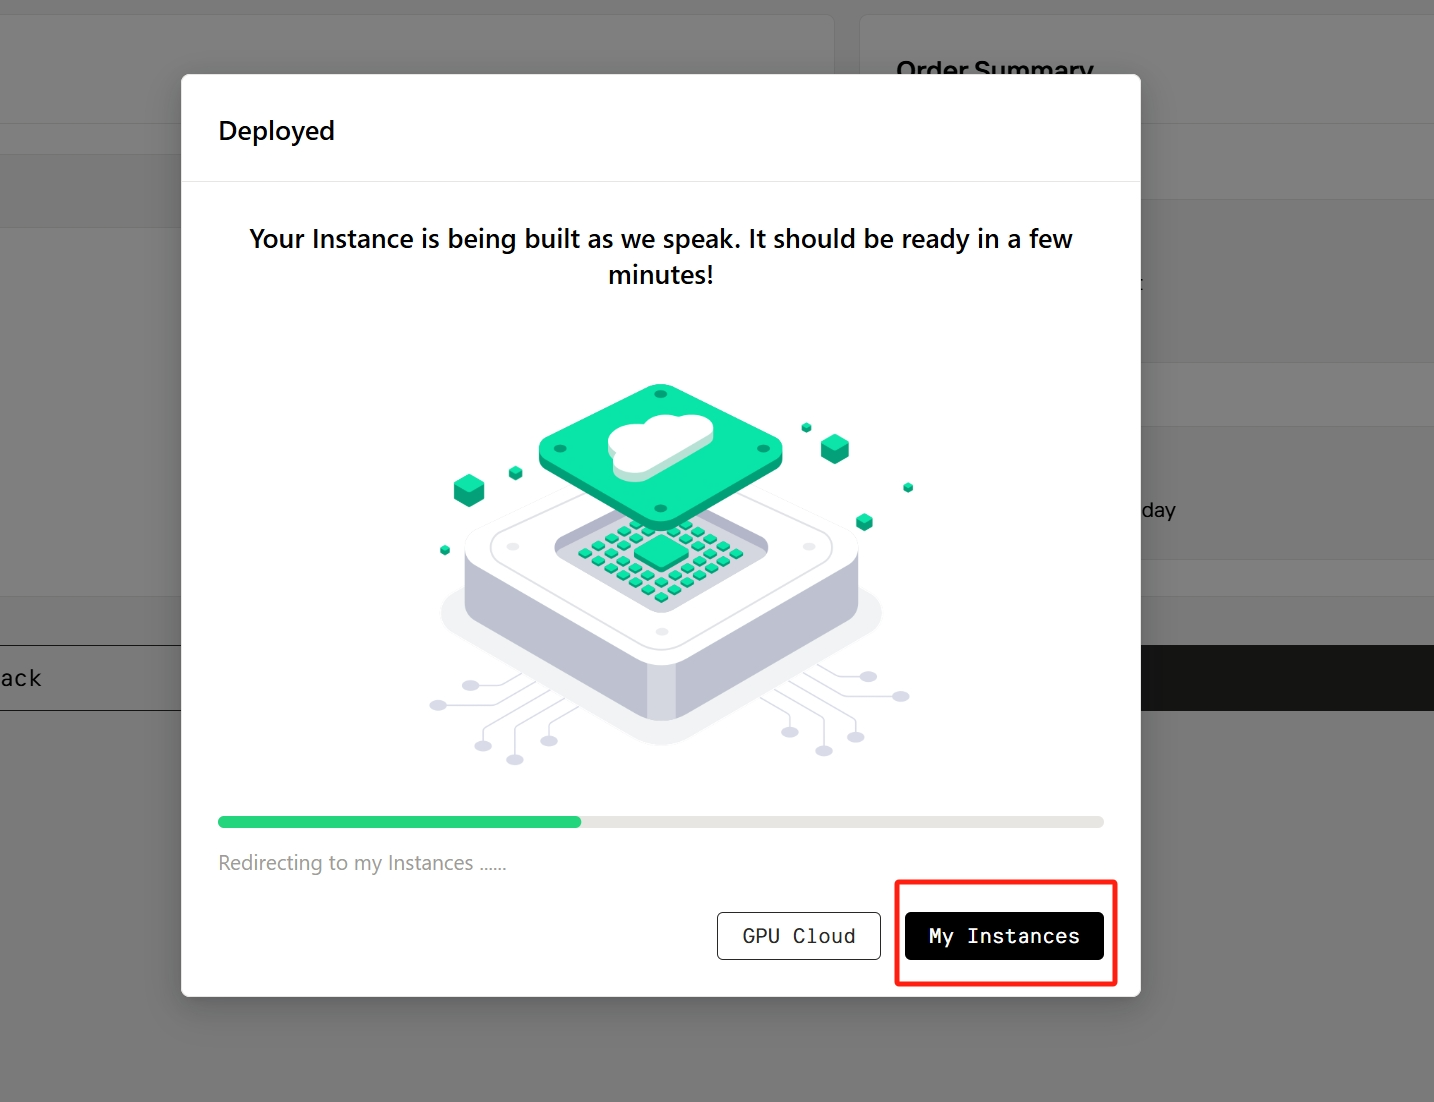
Step 5: Wait for Deployment to Complete
- Wait for the instance to finish deploying.
Step 6: Manage and Monitor Instances
- Once deployment is complete, the system will redirect you to the
Instance Management page.
- Locate your newly created instance, which will initially show a Pulling status (indicating the image is being downloaded).
- Click the small arrow on the right side of the instance to view details.
- Monitor the image pull progress. Once complete, the instance will transition to Running status.
- Click
Logs to view deployment logs.
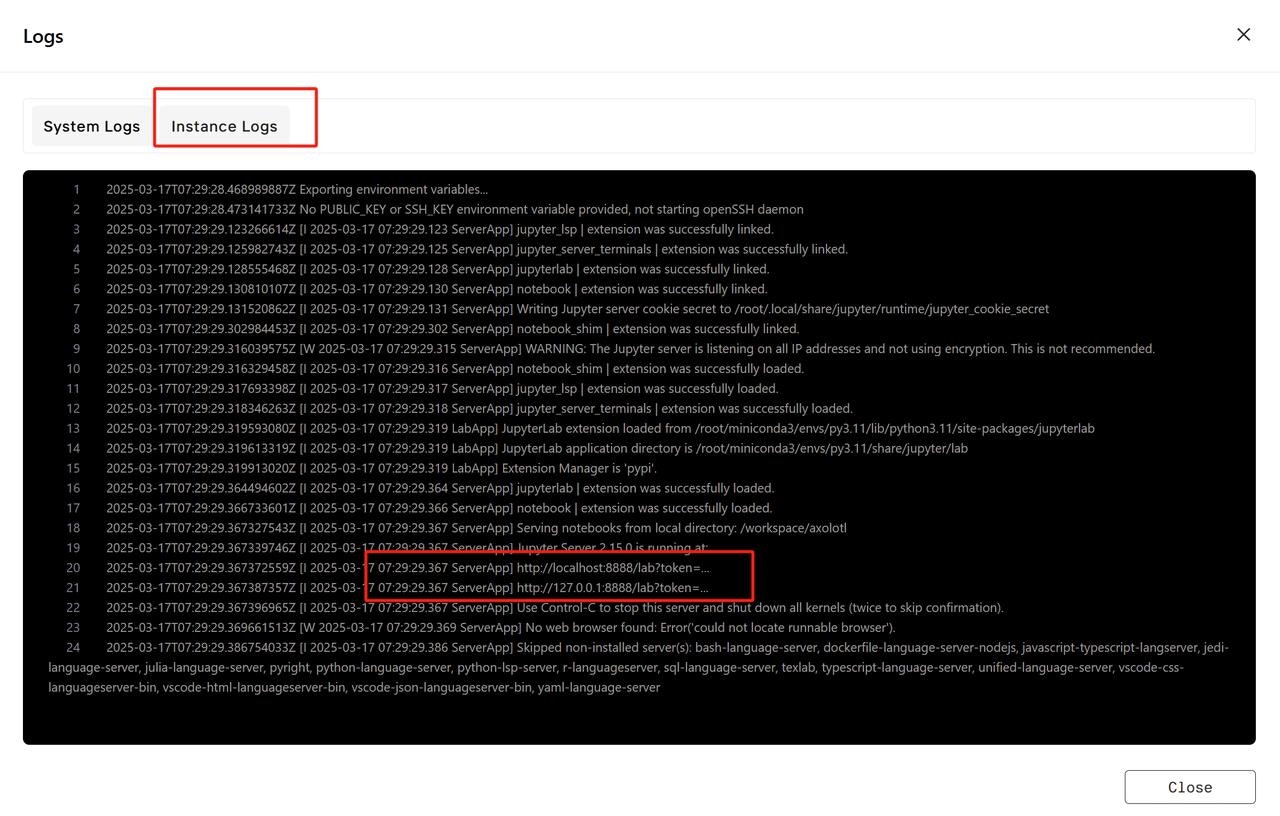
Step 7: Check Instance Logs
- Go to the
Instance Logs tab to check if the service is starting.
- Wait for the service to finish initializing.
Step 8: Connect to Jupyter Lab
- Close the logs page.
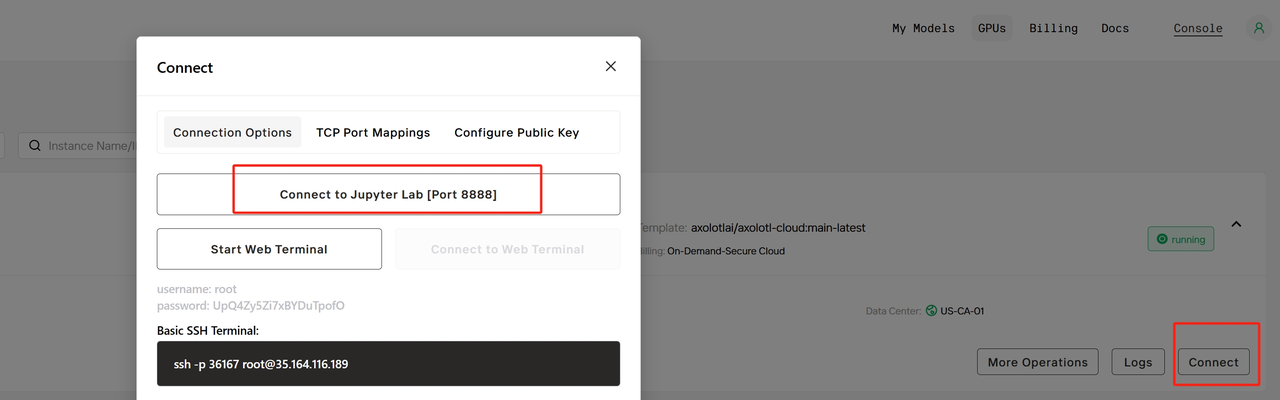
- Click
Connect to open the connection information page.
- Locate the
Connection Options section and click Connect to Jupyter Lab to access the Jupyter interface.
Step 9: Access Jupyter Lab
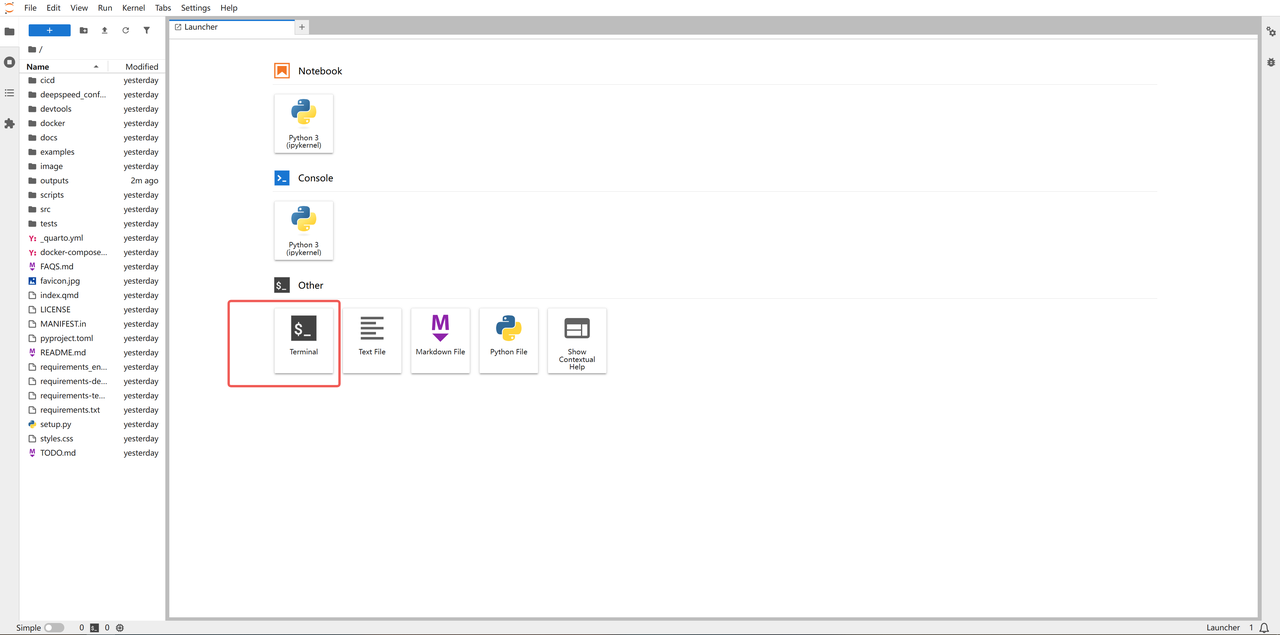
- Wait for the Jupyter Lab web interface to load.
- Open
Terminal to run an official example and verify the service is working correctly.
Step 10: Run a Fine-Tuning Example
- Execute the official example code to perform a fine-tuning task.
Note: You can’t change the default mount path for the network volume in the console. It can only be set when creating an instance or via OpenAPI. Set your desired mount path during instance creation when attaching a volume. Last modified on April 3, 2025