> ## Documentation Index
> Fetch the complete documentation index at: https://novita.ai/docs/llms.txt
> Use this file to discover all available pages before exploring further.
# DeepSearcher
> Accédez facilement à la prise en charge du module de Novita AI sur DeepSearcher pour créer des applications de recherche avancées.
[DeepSearcher](https://github.com/zilliztech/deep-searcher) est une solution open source conçue pour transformer la recherche et le raisonnement sur les données privées en intégrant des modèles de langage de grande taille (LLMs) de pointe à des bases de données vectorielles telles que Milvus. Grâce à la prise en charge des LLMs et des modèles d’embedding de Novita AI, cette configuration puissante offre une précision et une efficacité inégalées pour la recherche dans les données privées.
Ce guide étape par étape vous expliquera comment configurer rapidement et facilement Novita AI avec DeepSearcher.
## Comment utiliser DeepSearcher avec Novita
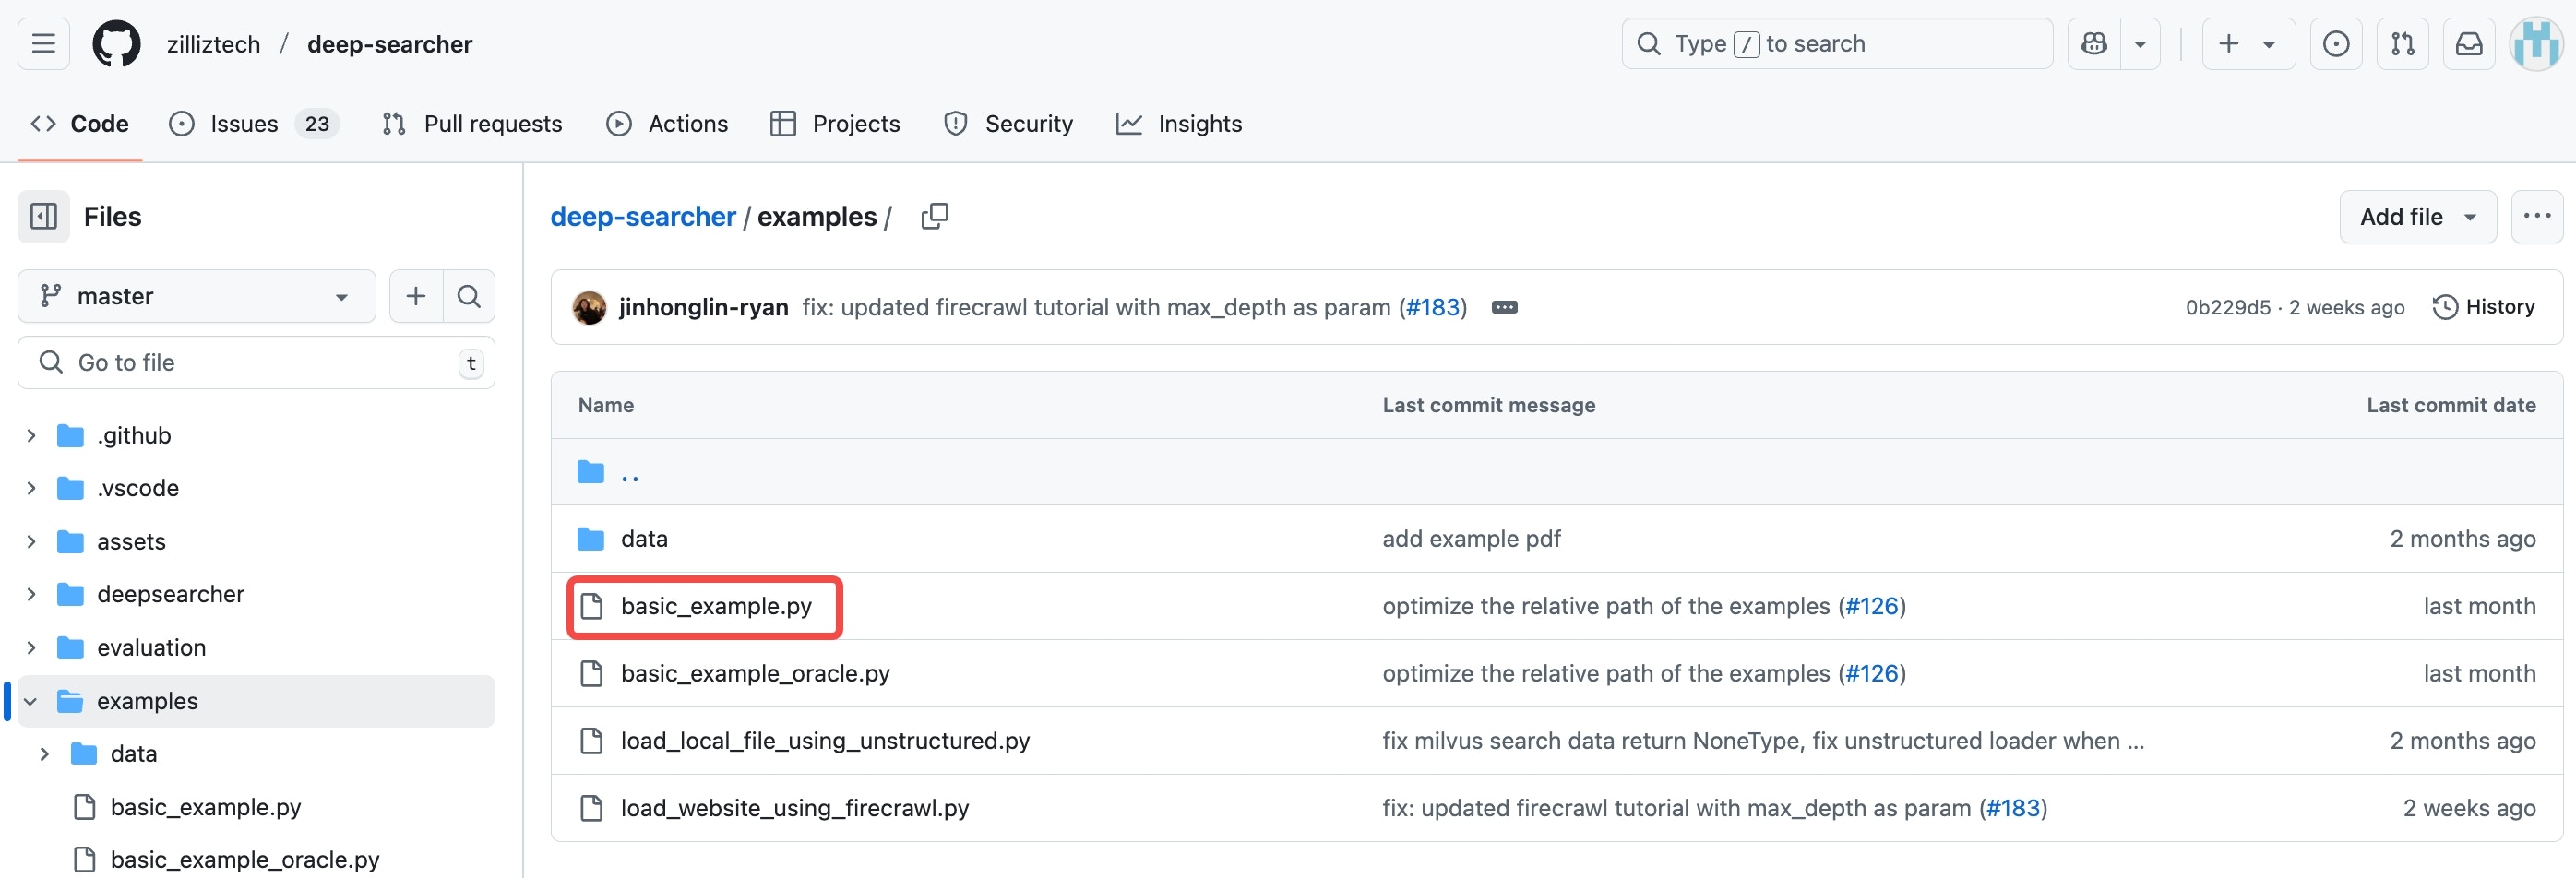
Étape 1 : suivez l’exemple dans `examples/basic_example.py` .
 Étape 2 : ajoutez le code suivant sous la ligne `config = Configuration()` :
```python theme={"system"}
config.set_provider_config("llm", "NOVITA", {"model": "deepseek/deepseek-r1-turbo"})
config.set_provider_config("embedding", "NovitaEmbedding", {"model": "baai/bge-m3"})
```
Étape 2 : ajoutez le code suivant sous la ligne `config = Configuration()` :
```python theme={"system"}
config.set_provider_config("llm", "NOVITA", {"model": "deepseek/deepseek-r1-turbo"})
config.set_provider_config("embedding", "NovitaEmbedding", {"model": "baai/bge-m3"})
```
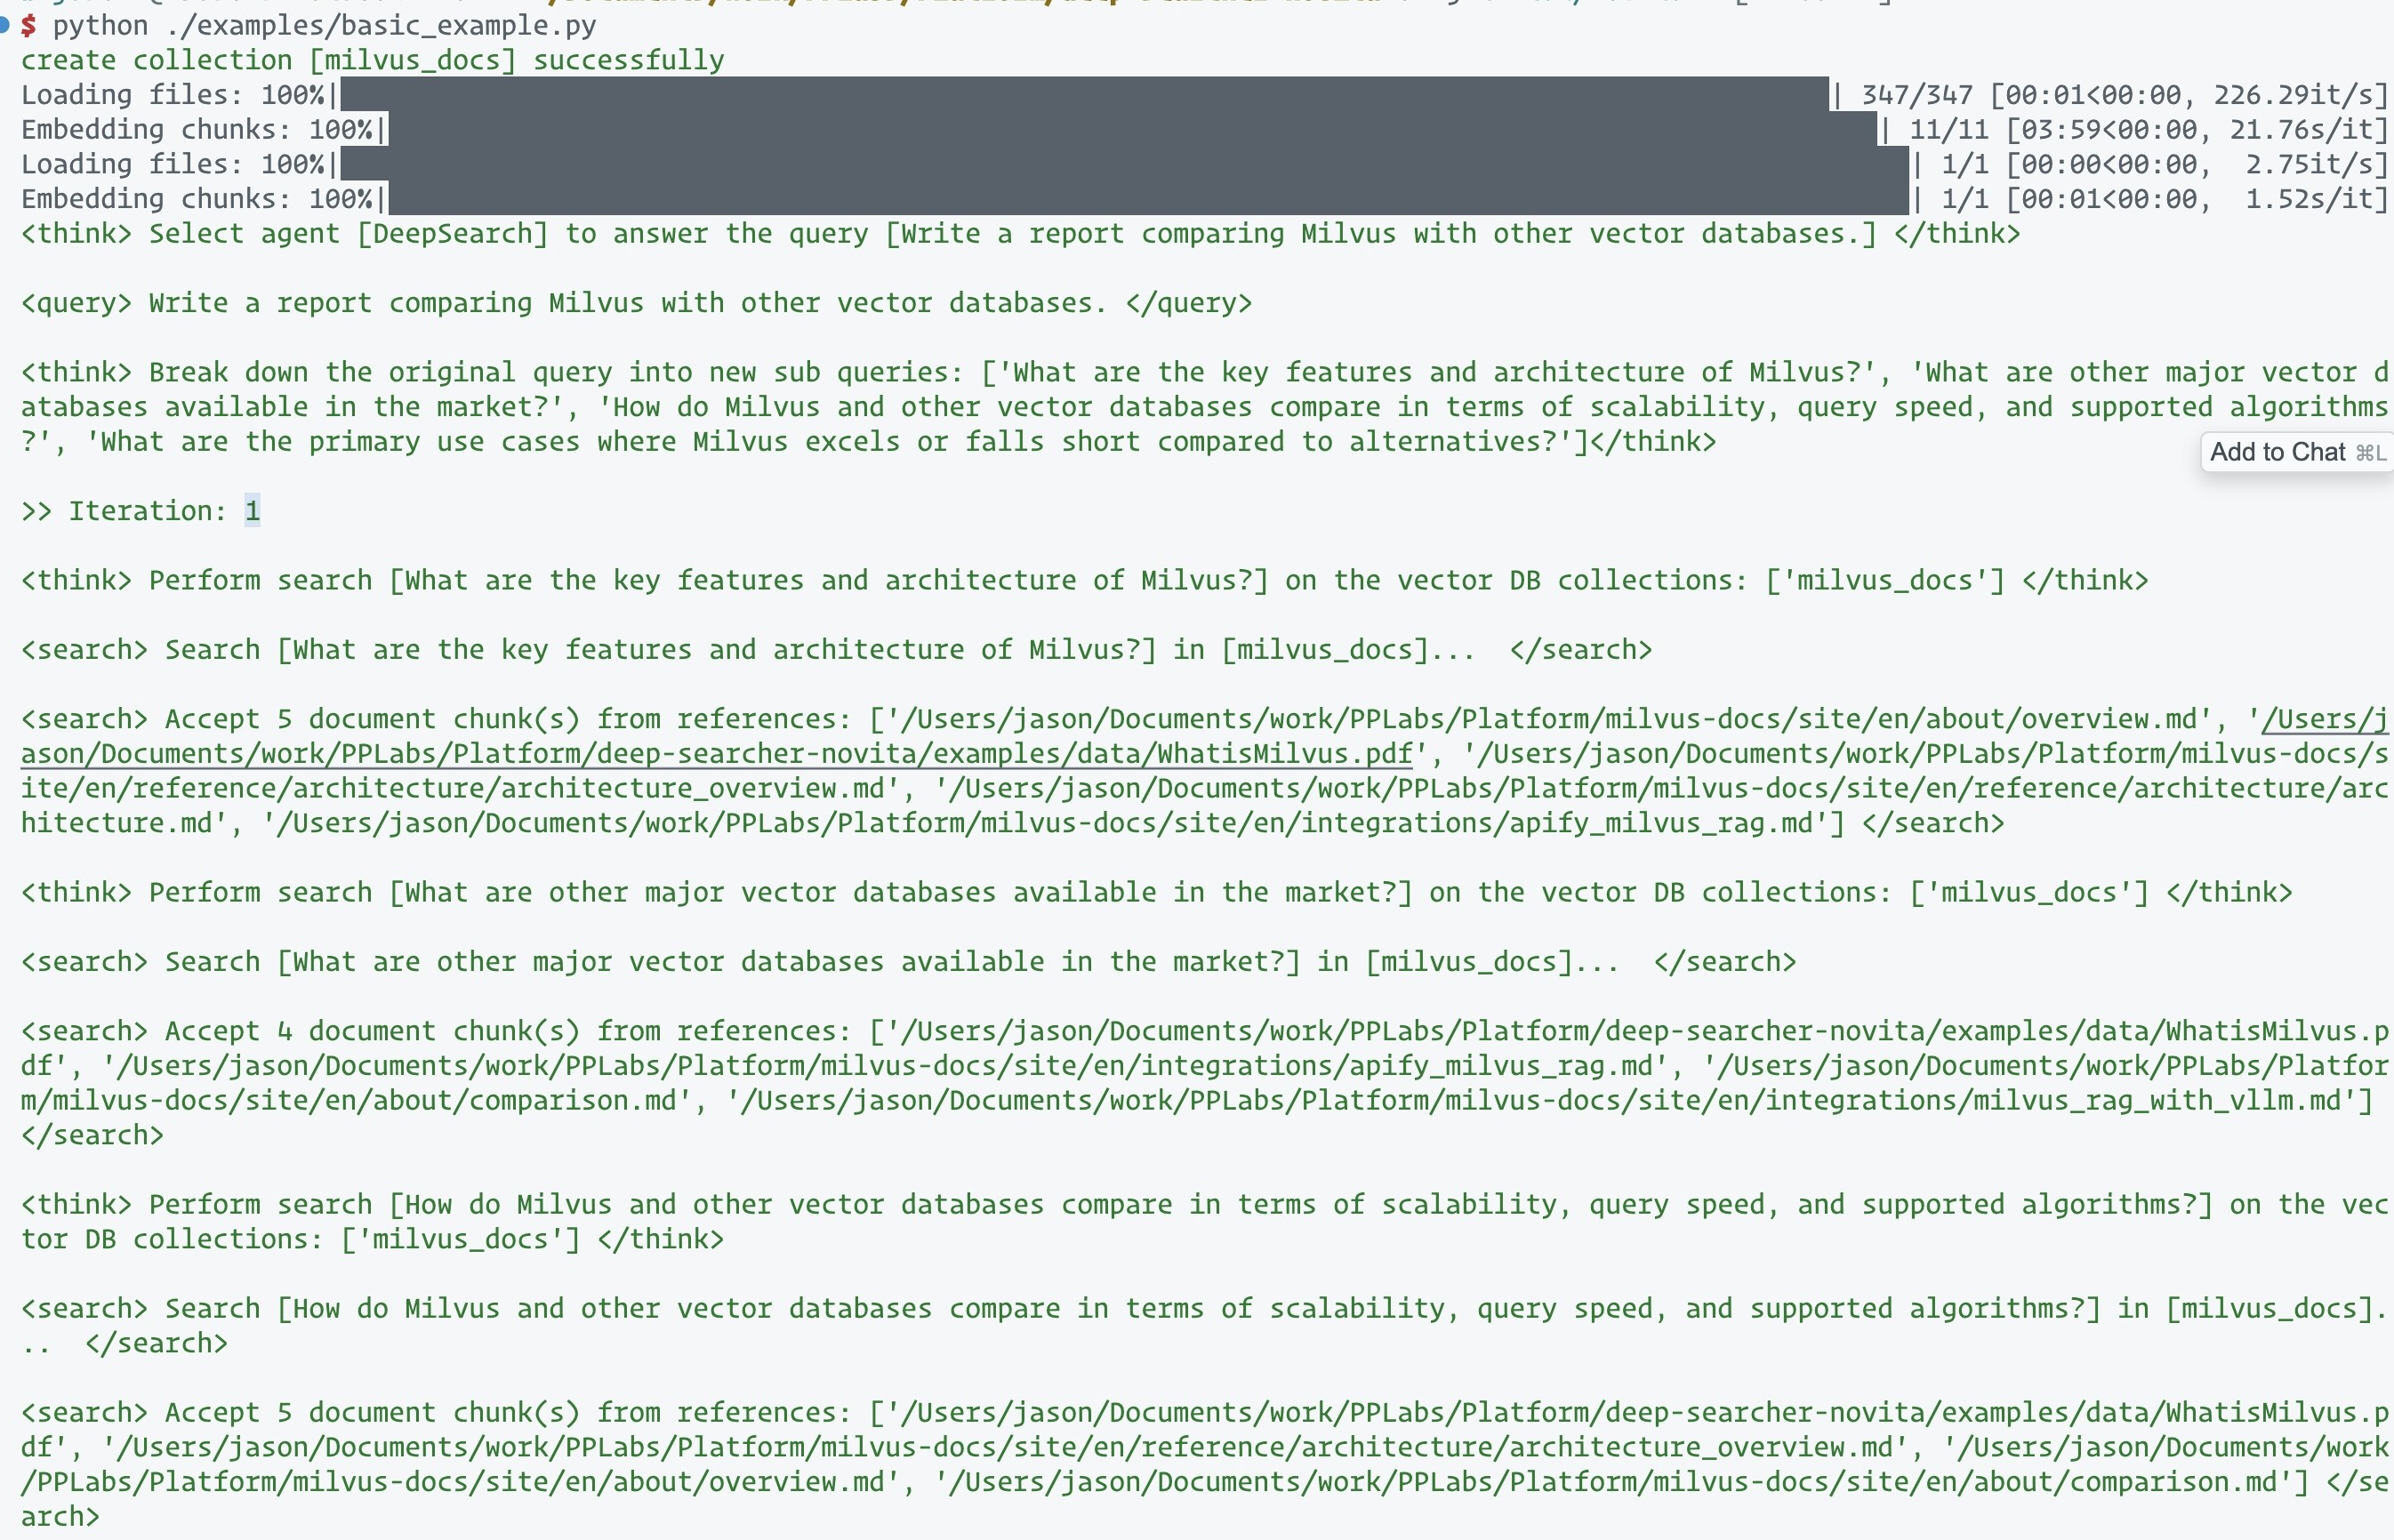
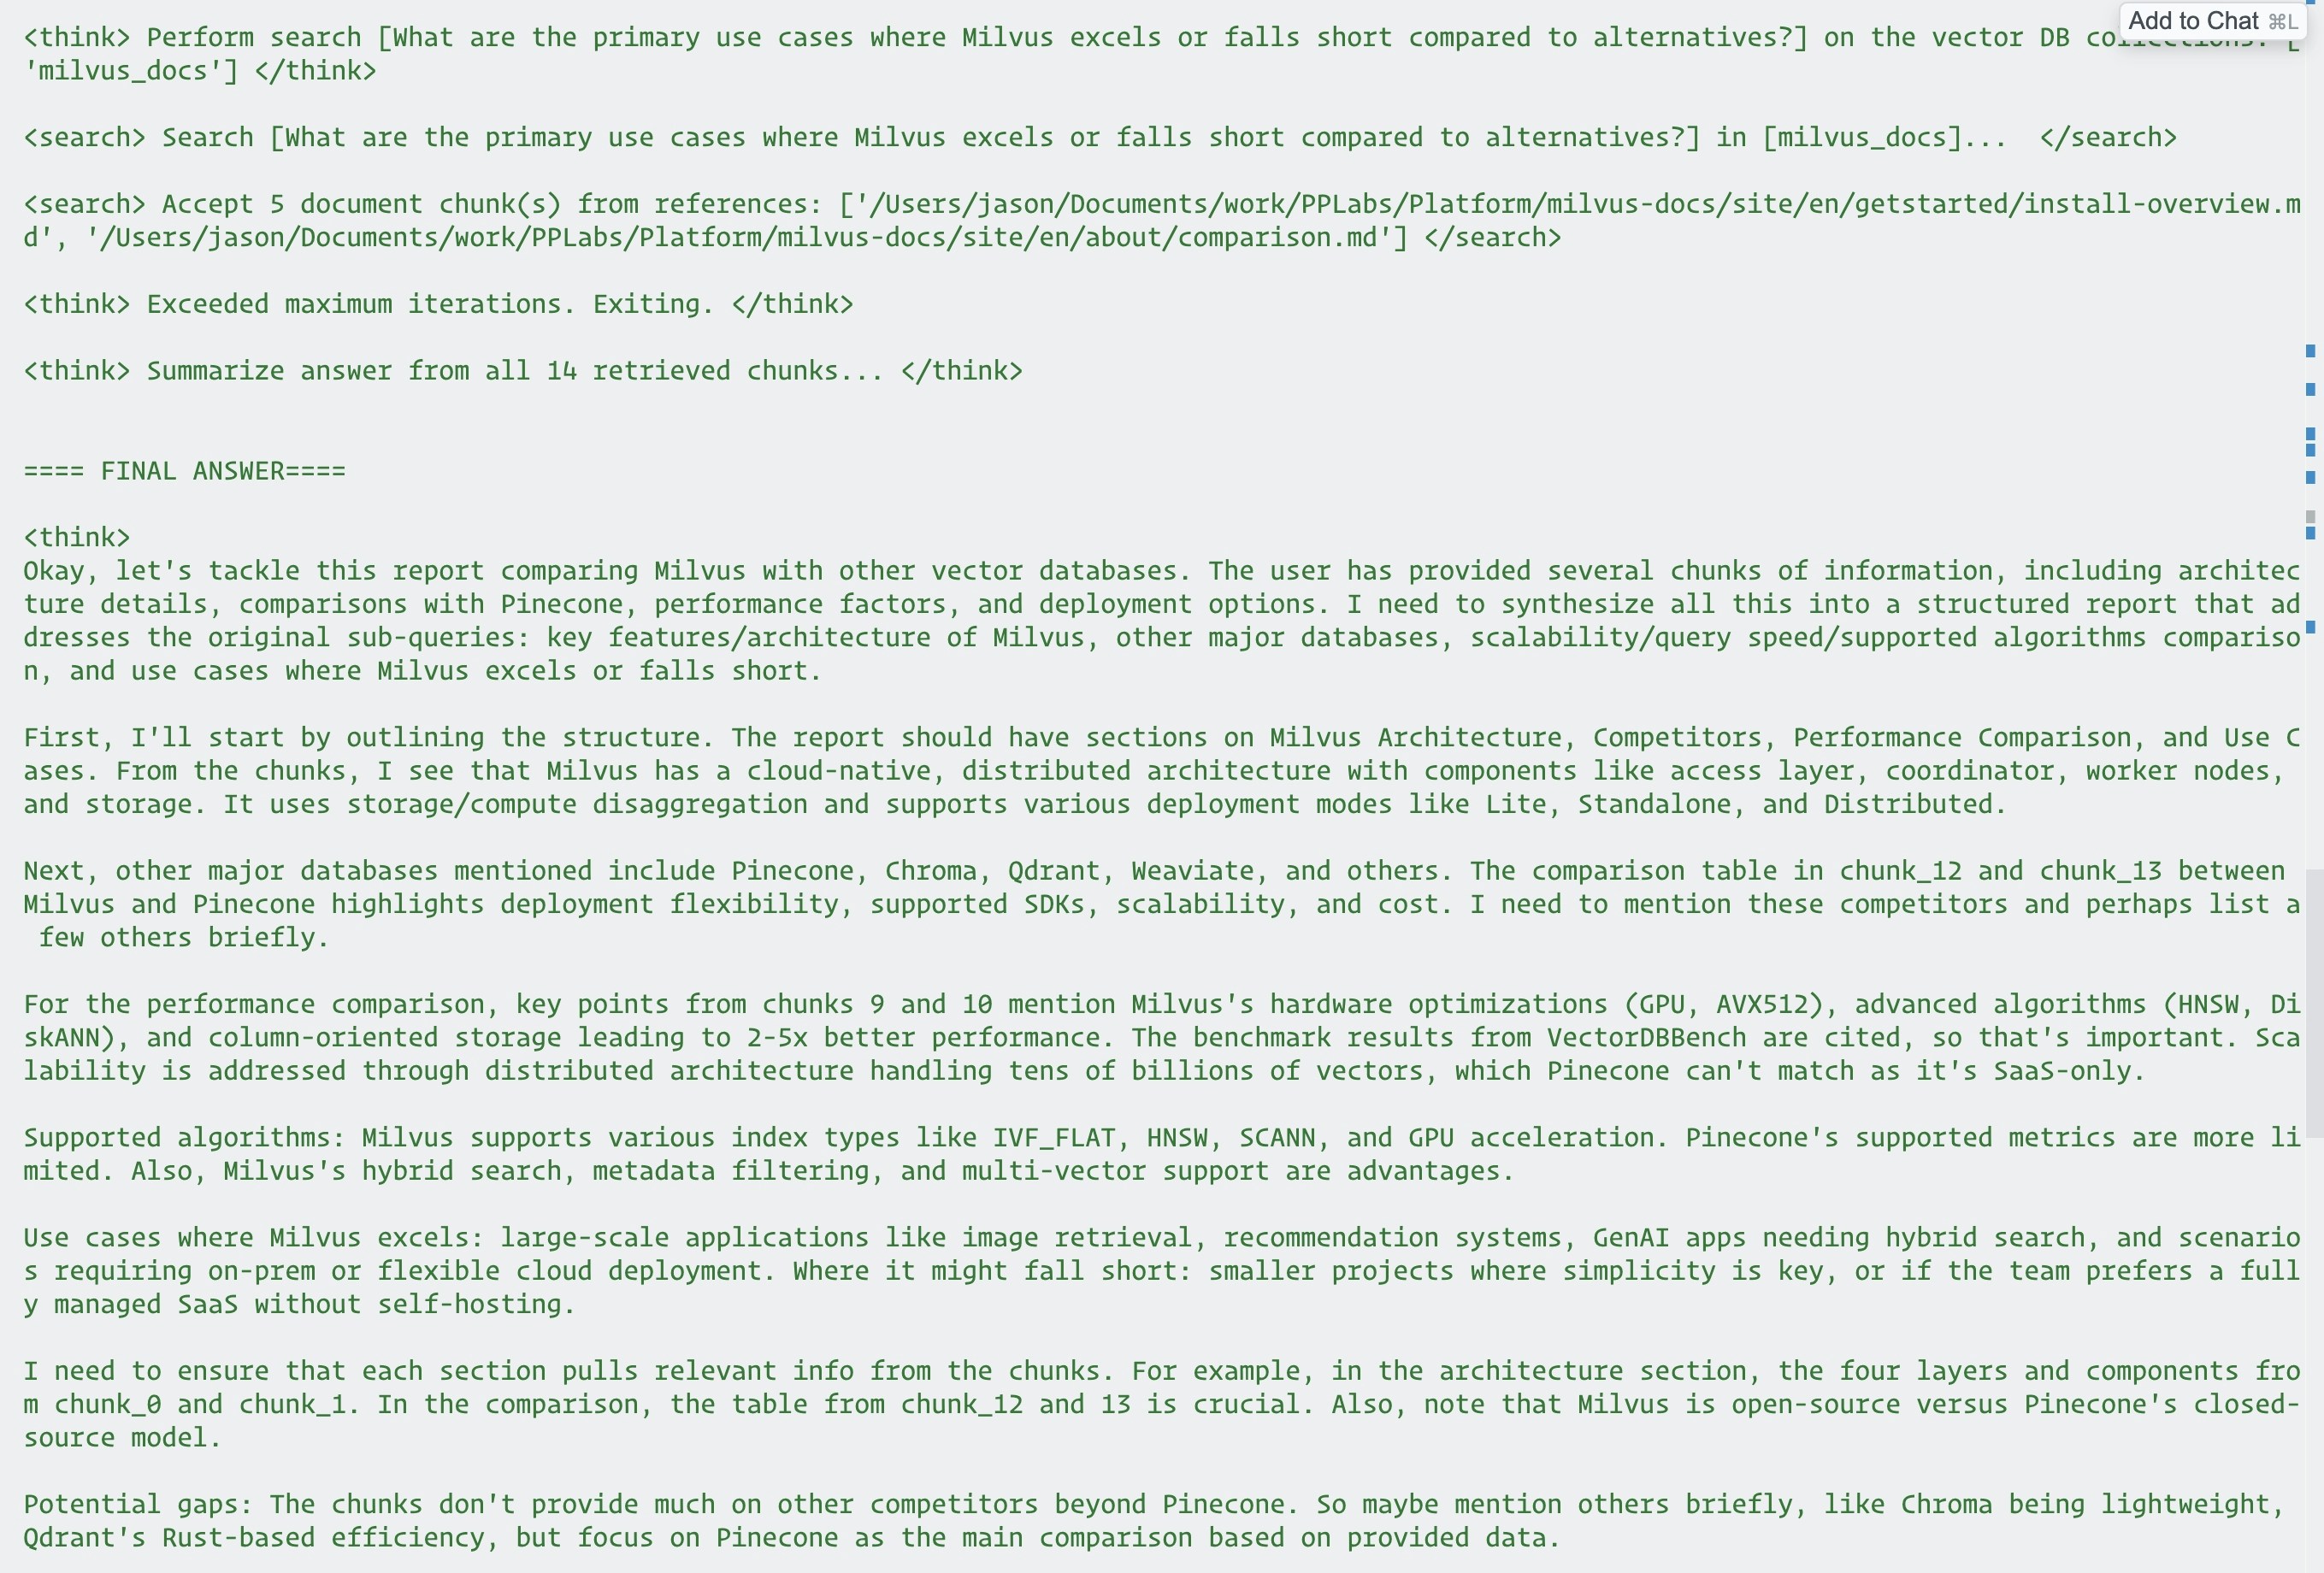
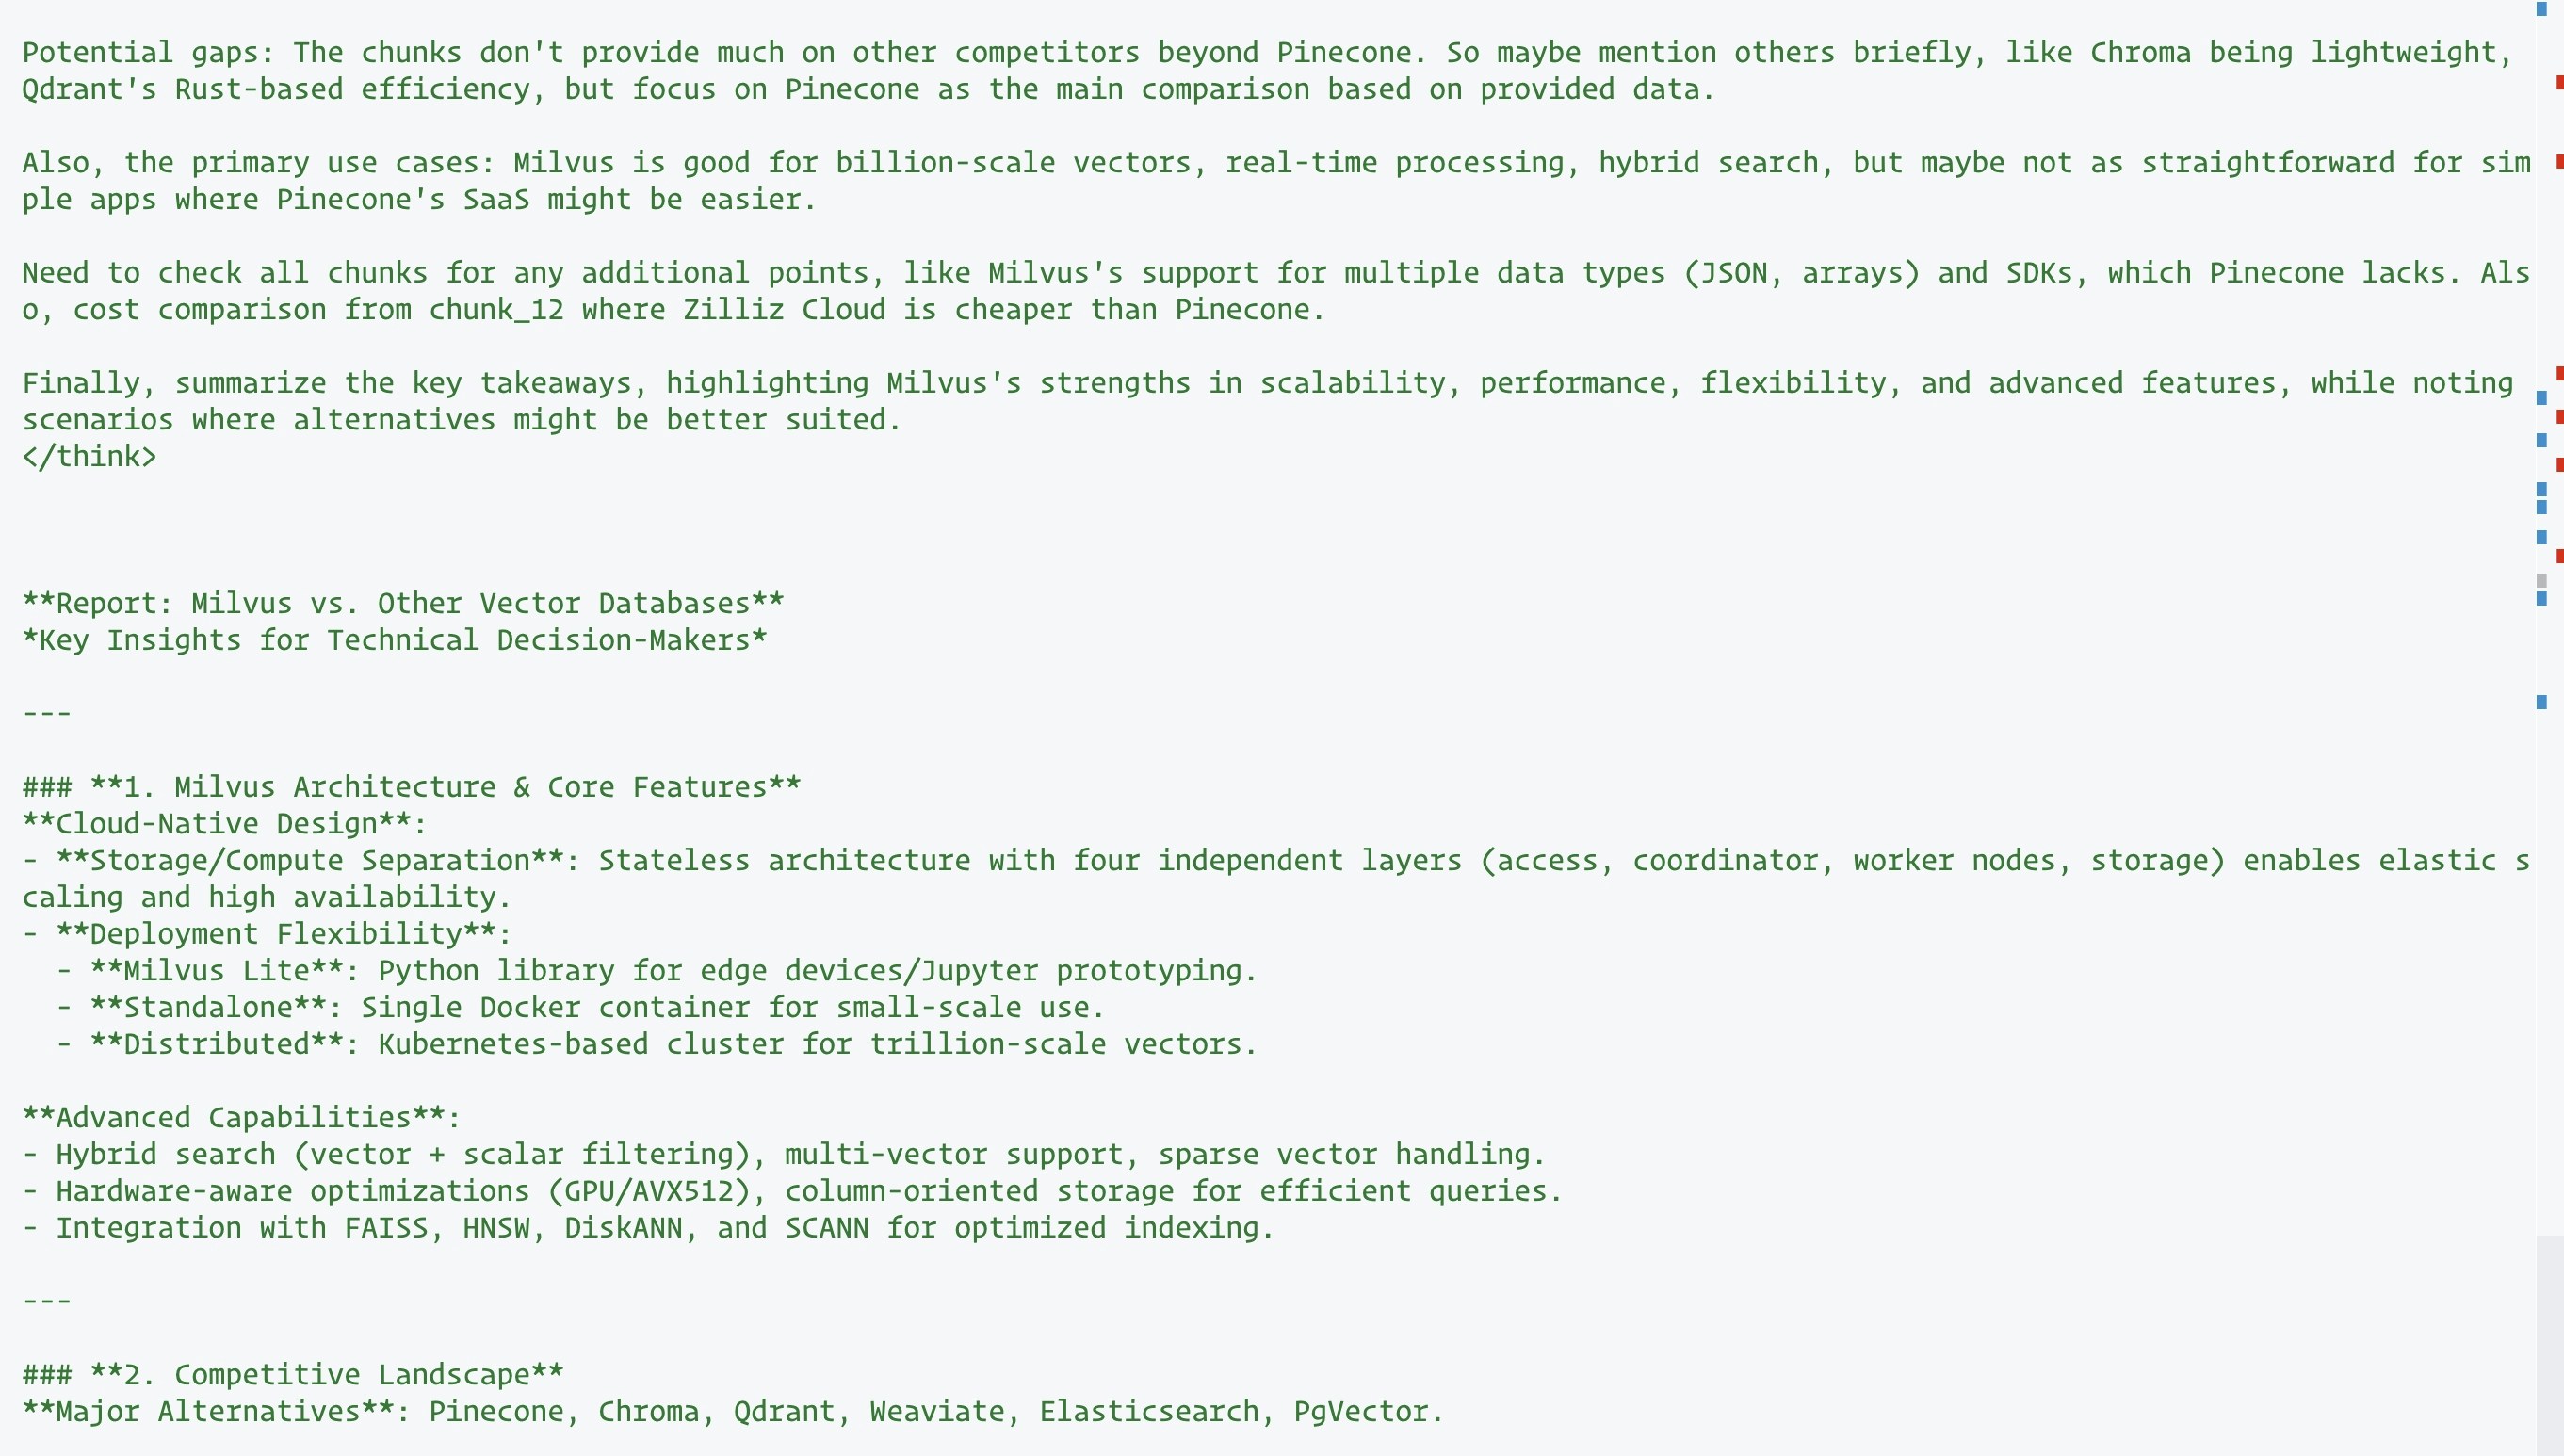
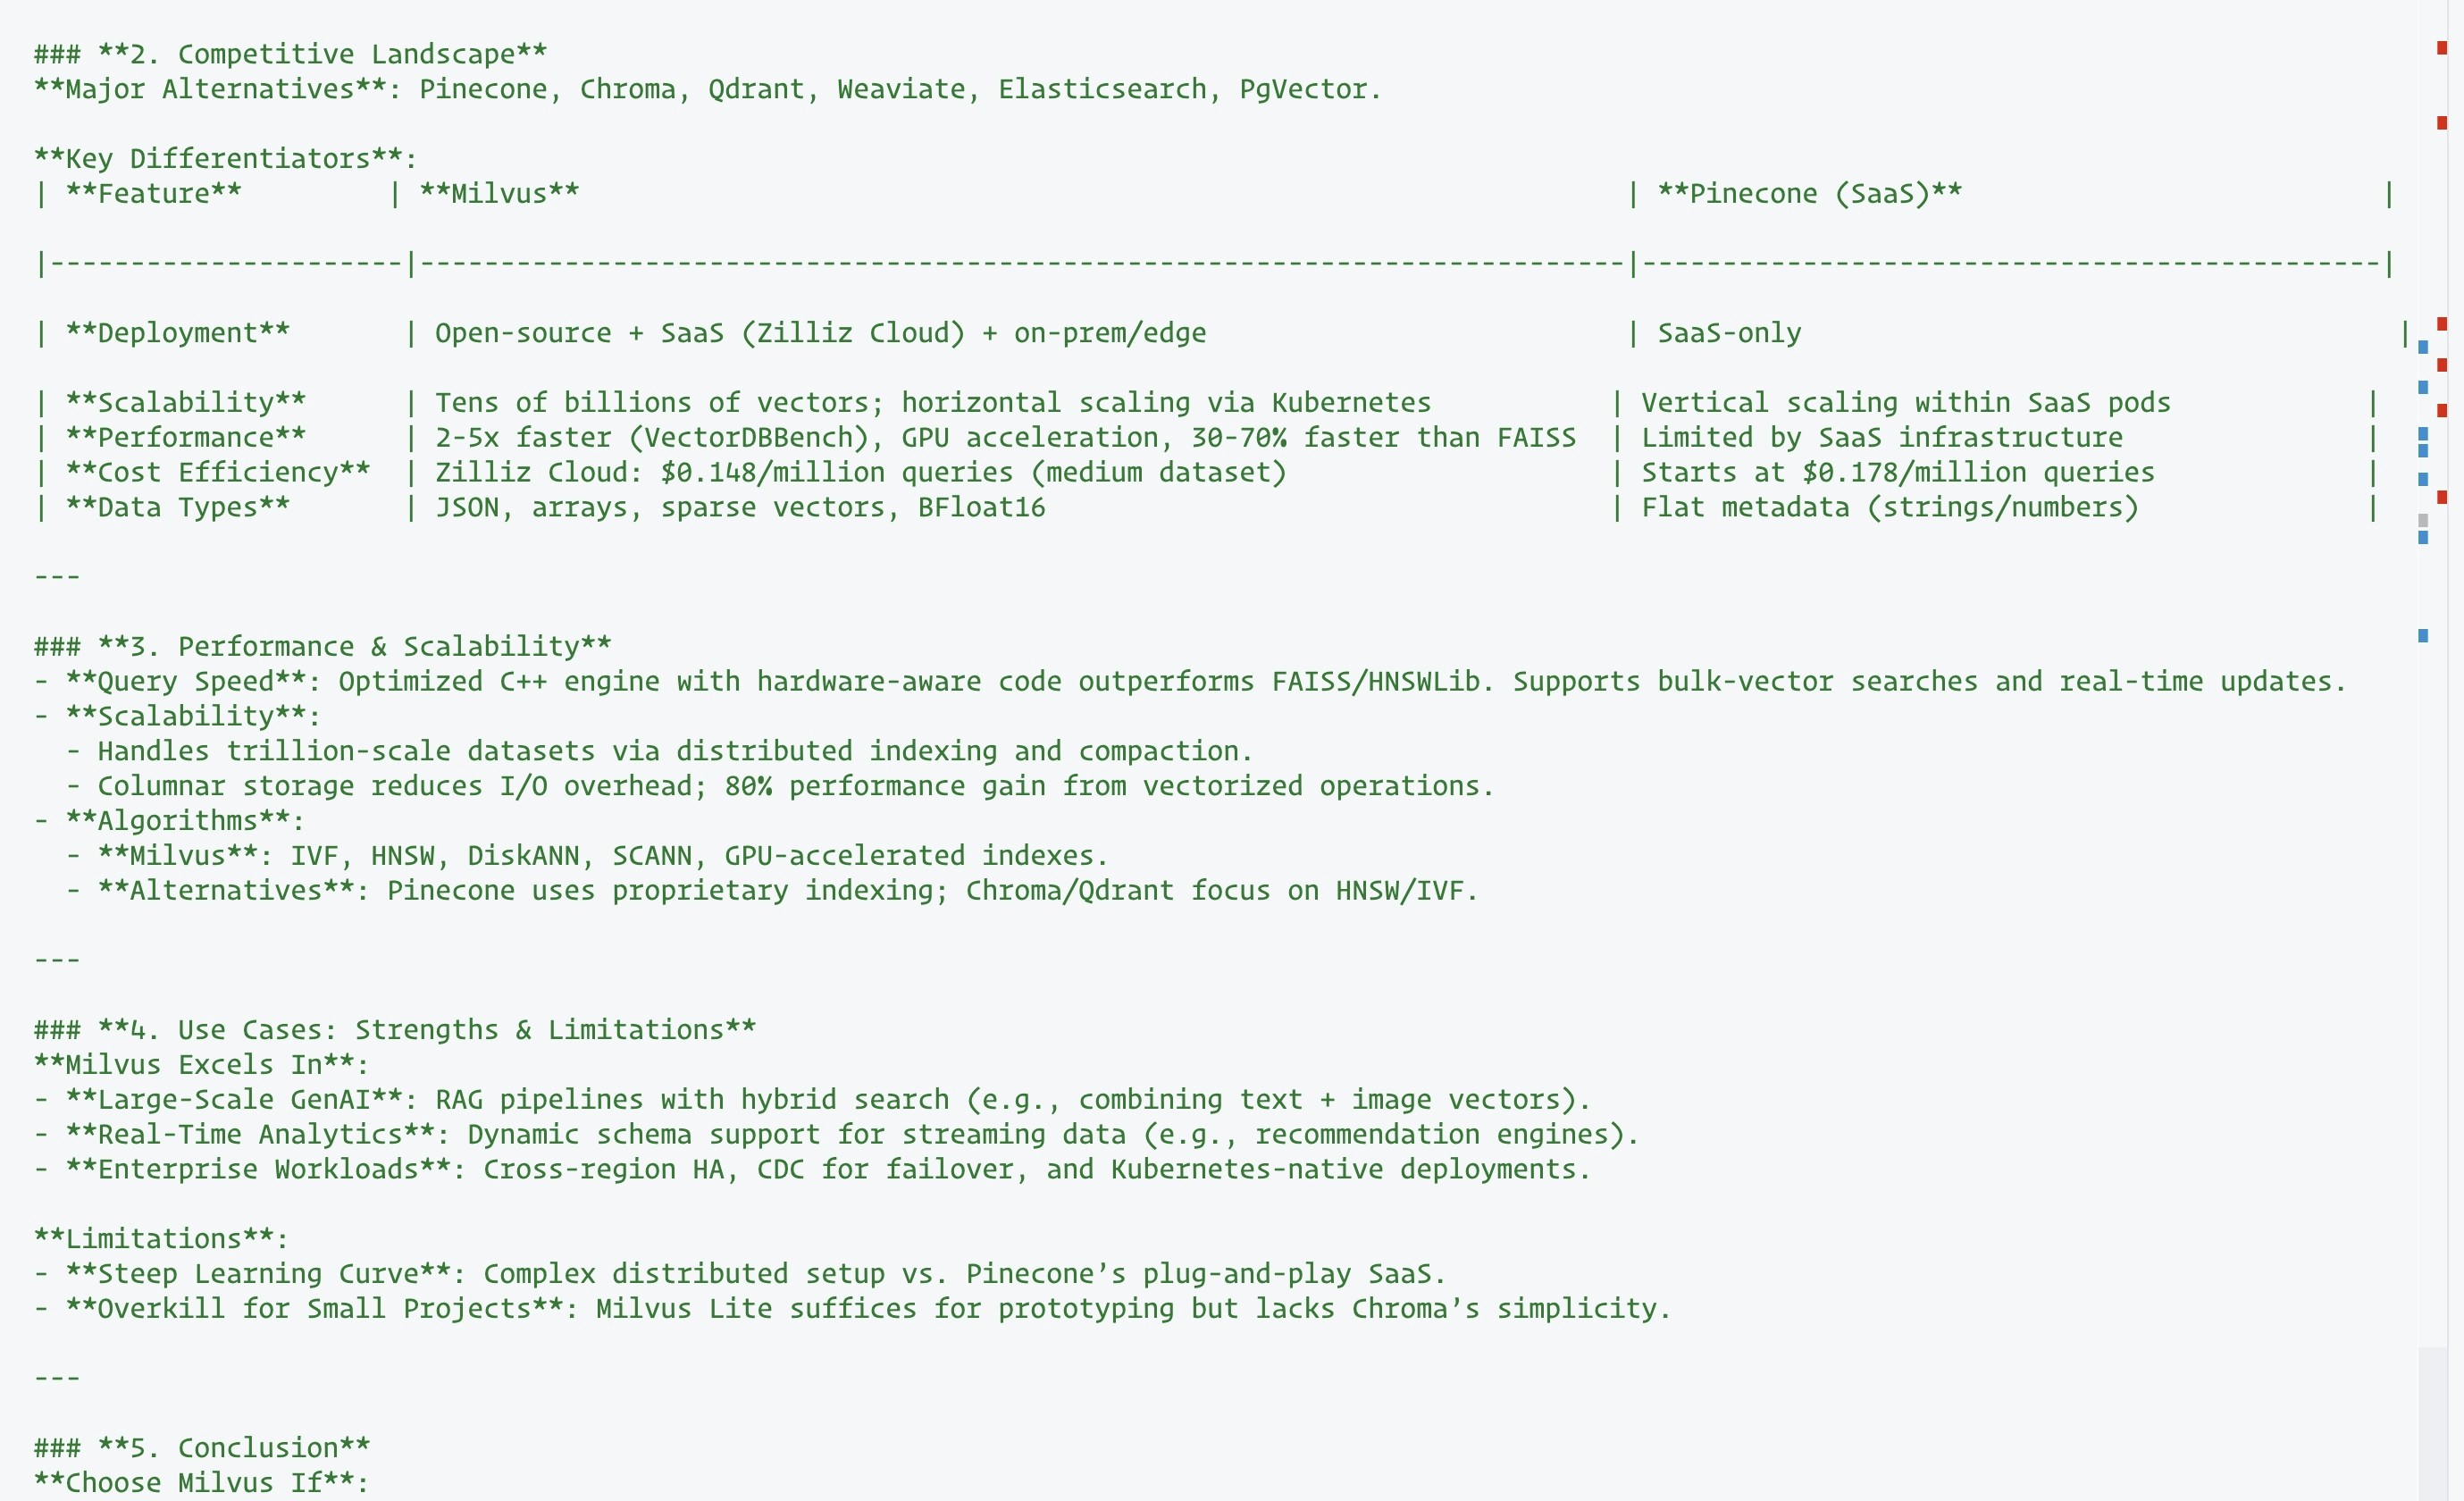
 Étape 3 : exécutez `examples/basic_example.py` pour lancer l’intégration.
Vous obtiendrez les résultats suivants :
Étape 3 : exécutez `examples/basic_example.py` pour lancer l’intégration.
Vous obtiendrez les résultats suivants :