> ## Documentation Index
> Fetch the complete documentation index at: https://novita.ai/docs/llms.txt
> Use this file to discover all available pages before exploring further.
# LlamaIndex
> Integra Novita AI con LlamaIndex sin esfuerzo para crear aplicaciones inteligentes impulsadas por datos.
Diseñado para una indexación y recuperación óptimas, LlamaIndex destaca por ofrecer alta eficiencia en aplicaciones que requieren acceso a datos preciso y rápido. Al combinar [Novita AI](https://novita.ai/) con LlamaIndex, desbloquearás beneficios clave como una precisión superior en la recuperación de datos, una escalabilidad inigualable y un rendimiento rentable.
Esta guía te mostrará cómo usar LlamaIndex con Novita AI basado en la API de OpenAl, ofreciendo soluciones de IA más inteligentes, escalables y altamente eficientes que impulsan la innovación y brindan resultados excepcionales para los desarrolladores.
## **Cómo integrar la API de Novita AI con LlamaIndex**
Paso 1: Visita la [Biblioteca de modelos](https://novita.ai/llm-api) en Novita AI y selecciona un modelo de interés.
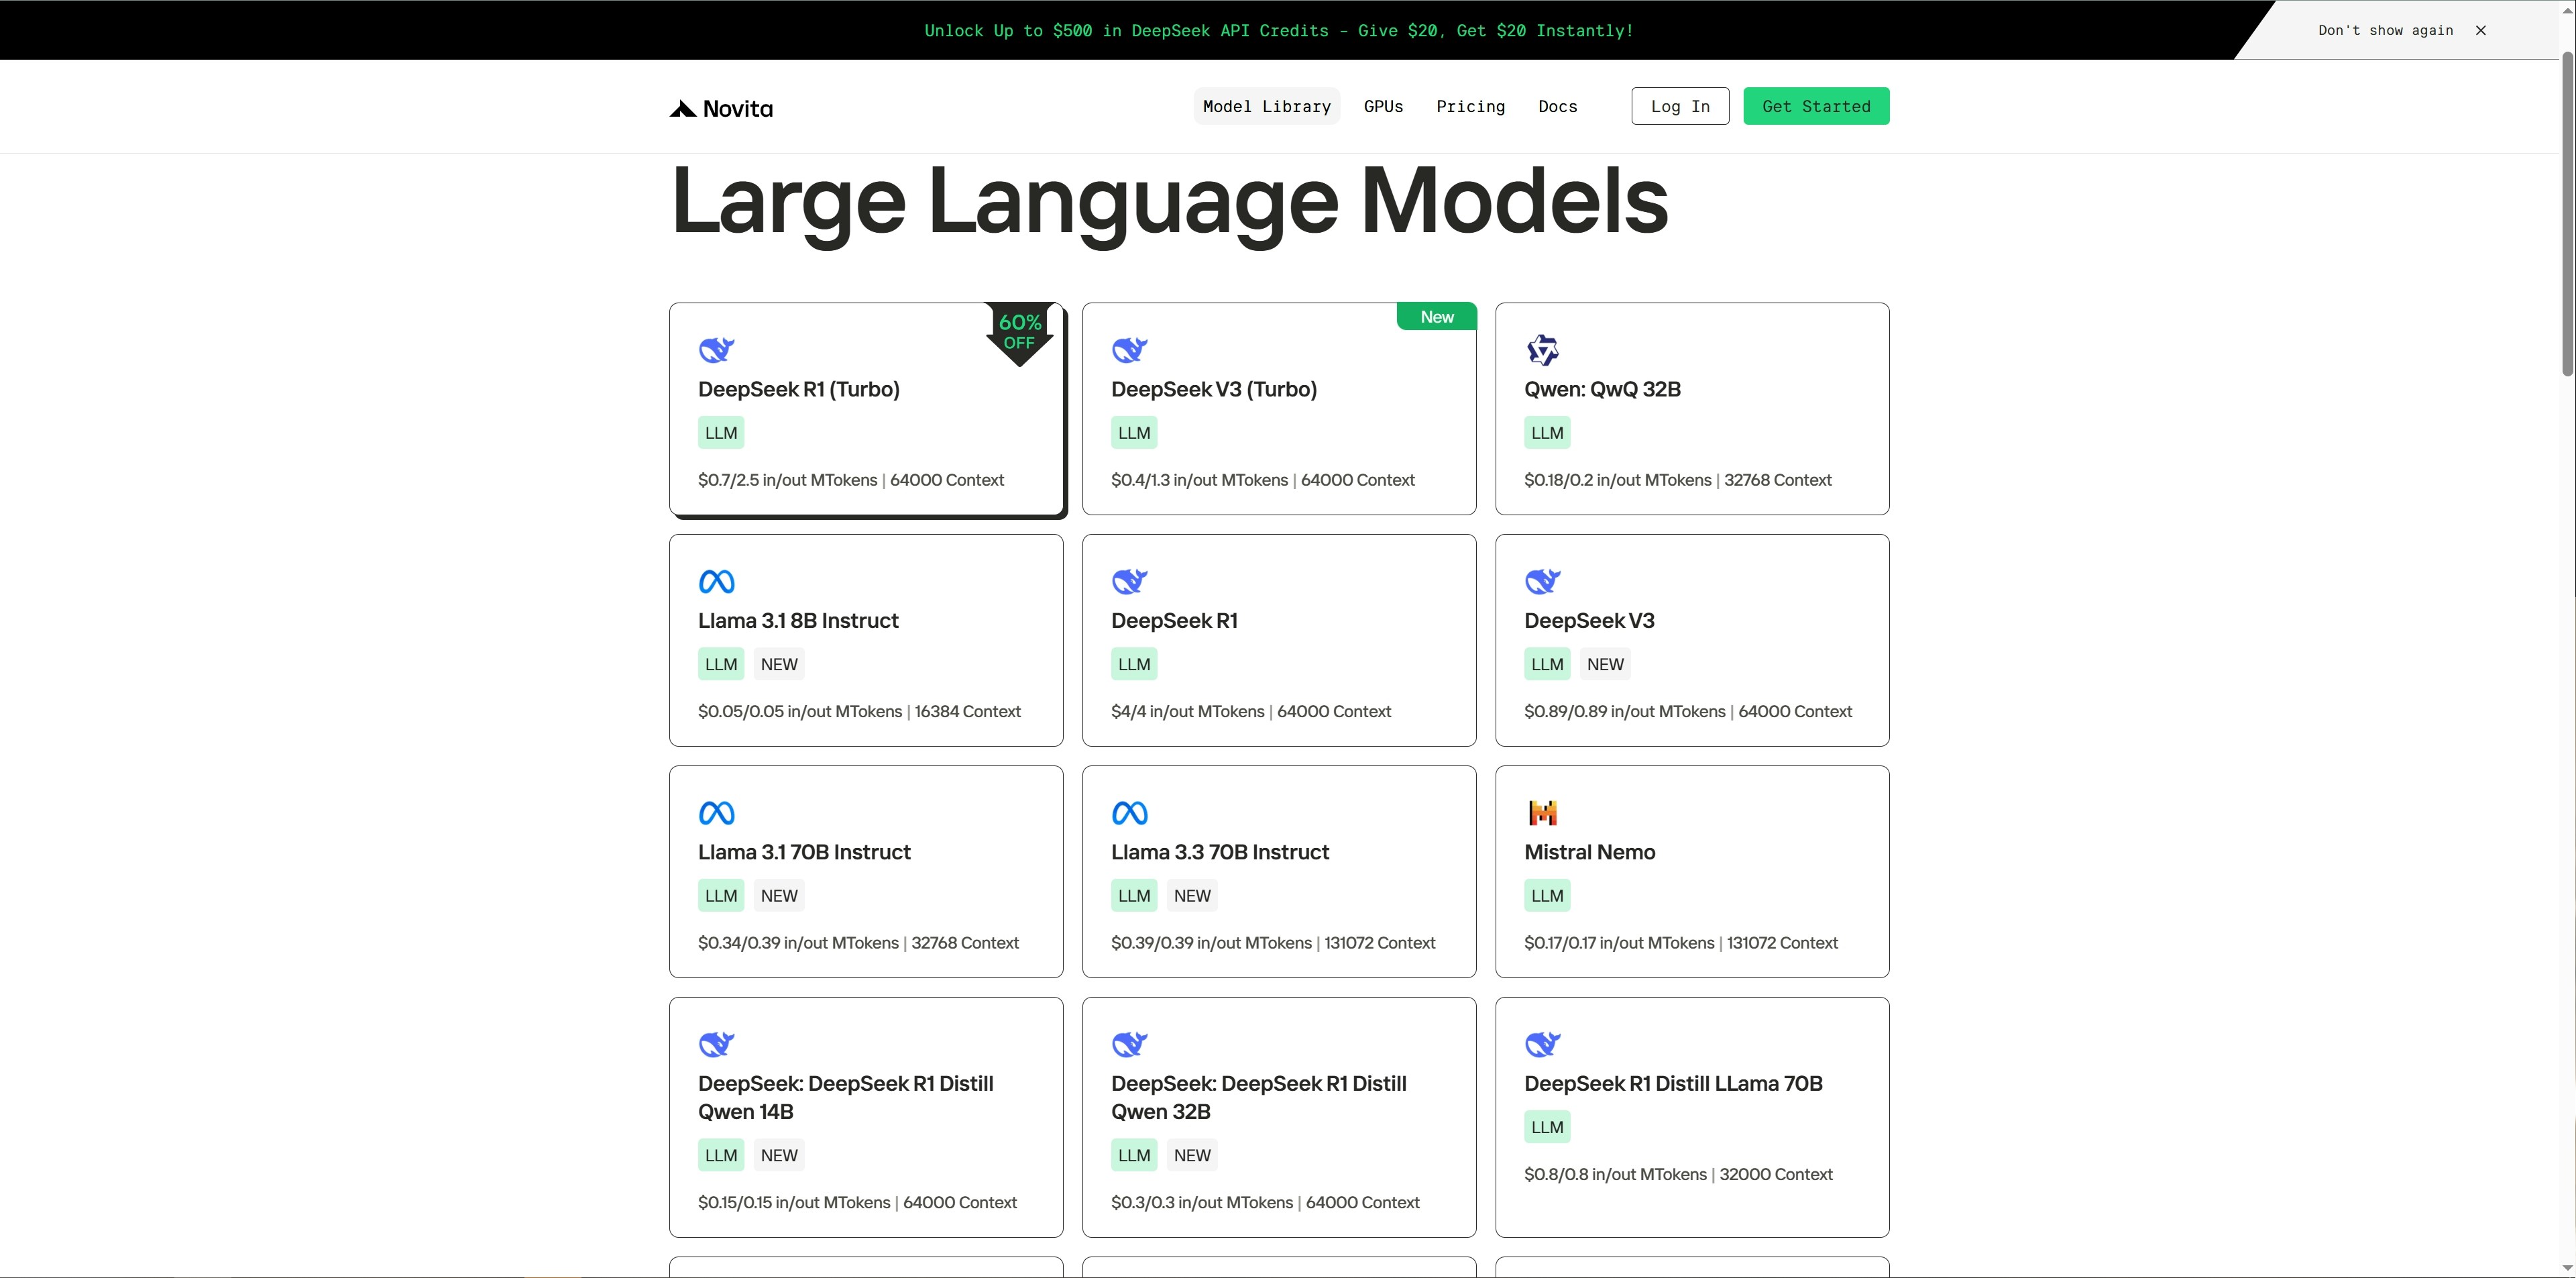 Paso 2: Ve a la página de demostración del modelo elegido y haz clic en el botón `Code` a la derecha.
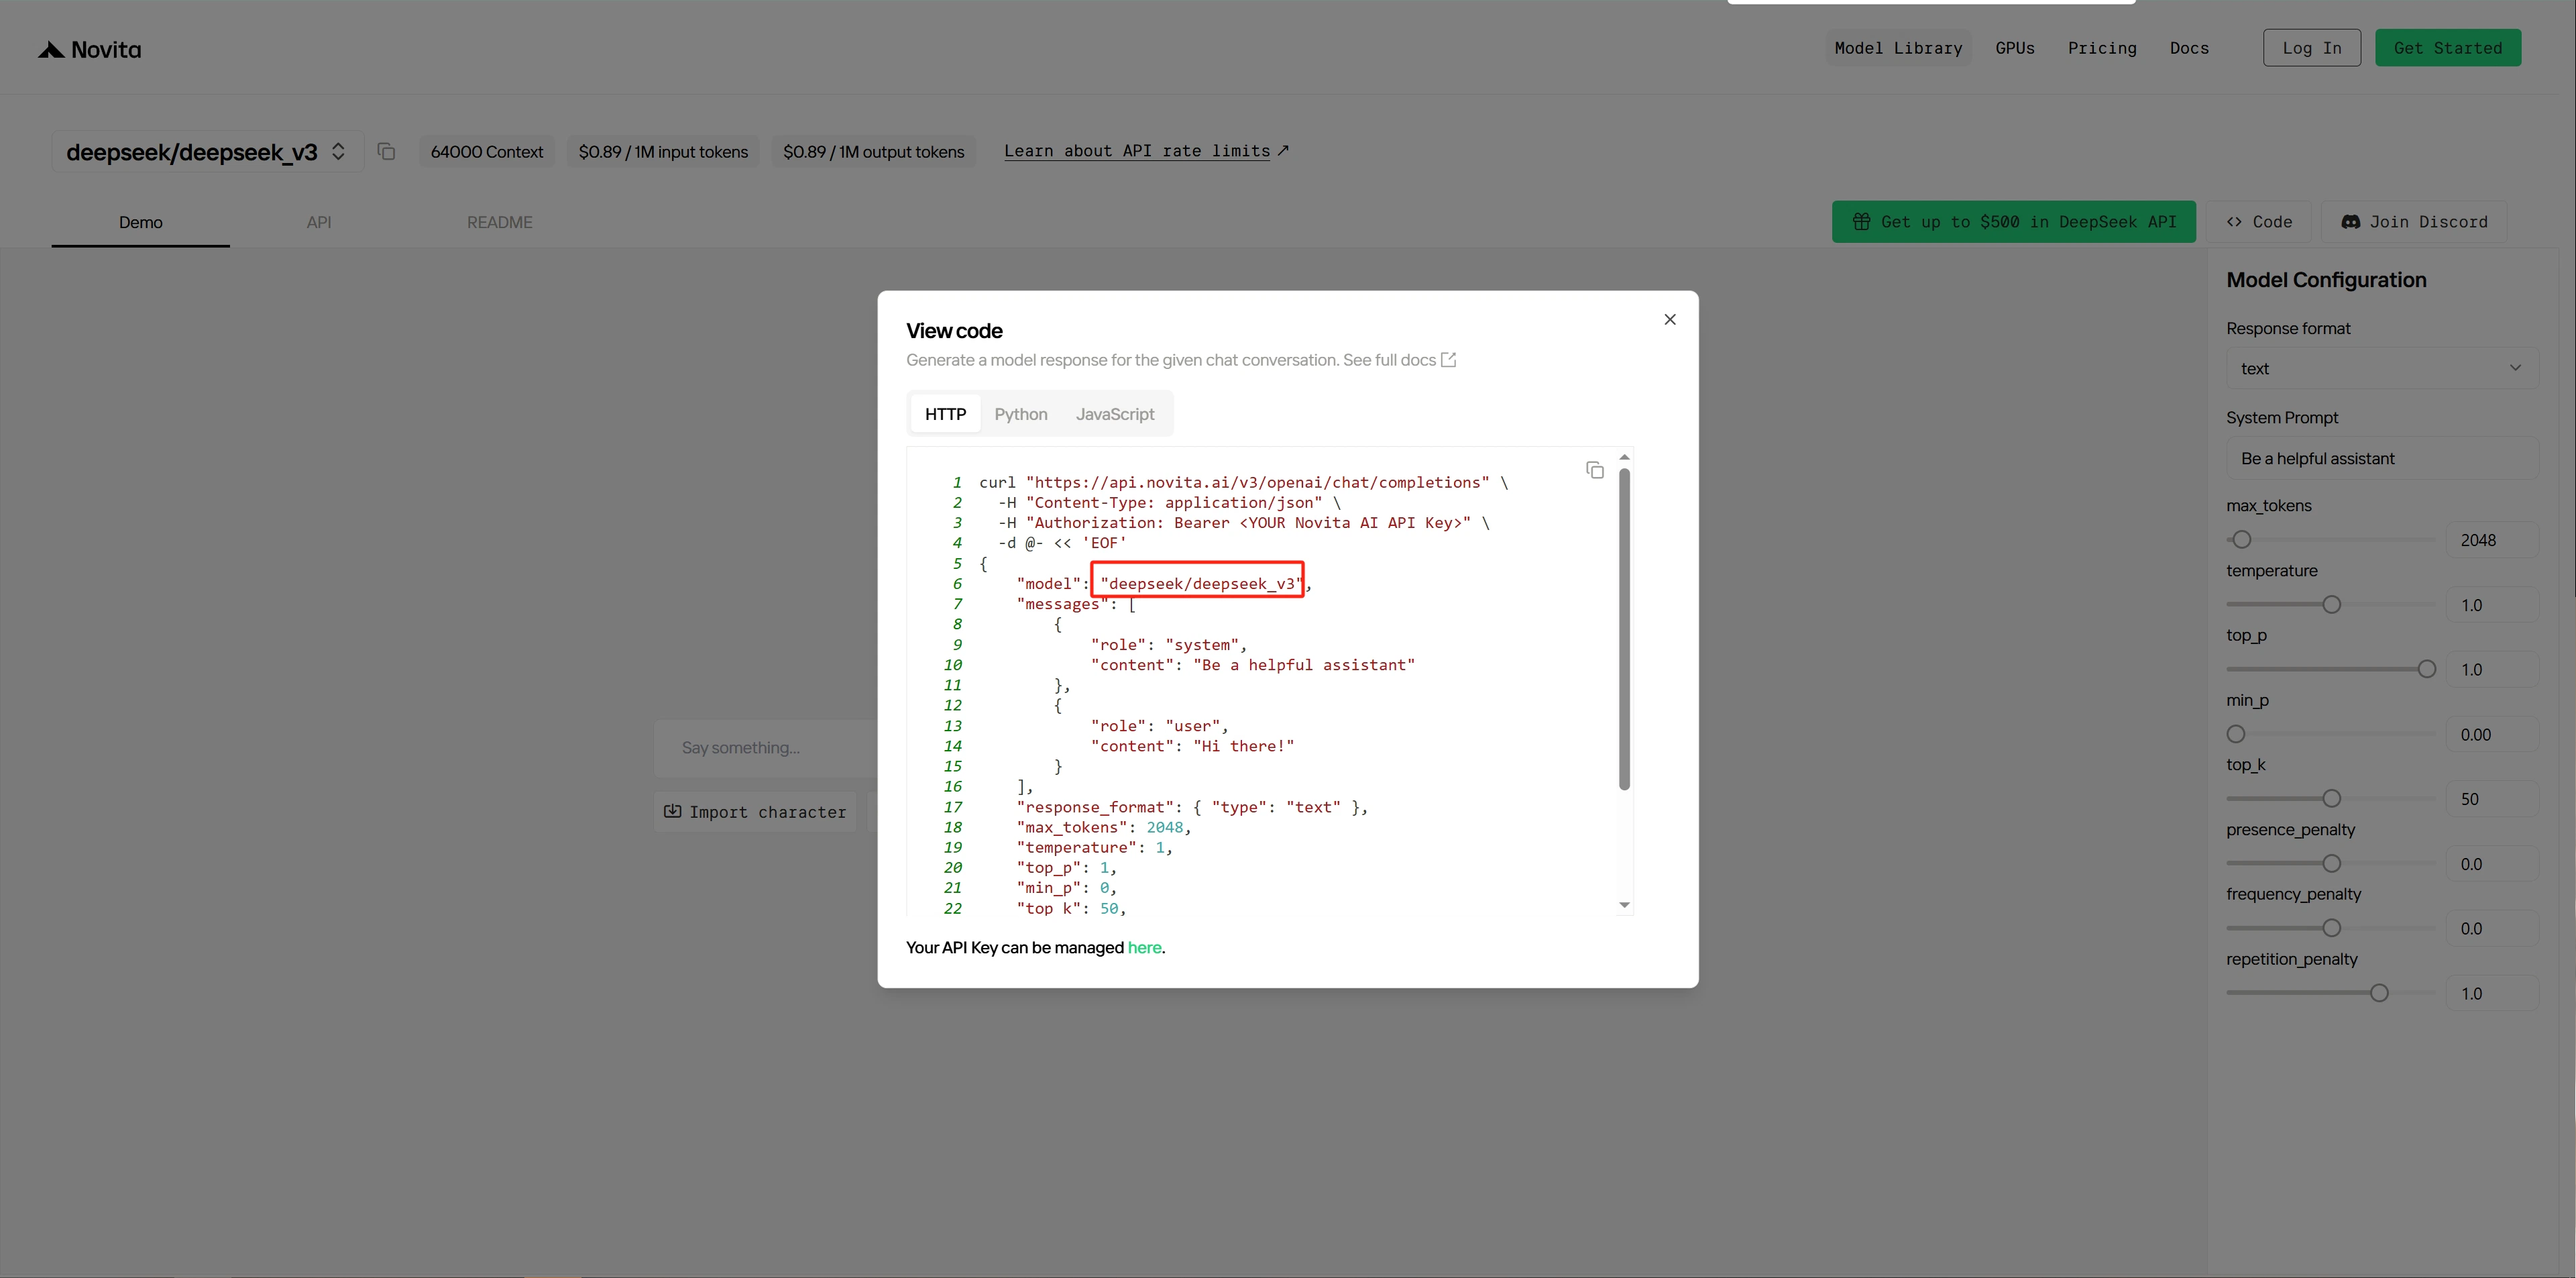
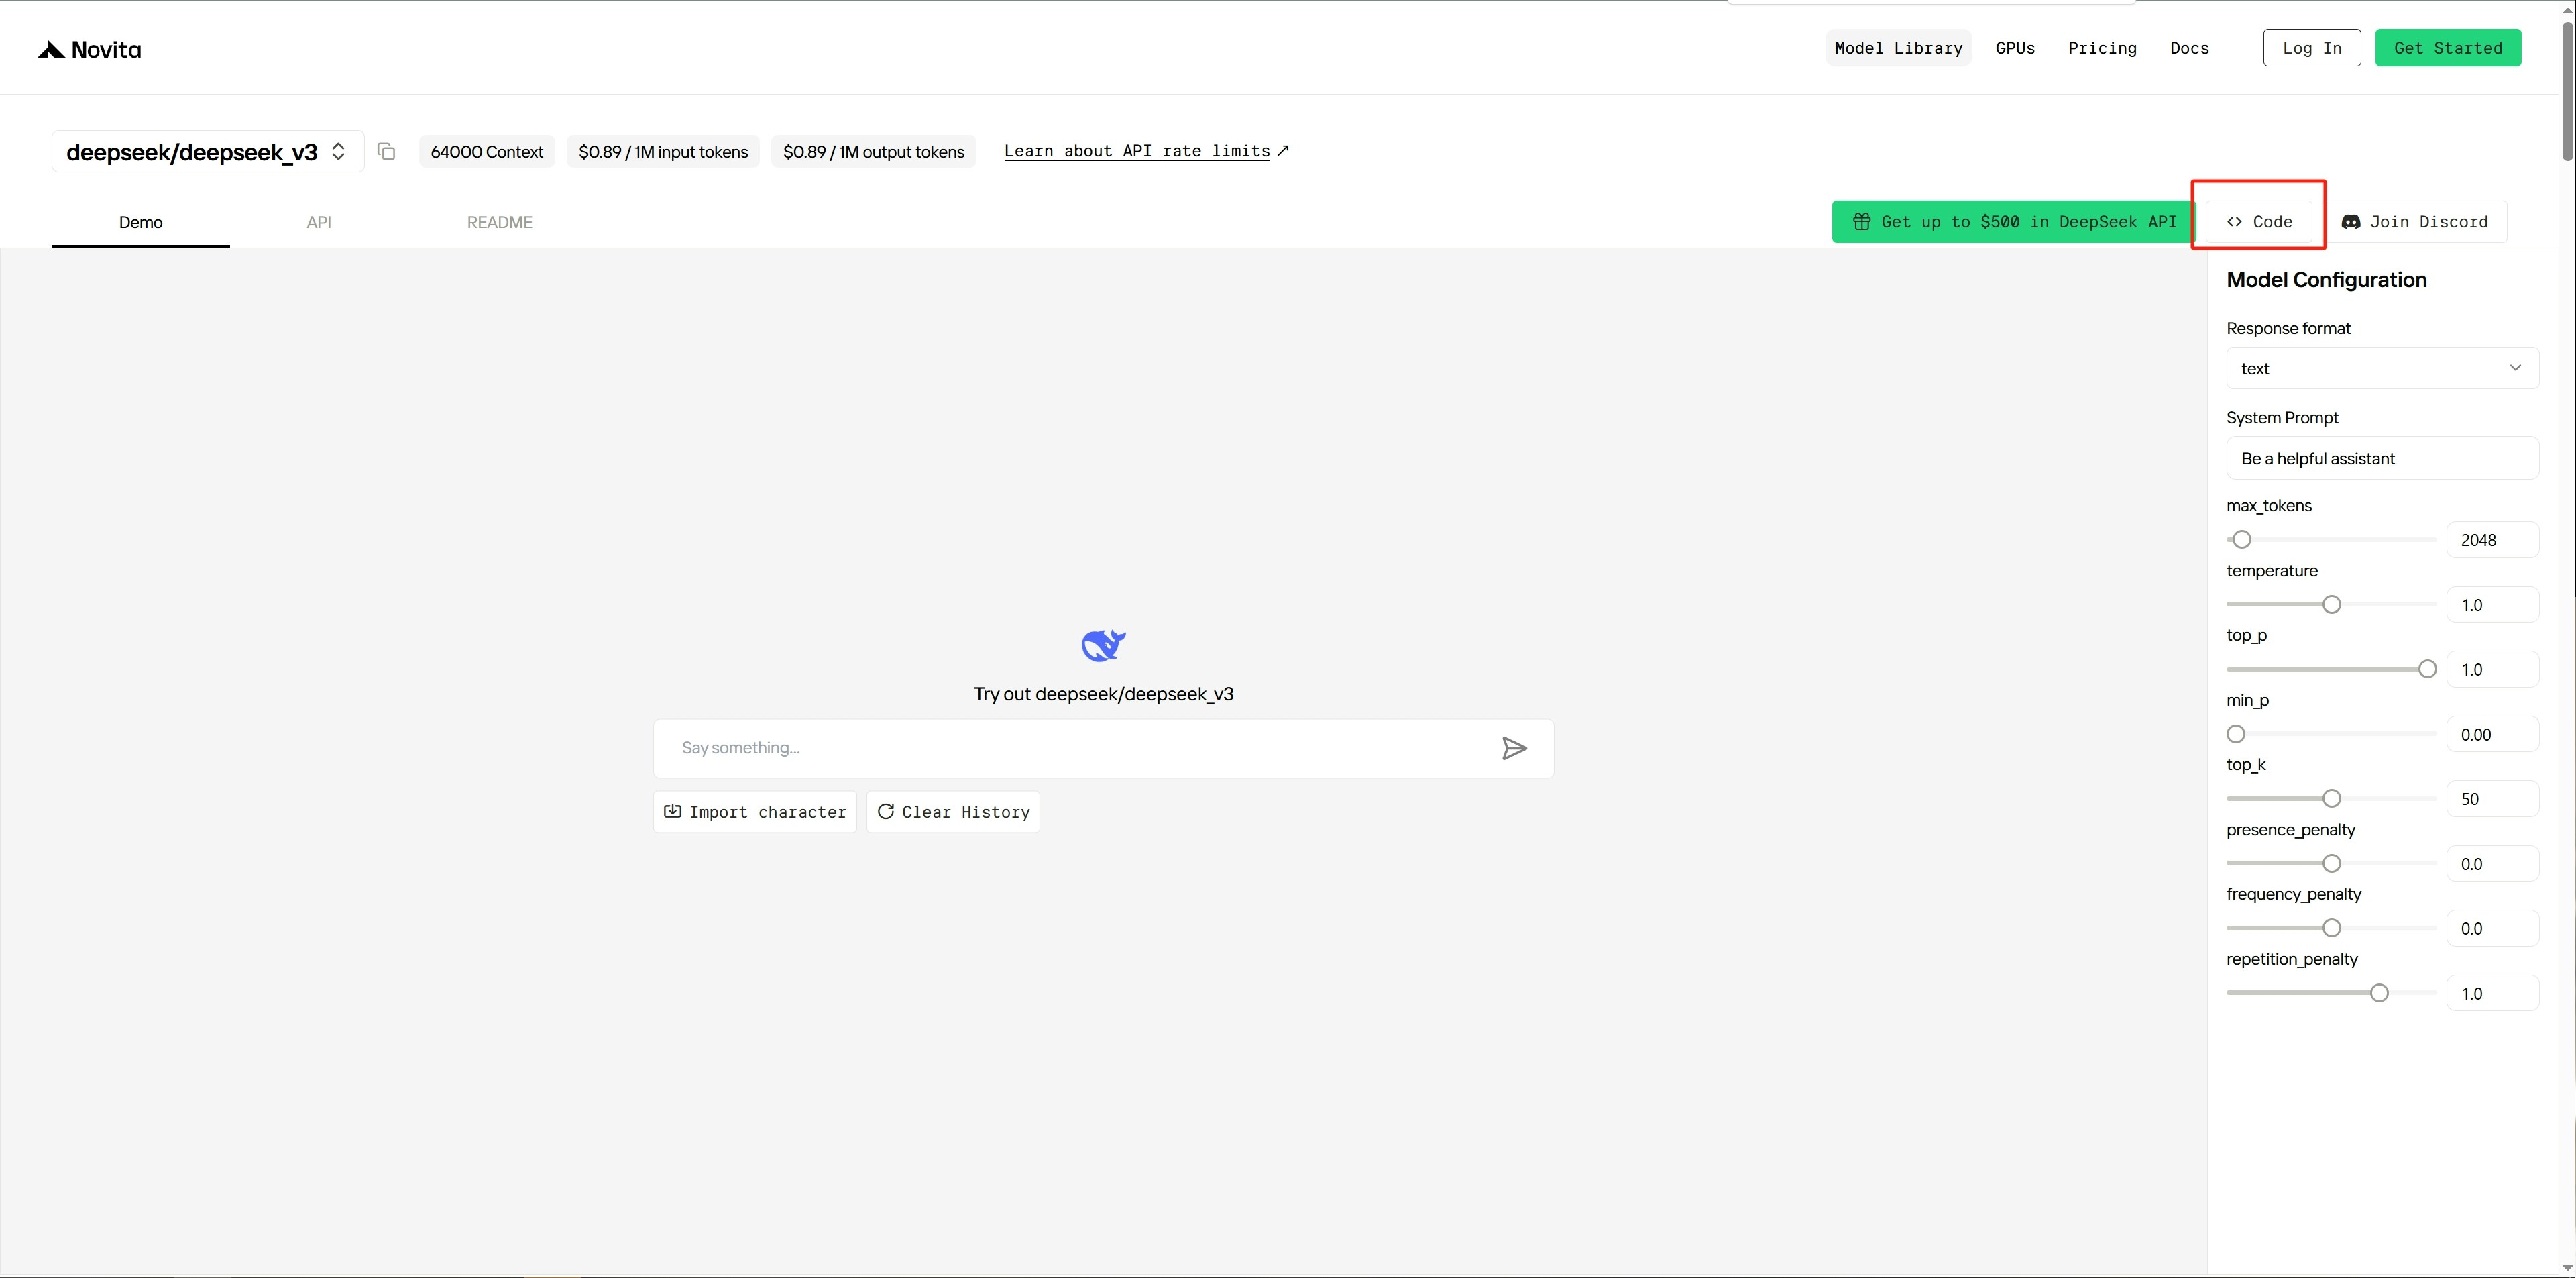 Paso 3: Copia el nombre del modelo y anótalo.
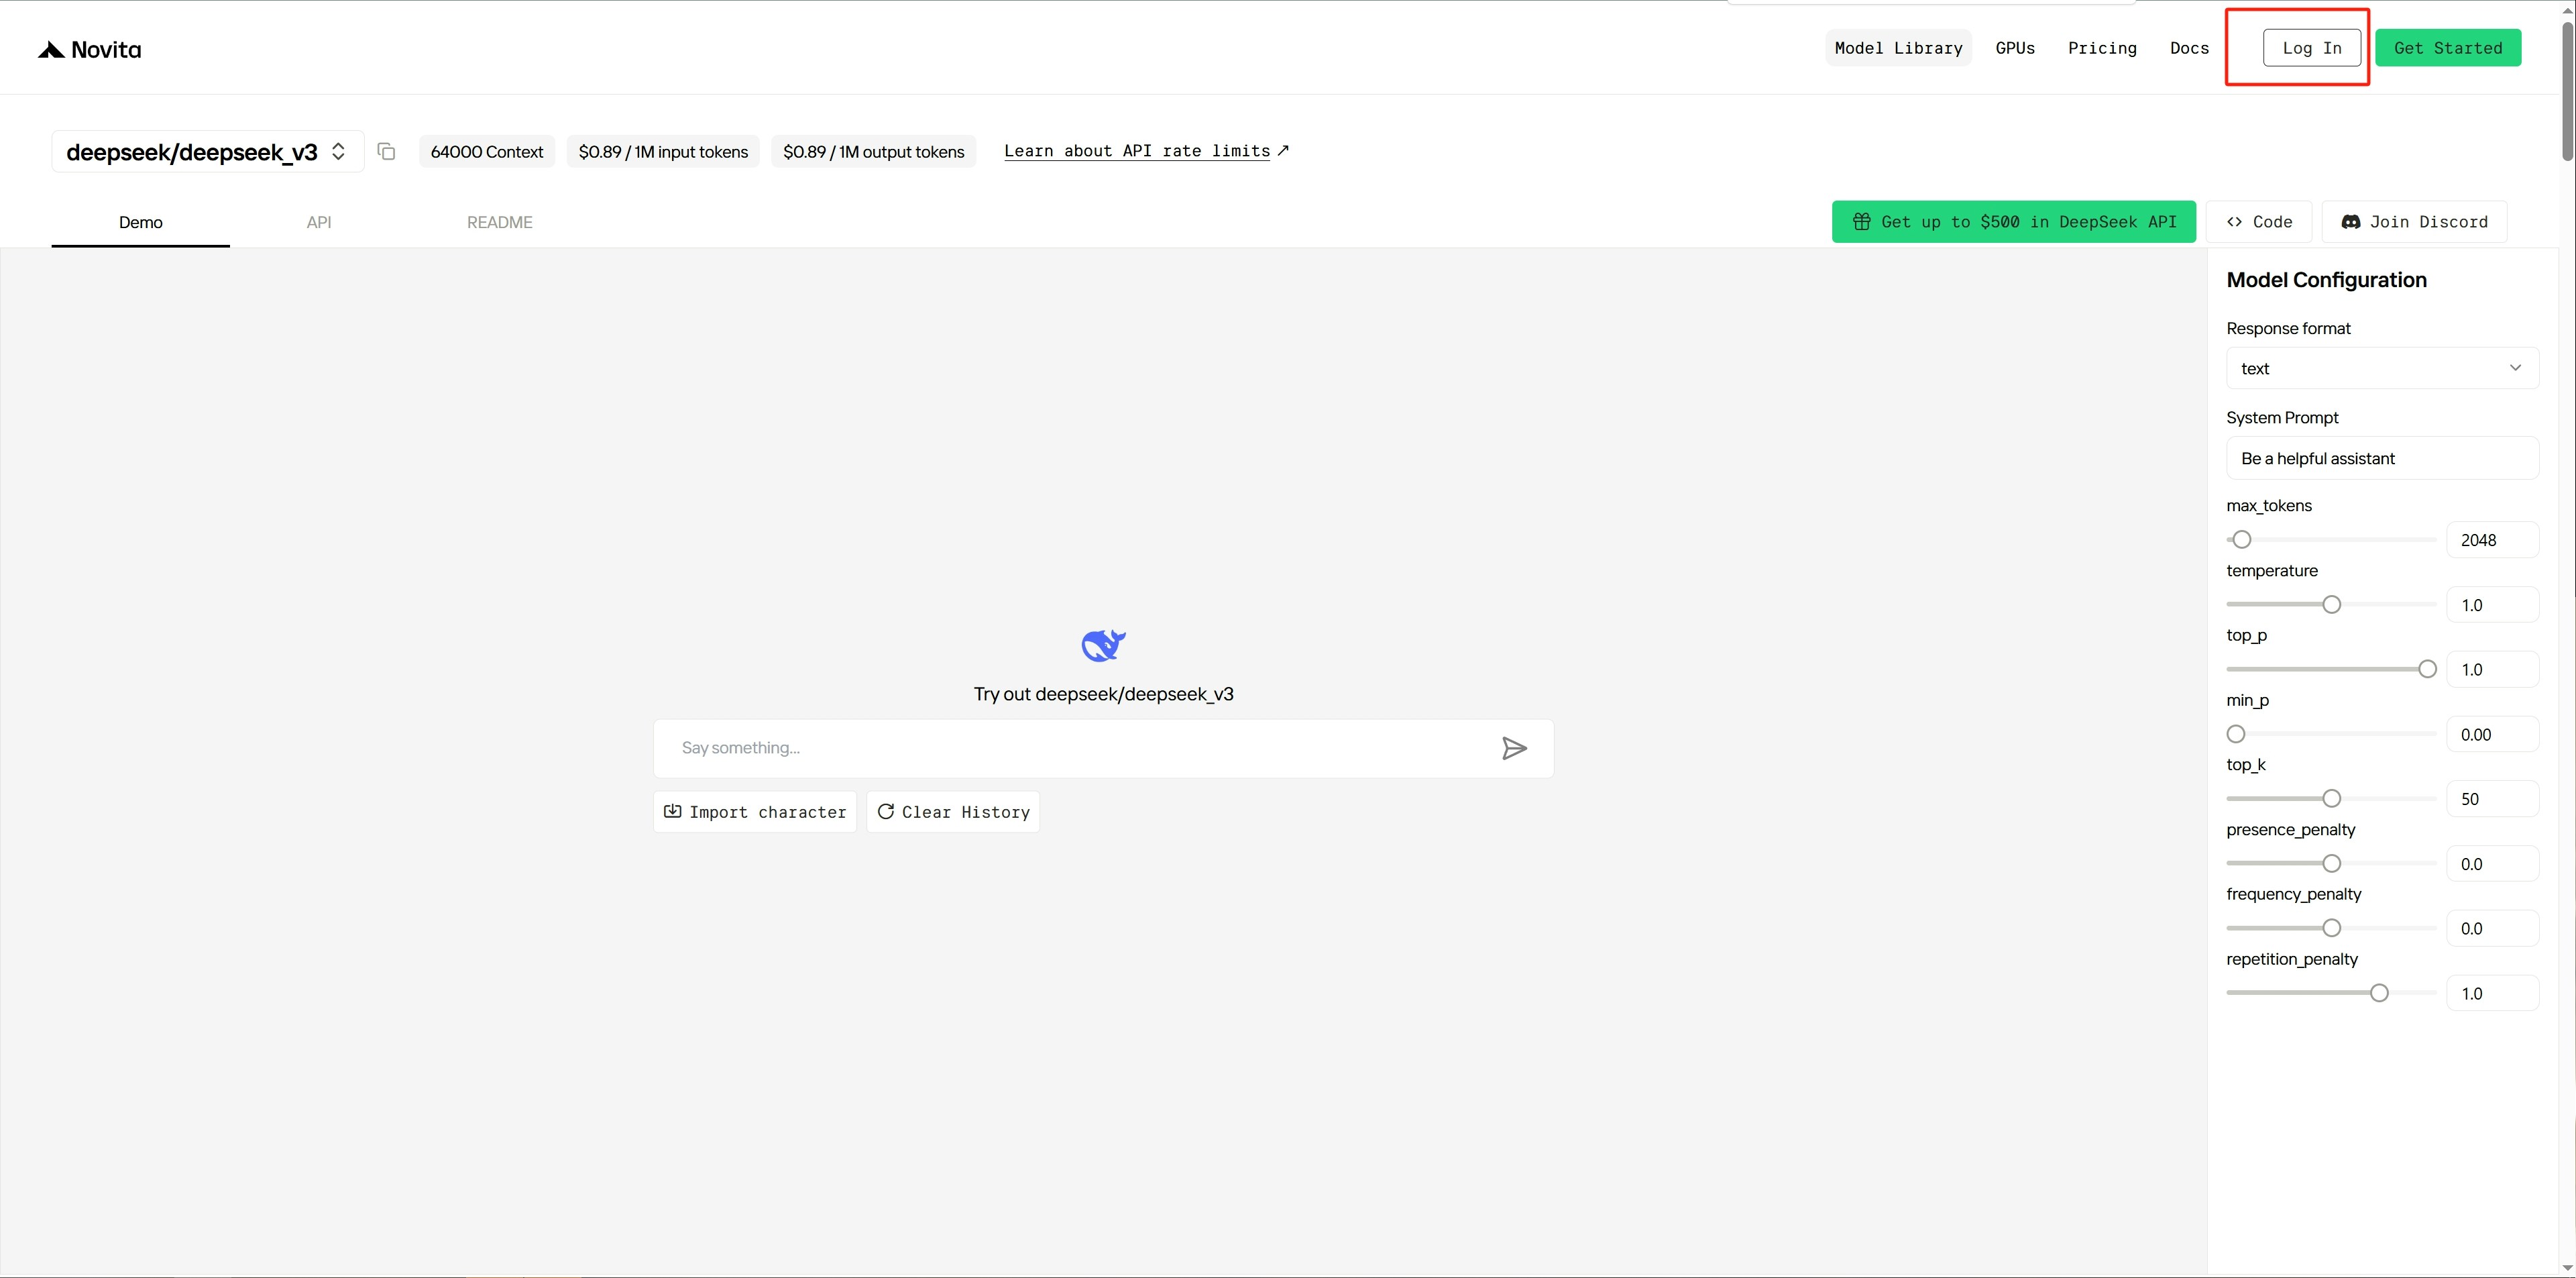
 Paso 4: [Inicia sesión ](https://novita.ai/user/login)en la plataforma de Novita.
 Paso 5: Después de iniciar sesión, ve a la [página de configuración](https://novita.ai/settings) de la plataforma.
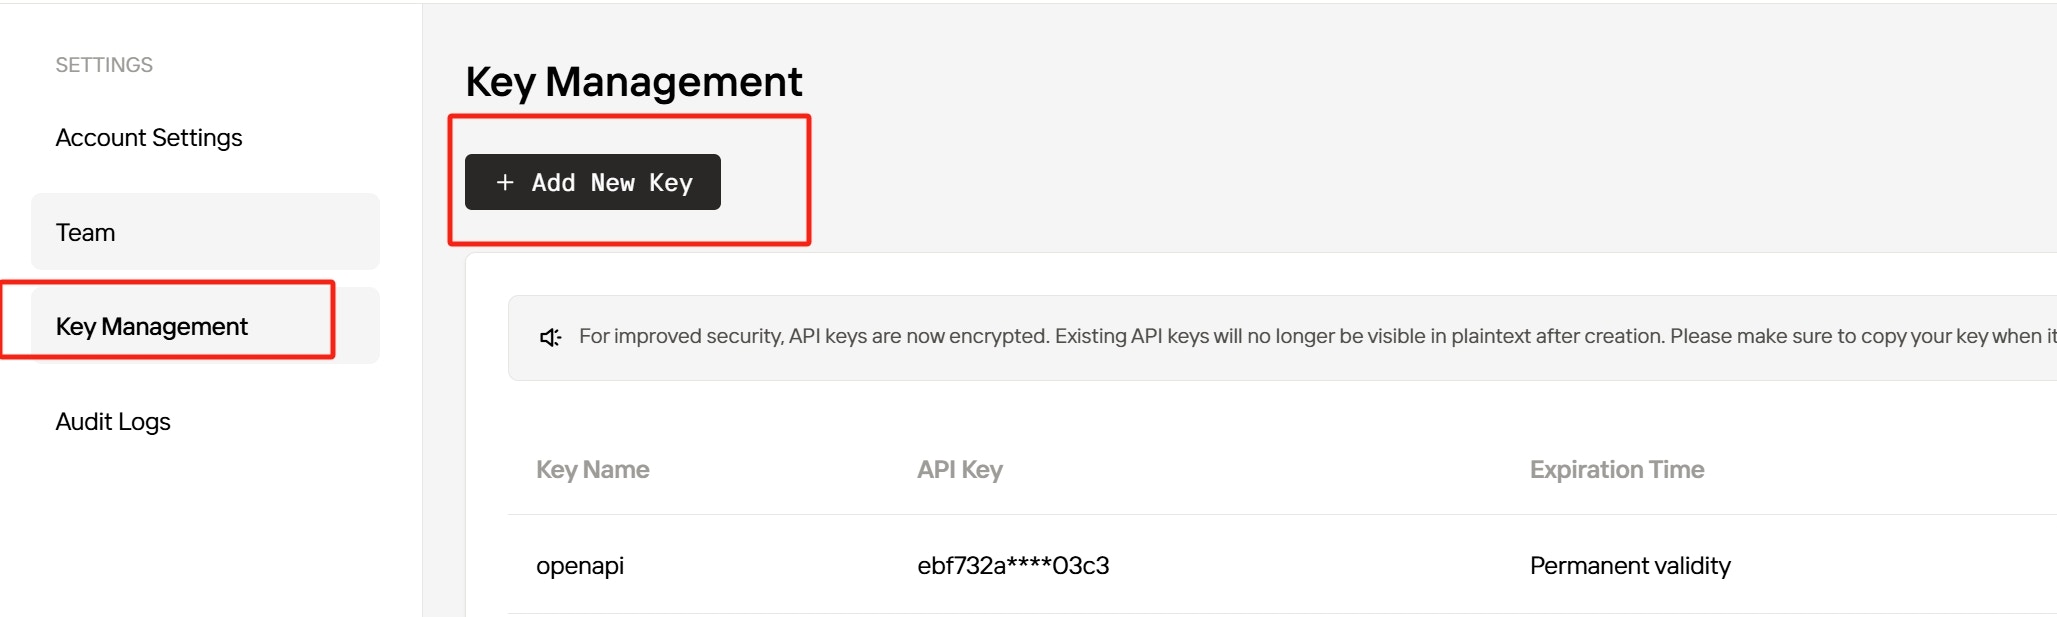
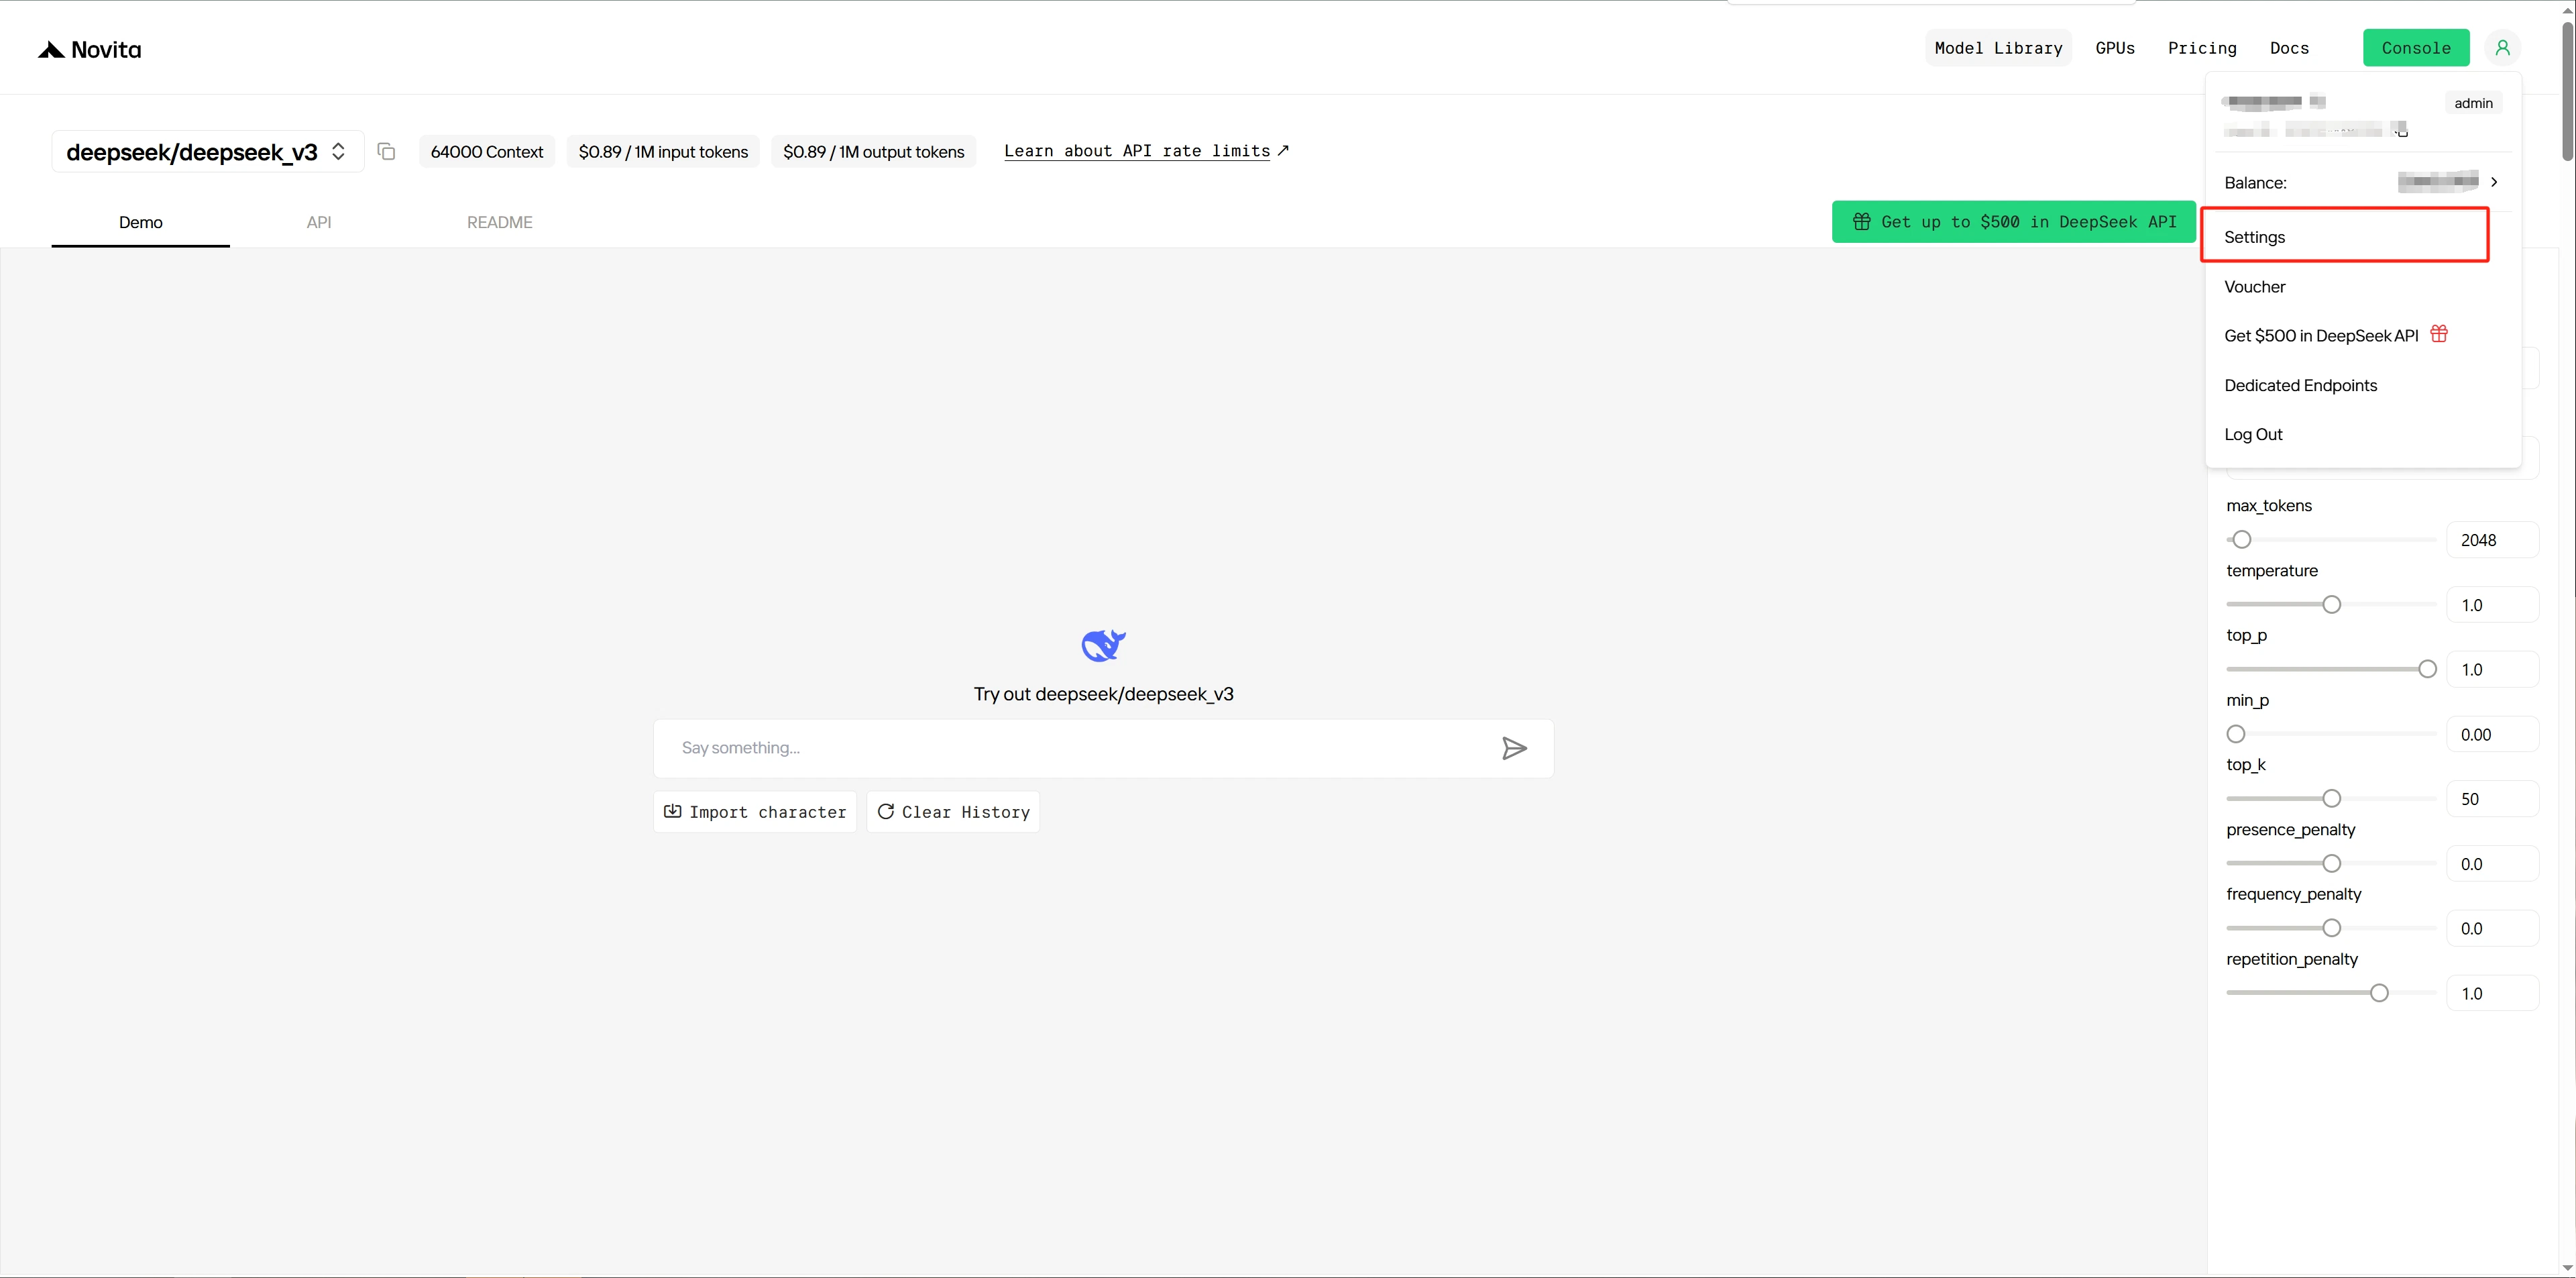 Paso 6: Crea una nueva [clave de API](https://novita.ai/settings/key-management) y cópiala para la autenticación del servicio.
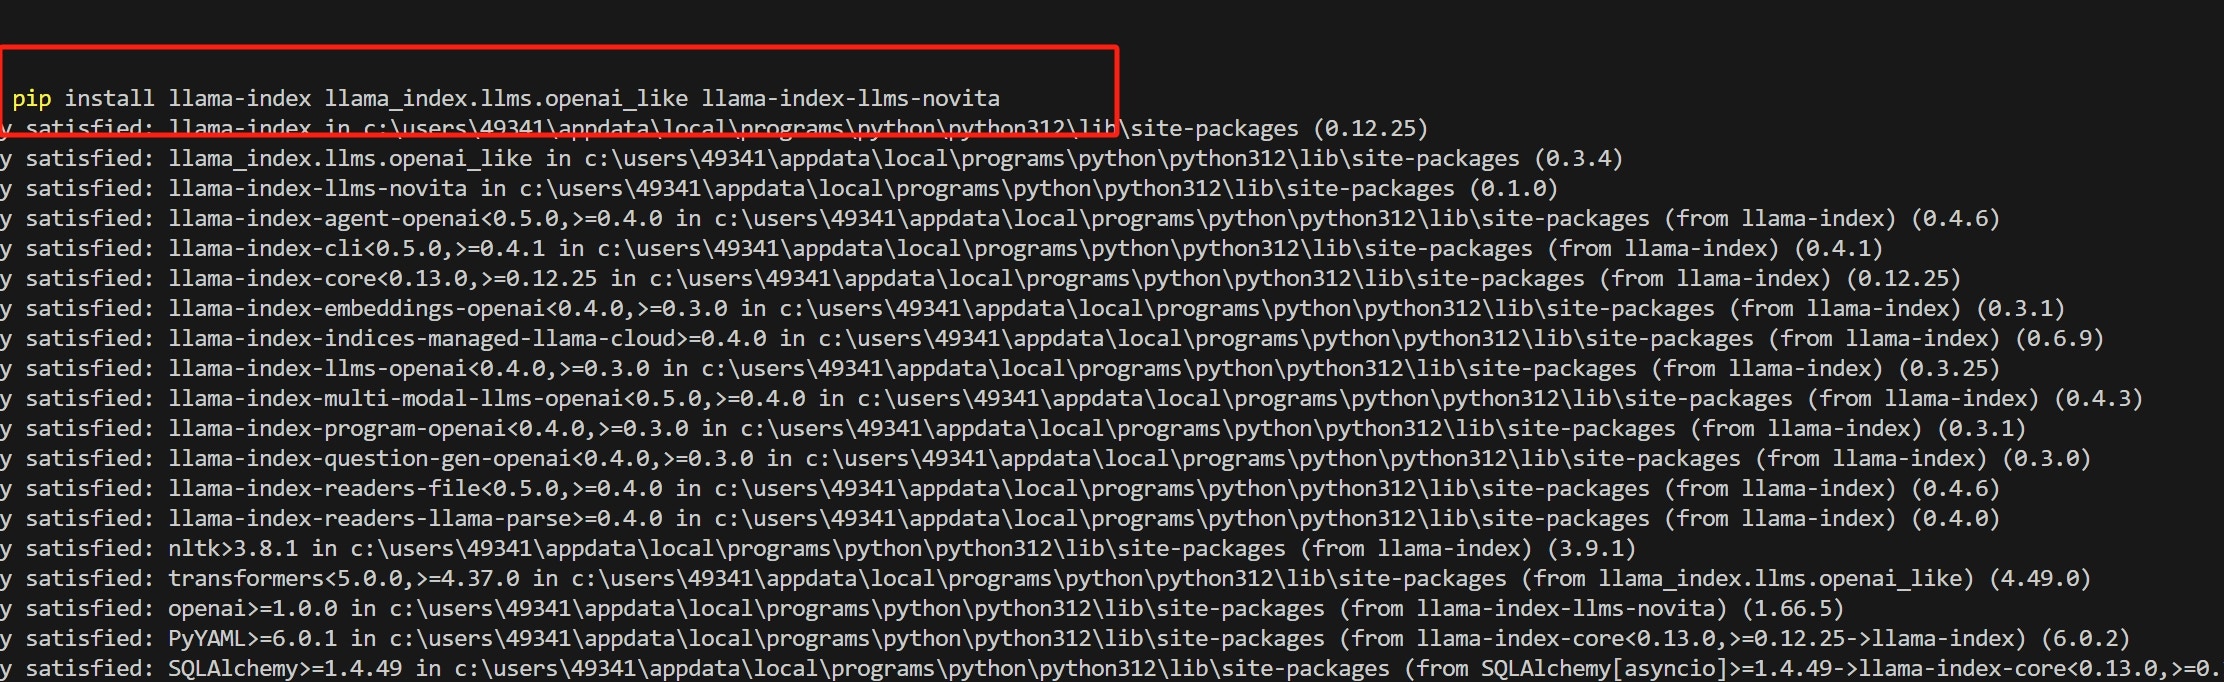
 Paso 7: Instala `llama_index` y las bibliotecas de Python relacionadas ejecutando:
 Paso 8: Escribe código Python y configura el nombre del modelo y la clave de API como parámetros en la clase NovitaAI.
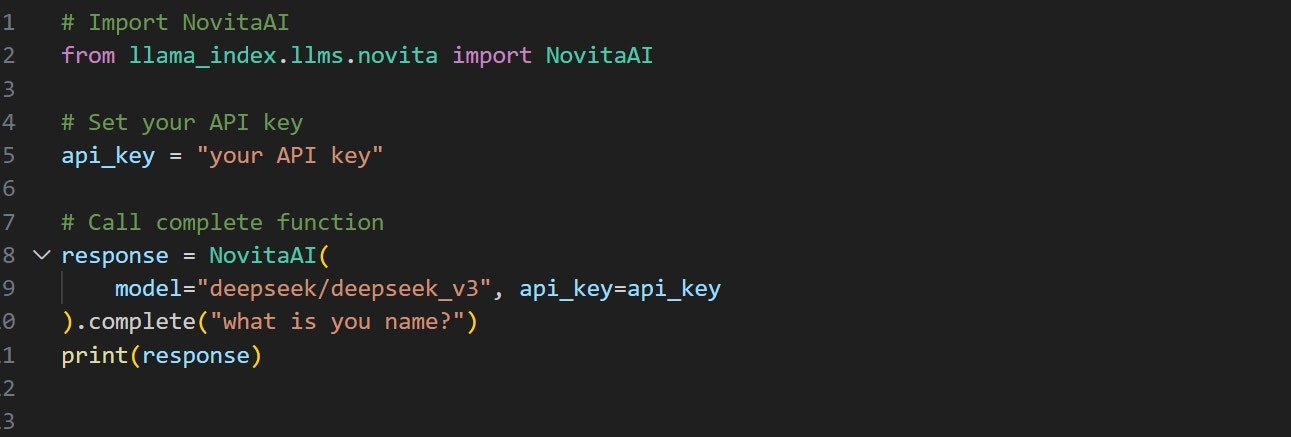 Paso 9: Ejecuta el código para obtener la salida.
 Para obtener más ejemplos, consulta la documentación: [llama\_index/llama-index-integrations/llms/llama-index-llms-novita en main · run-llama/llama\_index](https://github.com/run-llama/llama_index/tree/main/llama-index-integrations/llms/llama-index-llms-novita).