> ## Documentation Index
> Fetch the complete documentation index at: https://novita.ai/docs/llms.txt
> Use this file to discover all available pages before exploring further.
# DeepSearcher
> Greifen Sie einfach auf Modulunterstützung von Novita AI in DeepSearcher zu, um fortschrittliche Suchanwendungen zu erstellen.
[DeepSearcher](https://github.com/zilliztech/deep-searcher) ist eine Open-Source-Lösung, die entwickelt wurde, um die Suche und das Schlussfolgern mit privaten Daten zu transformieren, indem modernste Large Language Models (LLMs) mit Vektordatenbanken wie Milvus integriert werden. Mit Unterstützung für LLMs und Embedding-Modelle von Novita AI bietet diese leistungsstarke Konfiguration unübertroffene Genauigkeit und Effizienz bei der Suche in privaten Daten.
Diese Schritt-für-Schritt-Anleitung zeigt Ihnen, wie Sie Novita AI schnell und einfach mit DeepSearcher konfigurieren.
## So verwenden Sie DeepSearcher mit Novita
Schritt 1: Folgen Sie dem Beispiel in `examples/basic_example.py` .
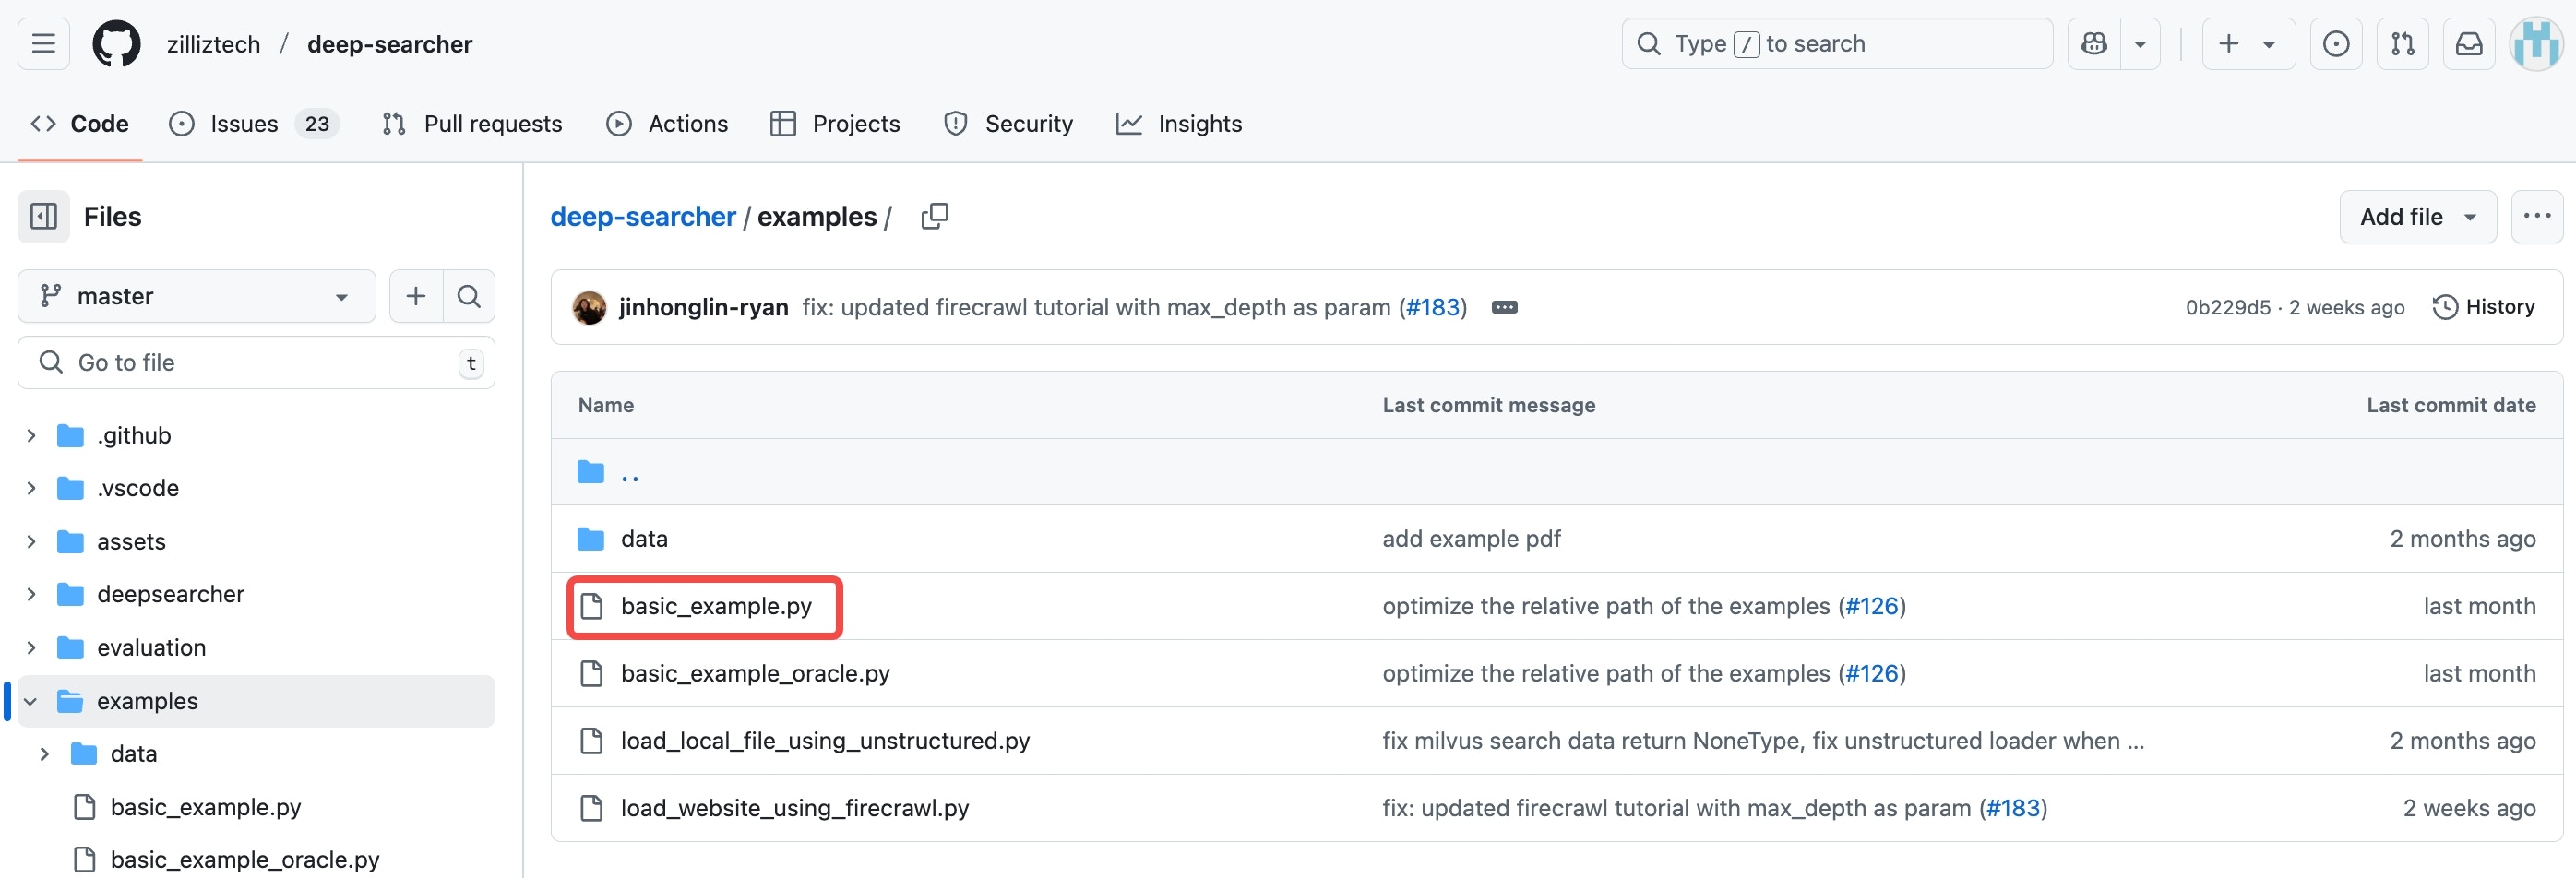 Schritt 2: Fügen Sie den folgenden Code unterhalb der Zeile `config = Configuration()` hinzu:
```python theme={"system"}
config.set_provider_config("llm", "NOVITA", {"model": "deepseek/deepseek-r1-turbo"})
config.set_provider_config("embedding", "NovitaEmbedding", {"model": "baai/bge-m3"})
```
Schritt 2: Fügen Sie den folgenden Code unterhalb der Zeile `config = Configuration()` hinzu:
```python theme={"system"}
config.set_provider_config("llm", "NOVITA", {"model": "deepseek/deepseek-r1-turbo"})
config.set_provider_config("embedding", "NovitaEmbedding", {"model": "baai/bge-m3"})
```
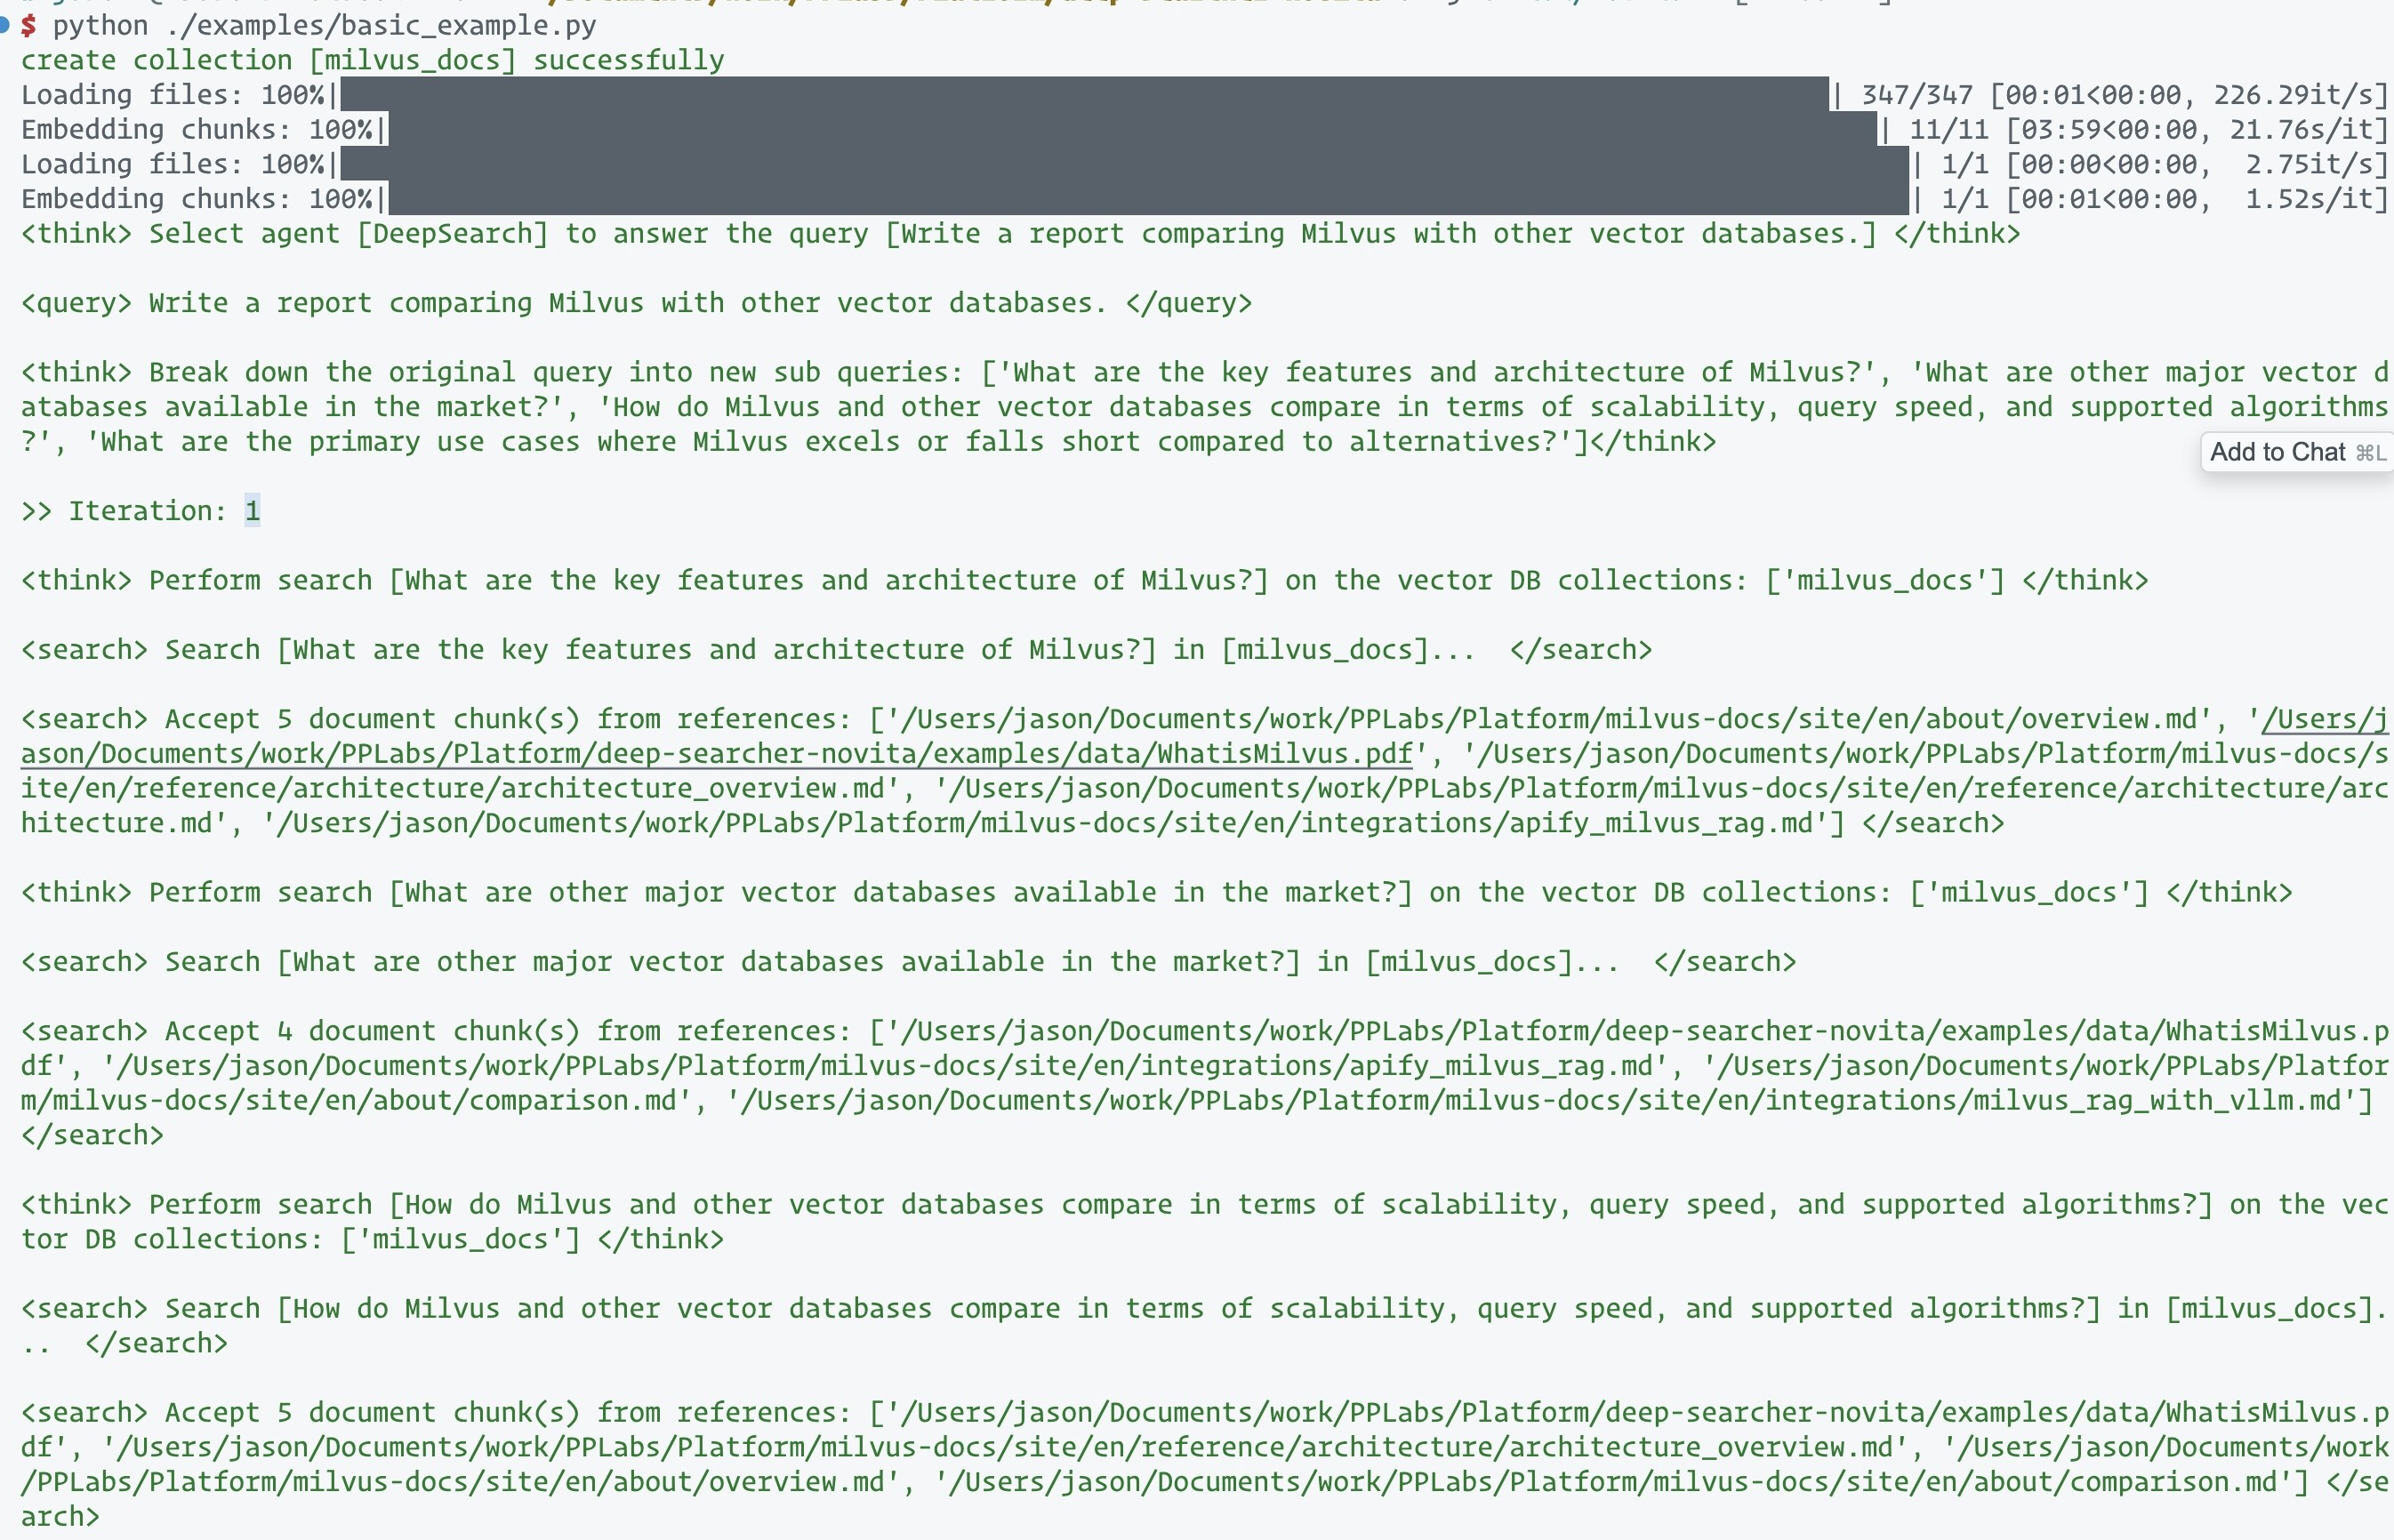
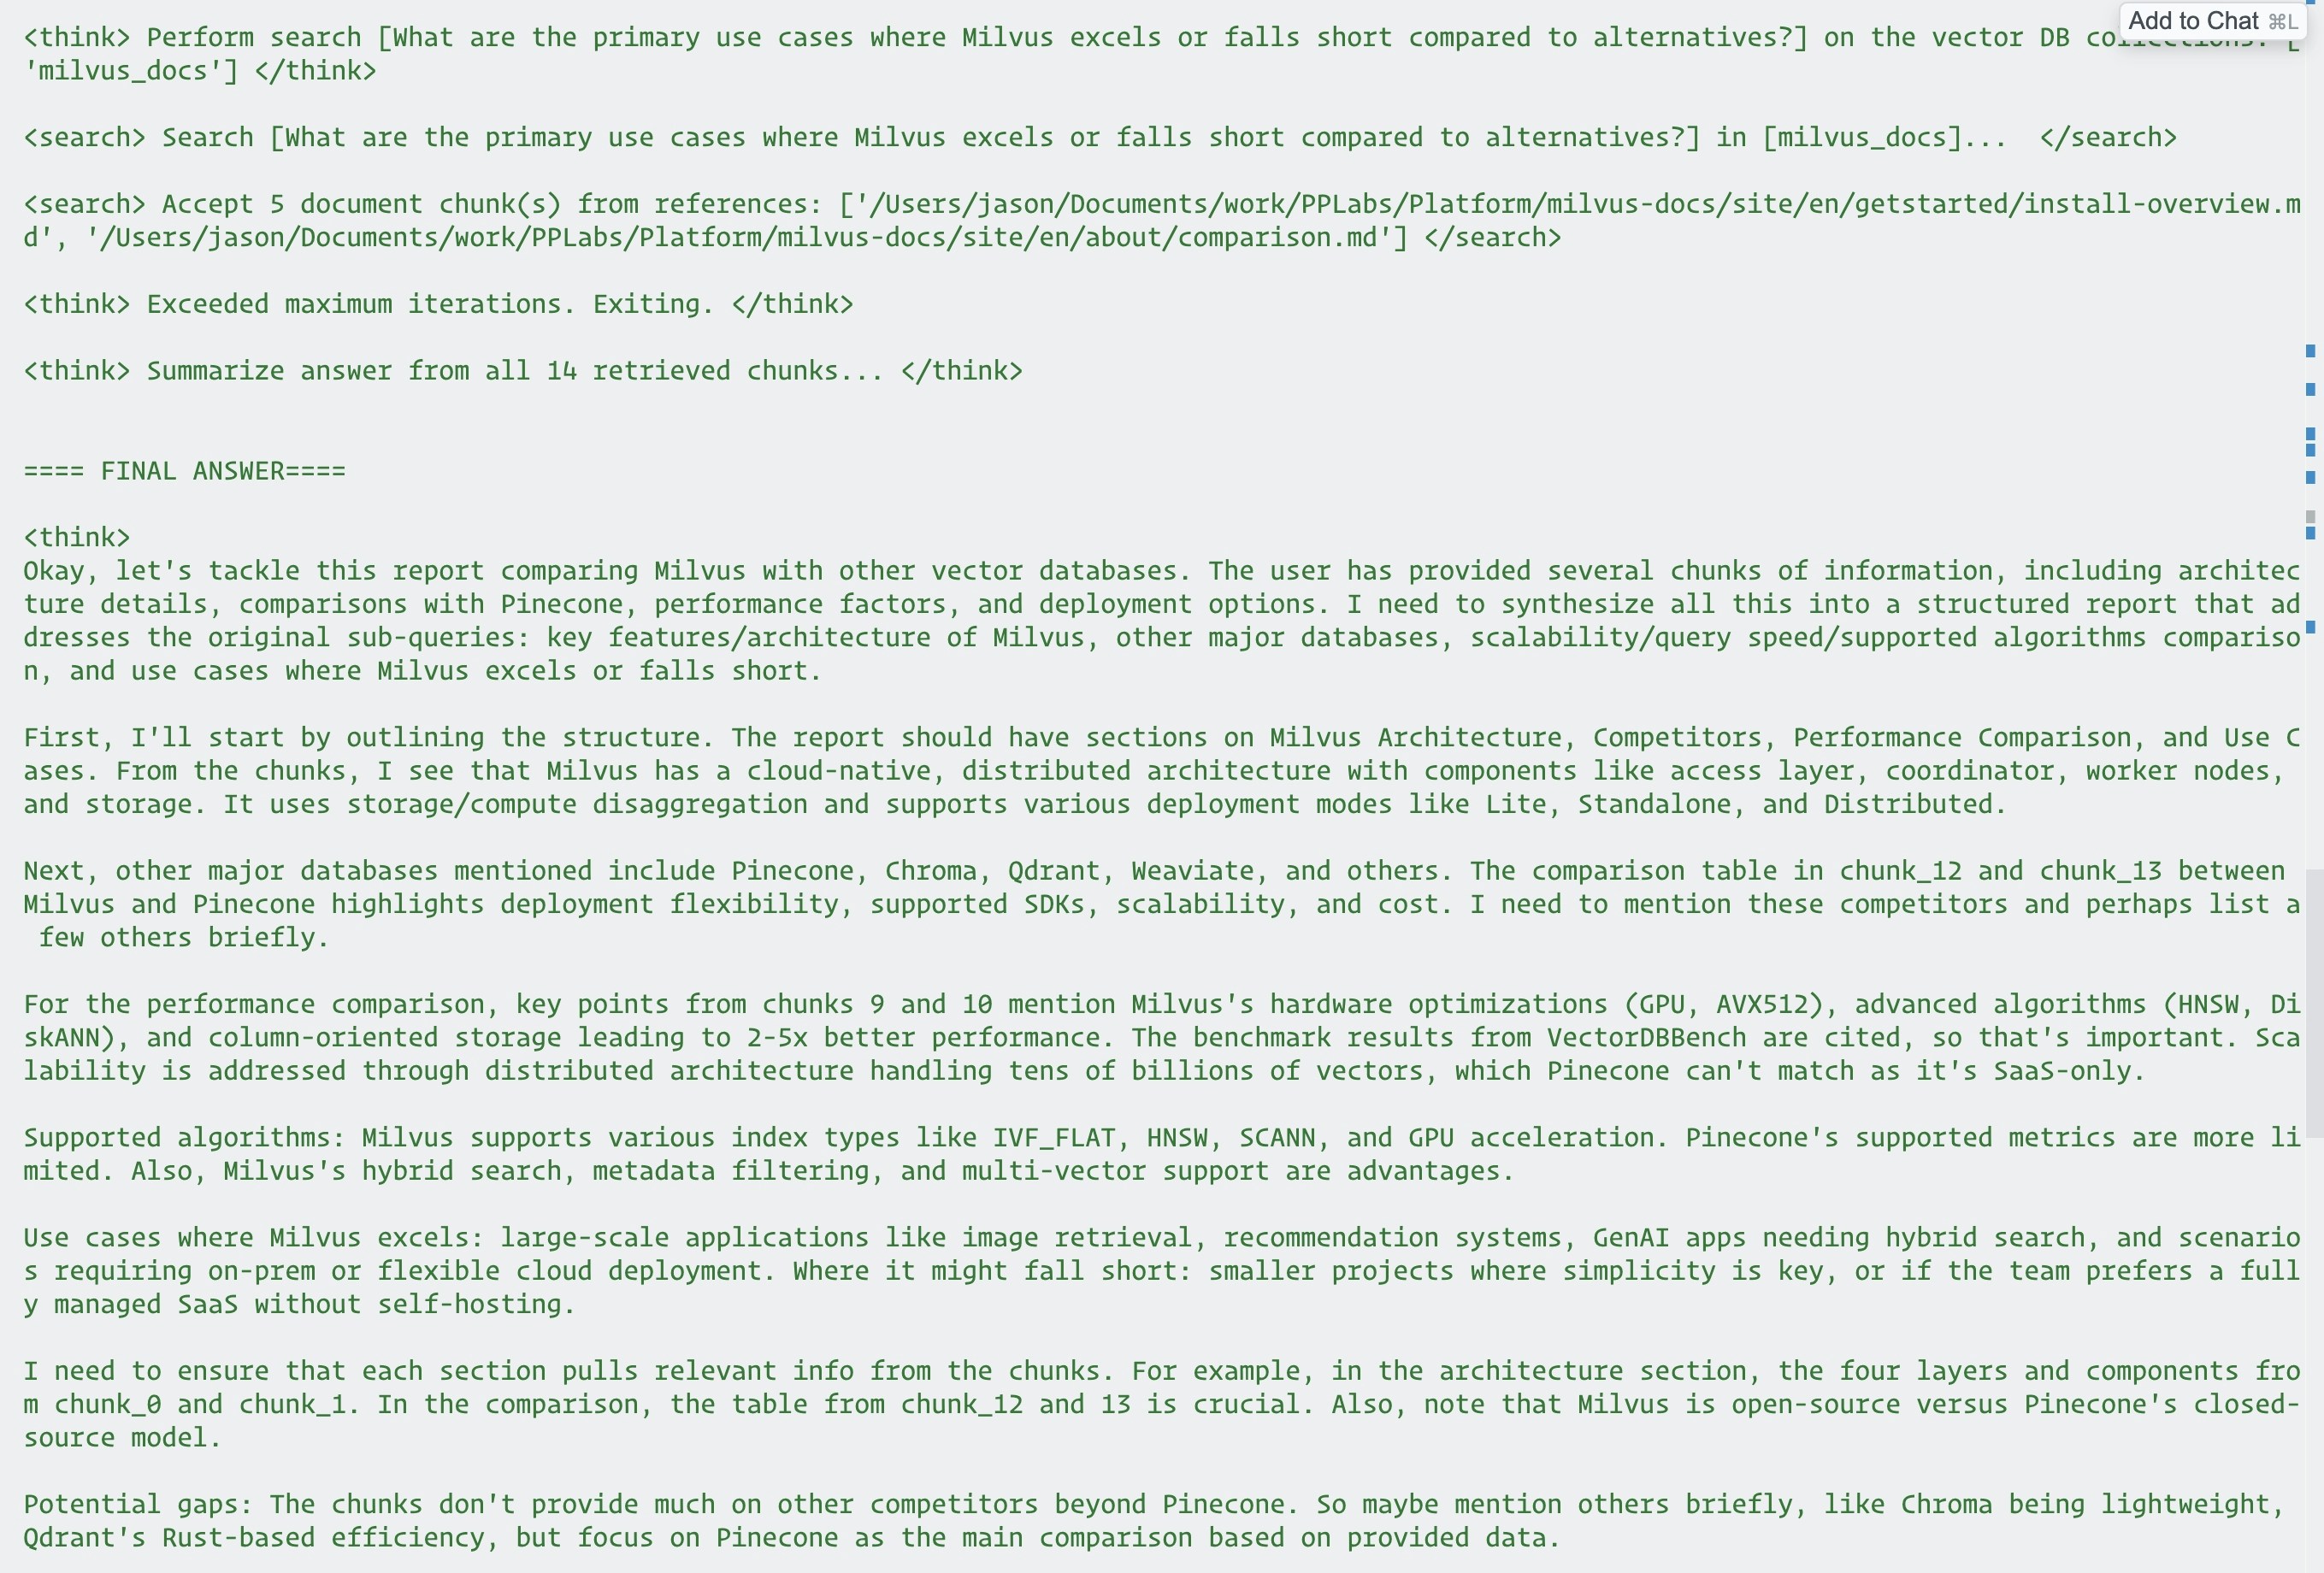
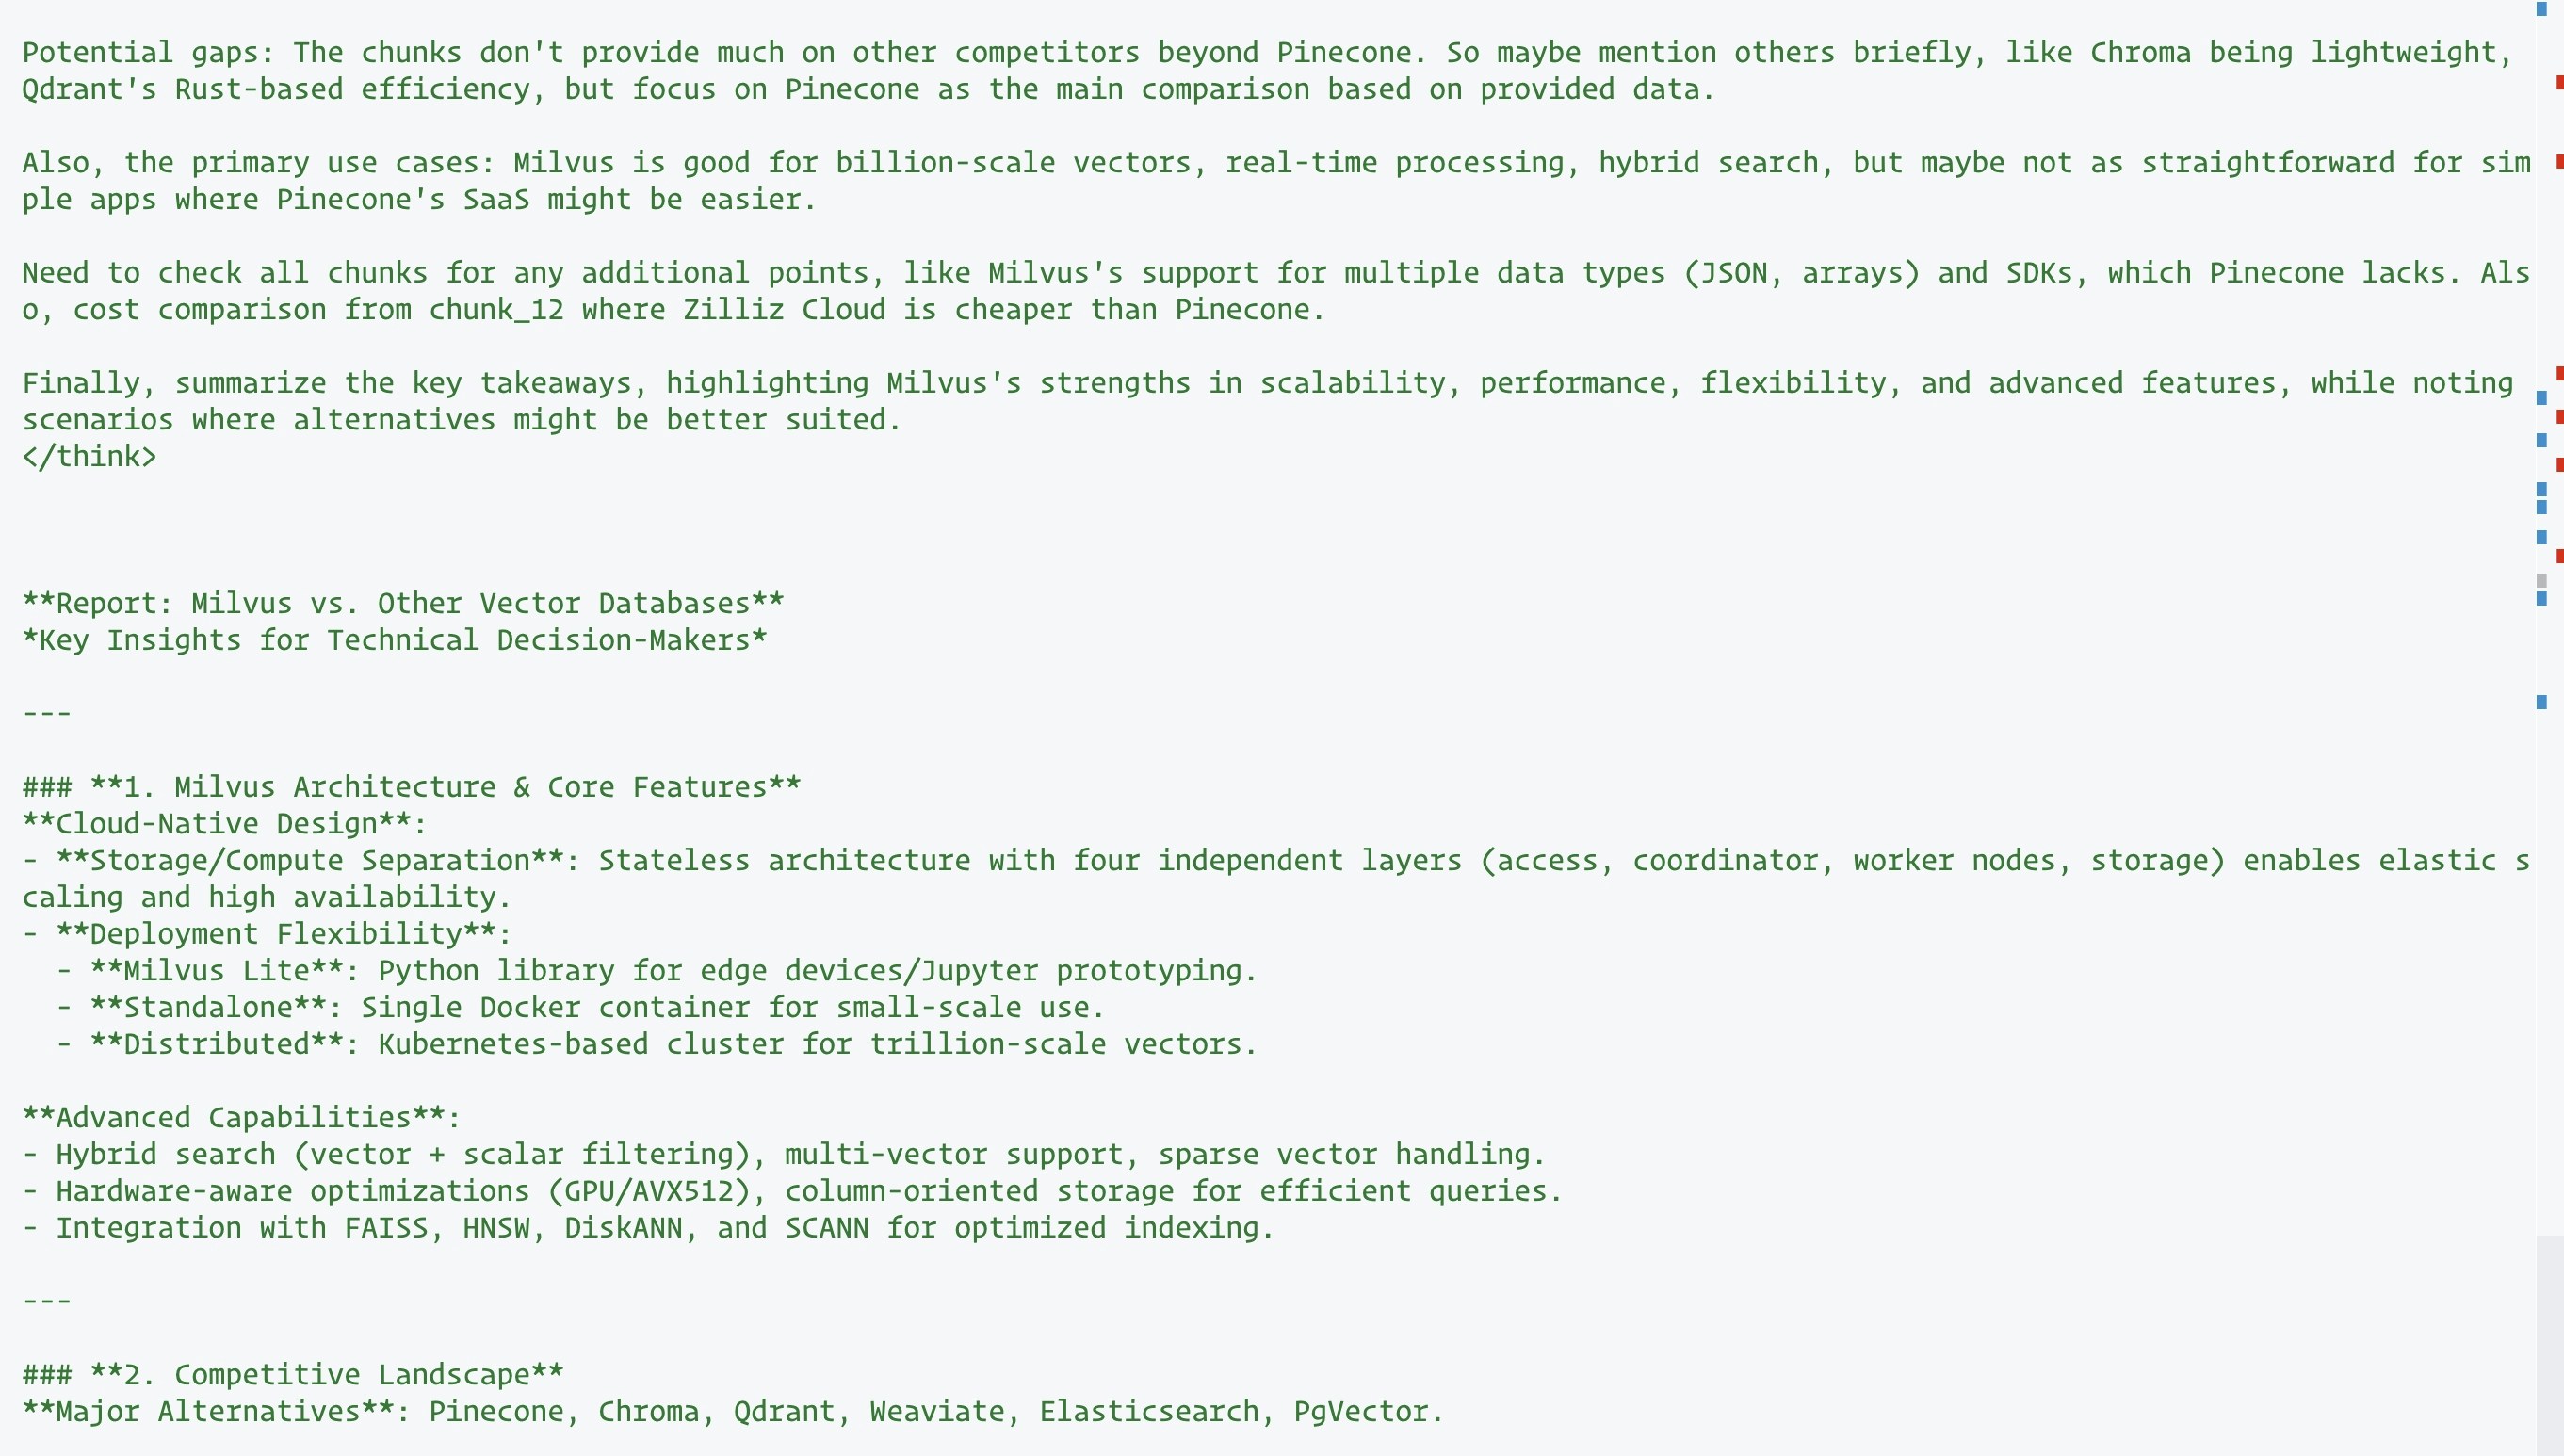
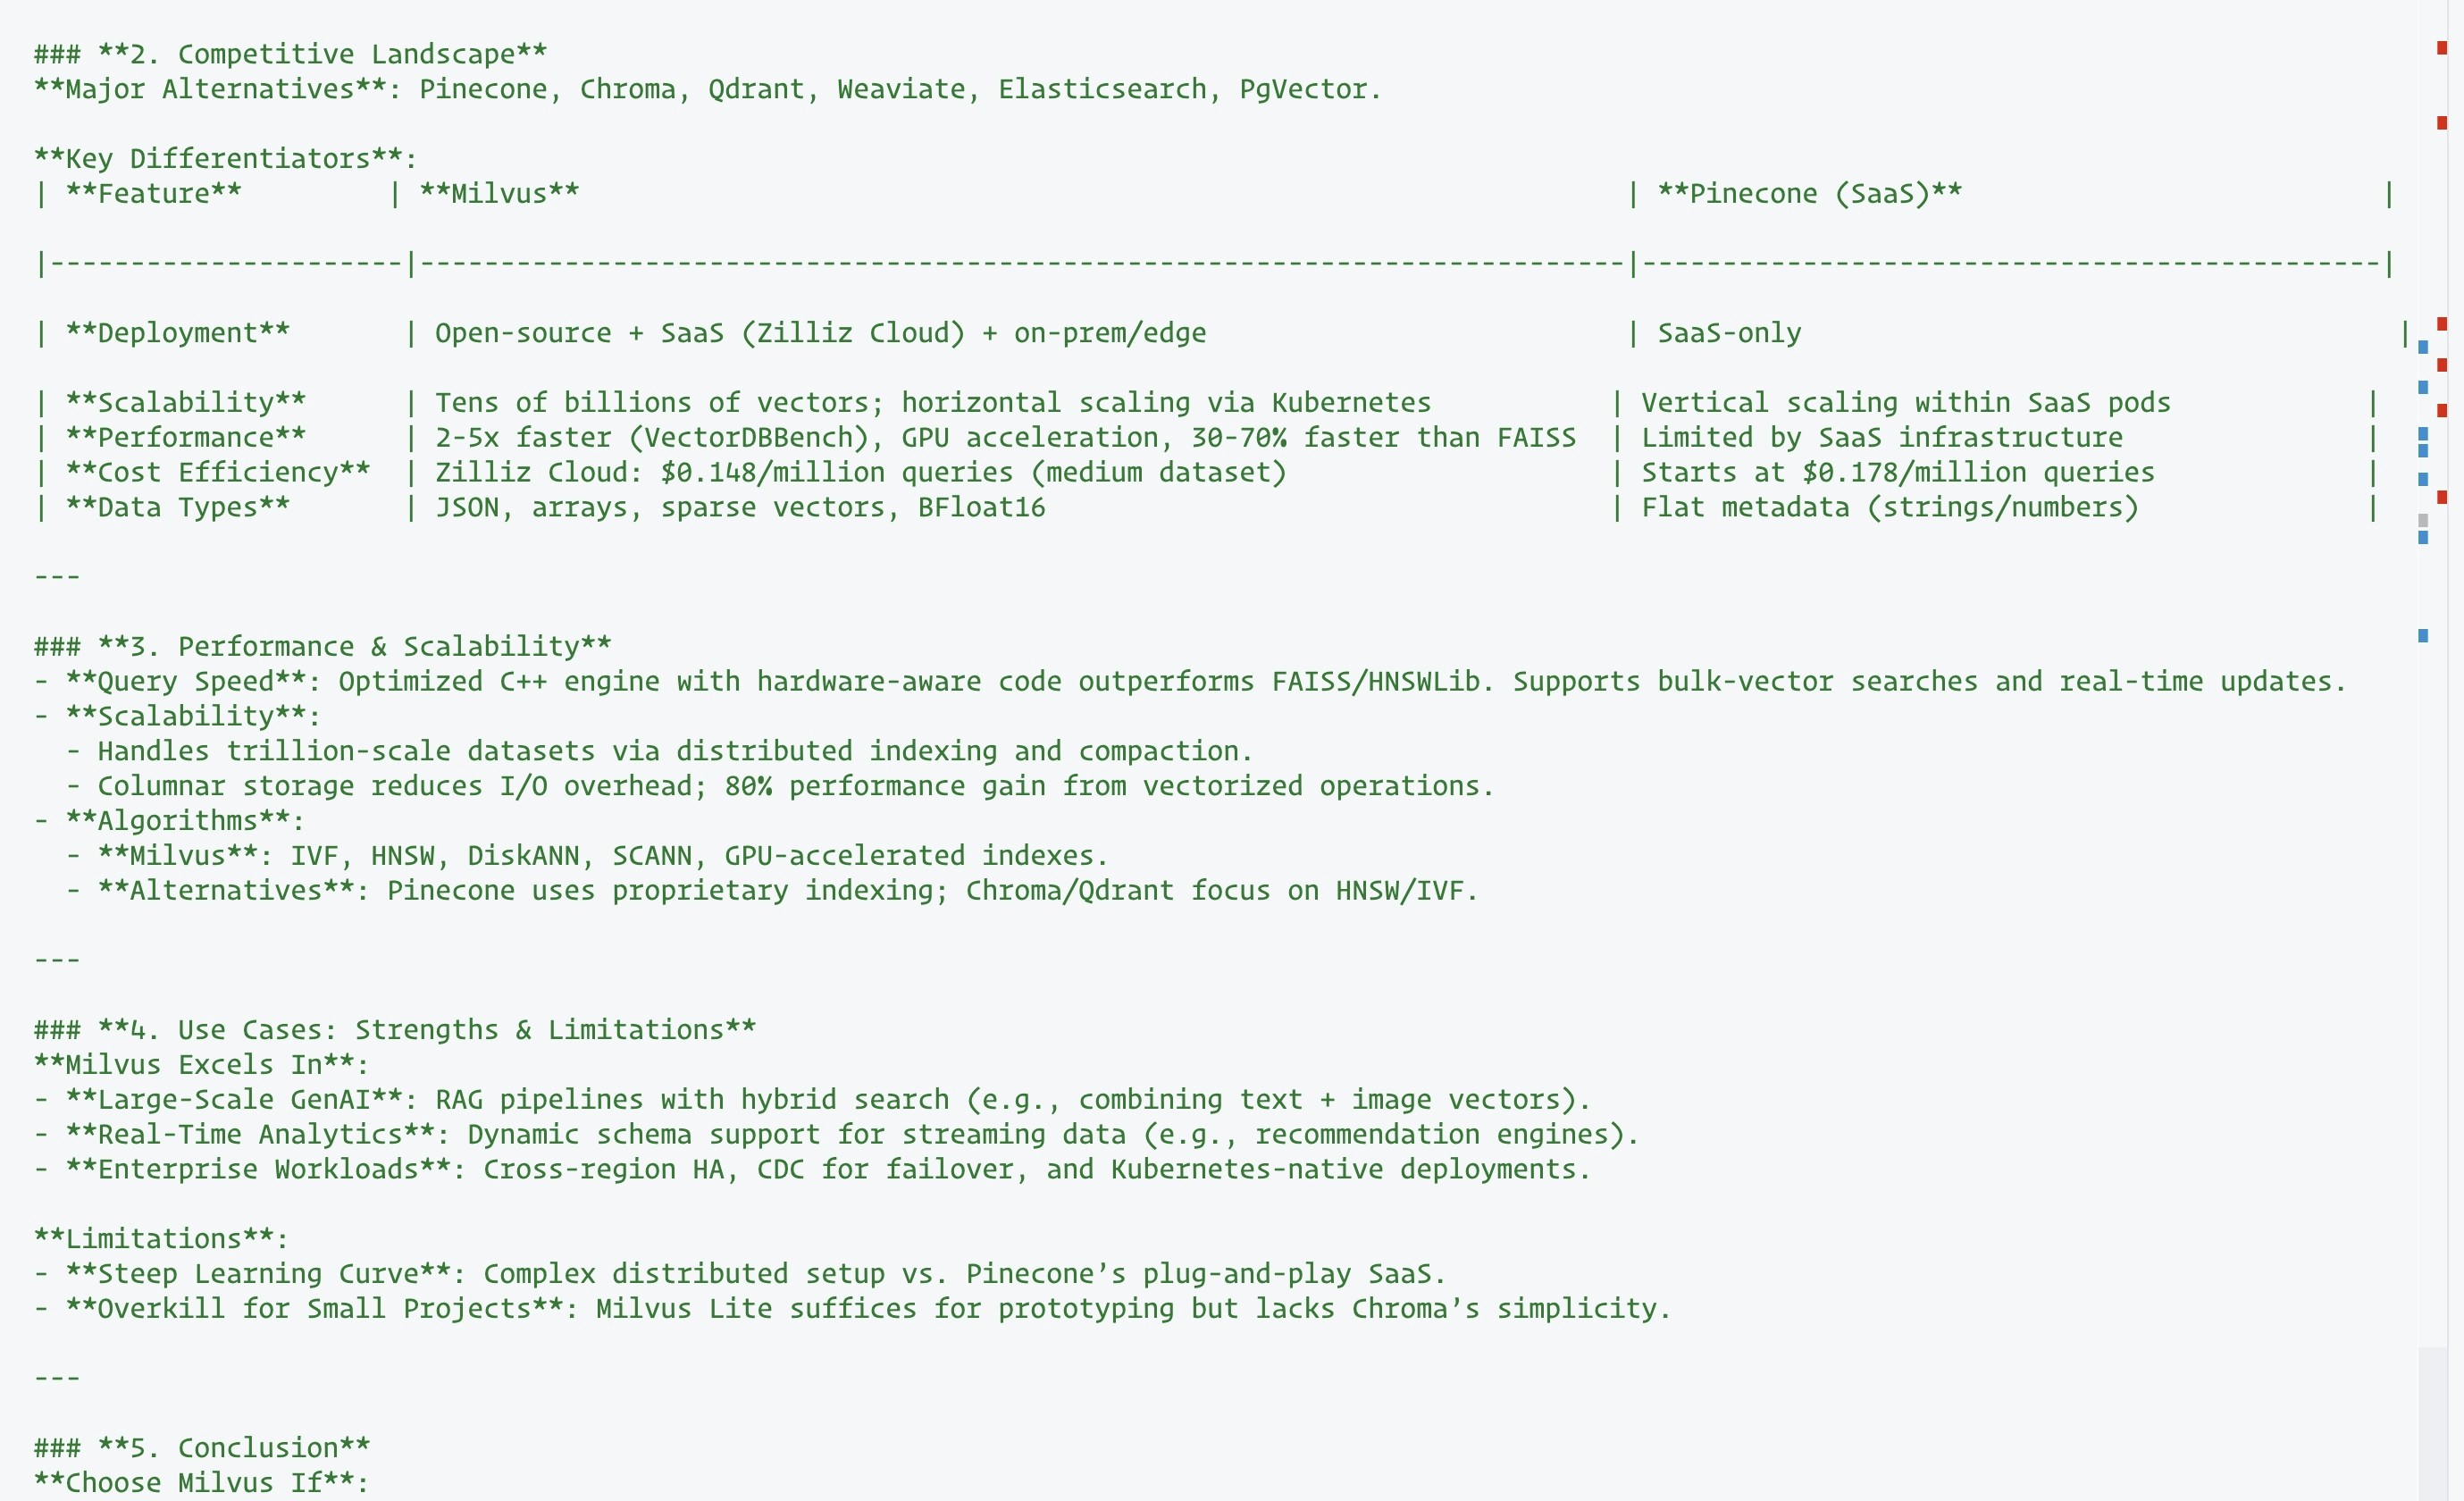
 Schritt 3: Führen Sie `examples/basic_example.py` aus, um die Integration auszuführen.
Sie erhalten die folgenden Ergebnisse:
Schritt 3: Führen Sie `examples/basic_example.py` aus, um die Integration auszuführen.
Sie erhalten die folgenden Ergebnisse: